A personalised build of Miryoku ZMK can be set up, built, downloaded, and flashed onto your keyboard in a few minutes without installing any software or editing any files.
- Create a GitHub account.
- Login to GitHub.
- Visit https://github.com/manna-harbour/miryoku_zmk.
- Press the
Forkbutton in the top right.
- Visit https://github.com/?q=miryoku_zmk.
- Select your fork of
miryoku_zmkfrom the list on the left. - Select the
Actionstab.
- Press the
I understand my workflows, go ahead and enable thembutton.
Start here to build new firmware after completing the initial setup.
- Visit https://github.com/?q=miryoku_zmk.
- Select your fork of
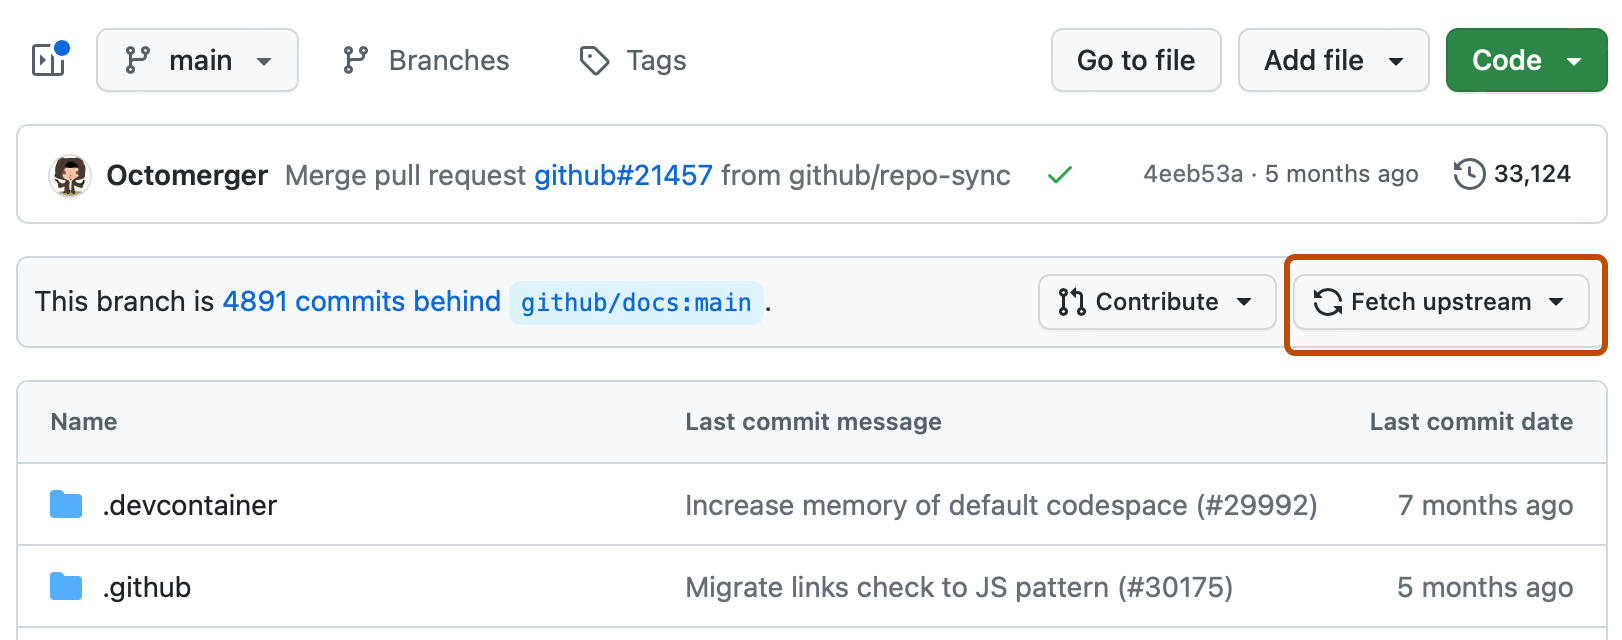
miryoku_zmkfrom the list on the left. - Press the
Fetch upstreambutton in the top right.
- Press the
Fetch and mergebutton in the popup if it is enabled.
- Select the
Actionstab.
- Select
Build Inputsfrom theWorkflowslist on the left. - Press the
Run workflowbutton on the right.
- Fill out the fields in the popup as desired. See the Options documentation for details.
- Press the
Run workflowbutton at the bottom of the popup.
- Wait for the workflow run to complete.
Start here to download previously built firmware.
- Visit https://github.com/?q=miryoku_zmk.
- Select your fork of
miryoku_zmkfrom the list on the left. - Select the
Actionstab.
- Select the workflow run from the list.
- Select the artifact at the bottom.
- Wait for the download to complete.
- Unzip the downloaded zip file.
Start here to flash previously downloaded firmware.
The downloaded zip will contain a uf2 firmware file. For split keyboards the zip will contain separate firmware files for the left and right sides, and the following steps should be performed for each side.
- Connect the keyboard to the computer with a USB cable.
- Double tap the reset button rapidly (two presses within half a second). The keyboard will appear to the computer as a USB mass storage device.
- Copy the firmware file to the device. The keyboard will reset and the device will be removed.


