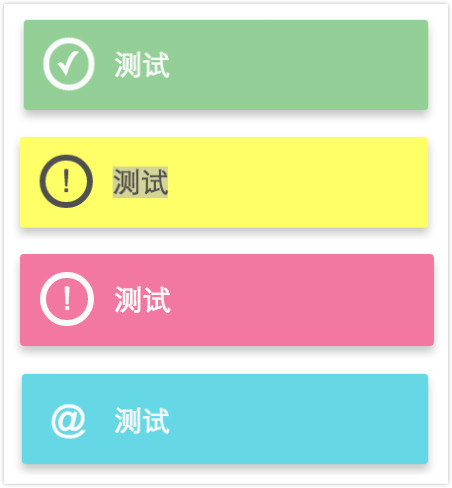
ng2-toastr 是基于angular2 RC.4所写的插件。
它设计风格是基于Material Design。
e.g:
Docs & GitHub GitHub
现在只能使用在ng2-webpack的环境中。(我只测试了这个环境...)
1.安装:
npm i ng2-toastrs2.添加到依赖文件:
import "ng2-toastrs";3.往组件中注入 "ToastrService" 这个服务:
    import { ToastrService } from "ng2-toastrs";

    @Component({
        selector:"a-compoent",
        template:"<button (click)='addSuccess()'>add a toastr</button>",
        providers:[ToastrService]
    })
    export class AComponent{
        constructor(public toastr: ToastrService) {
        }

        addSuccess(){
            this.toastr.success("success");
        }

        addWarning(){
            this.toastr.warning("warning");
        }

        addError(){
            this.toastr.error("error");
        }

        addInfo(){
            this.toastr.info("info");
        }
}你可以在环境文件中为toastr 先做最初配置。 e.g:
    import { ToastrConfig } from "ng2-toastrs";

    bootstrap(App, [
     provide(ToastrConfig,{useValue:{
        position:"top-right",
        defaultTime:1000
     }})
])用来设置toastr的位置,一共只有上述的4种。
设置toastr弹出的默认时间
你也可以为每个toastr设置独立的配置。(我用上面的代码做示范) e.g:
    addSuccess(){
        this.toastr.success("success",{
            time:20000,
            alwaysOpen:true,
            confirm:function(){},
            cancel:function(){}
        });
}为这个toastr设置弹出时间(Default:1000ms)
选着这个toastr是否一直打开...直到用户操作或者倒计时完成 (设置了alwaysOpen,必须设置confirm或者cancel其中一个或者两个都设置)
确认事件
取消事件
1.自定义按钮名字
