Notion-Hugo allows you to use Notion as your CMS and deploy your pages as a static website with Hugo. So you have the full power of Notion for creating new content, with Hugo and its wonderful ecosystem of themes take care of the rest for you.
Notion-Hugo deploys your website to Cloudflare Pages, which has a generous free tier and is easy to set up. Notion-Hugo also uses Functions and KV to power your website. Register a Cloudflare account and be ready to go.
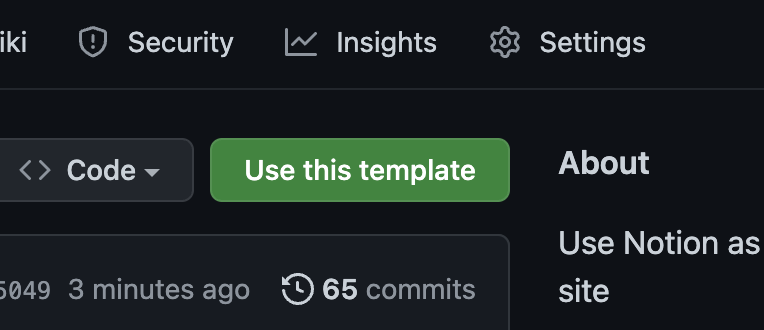
Click the green Use this template button in the upper-right corner to create your repo from this template. Choose public for the repository visibility.
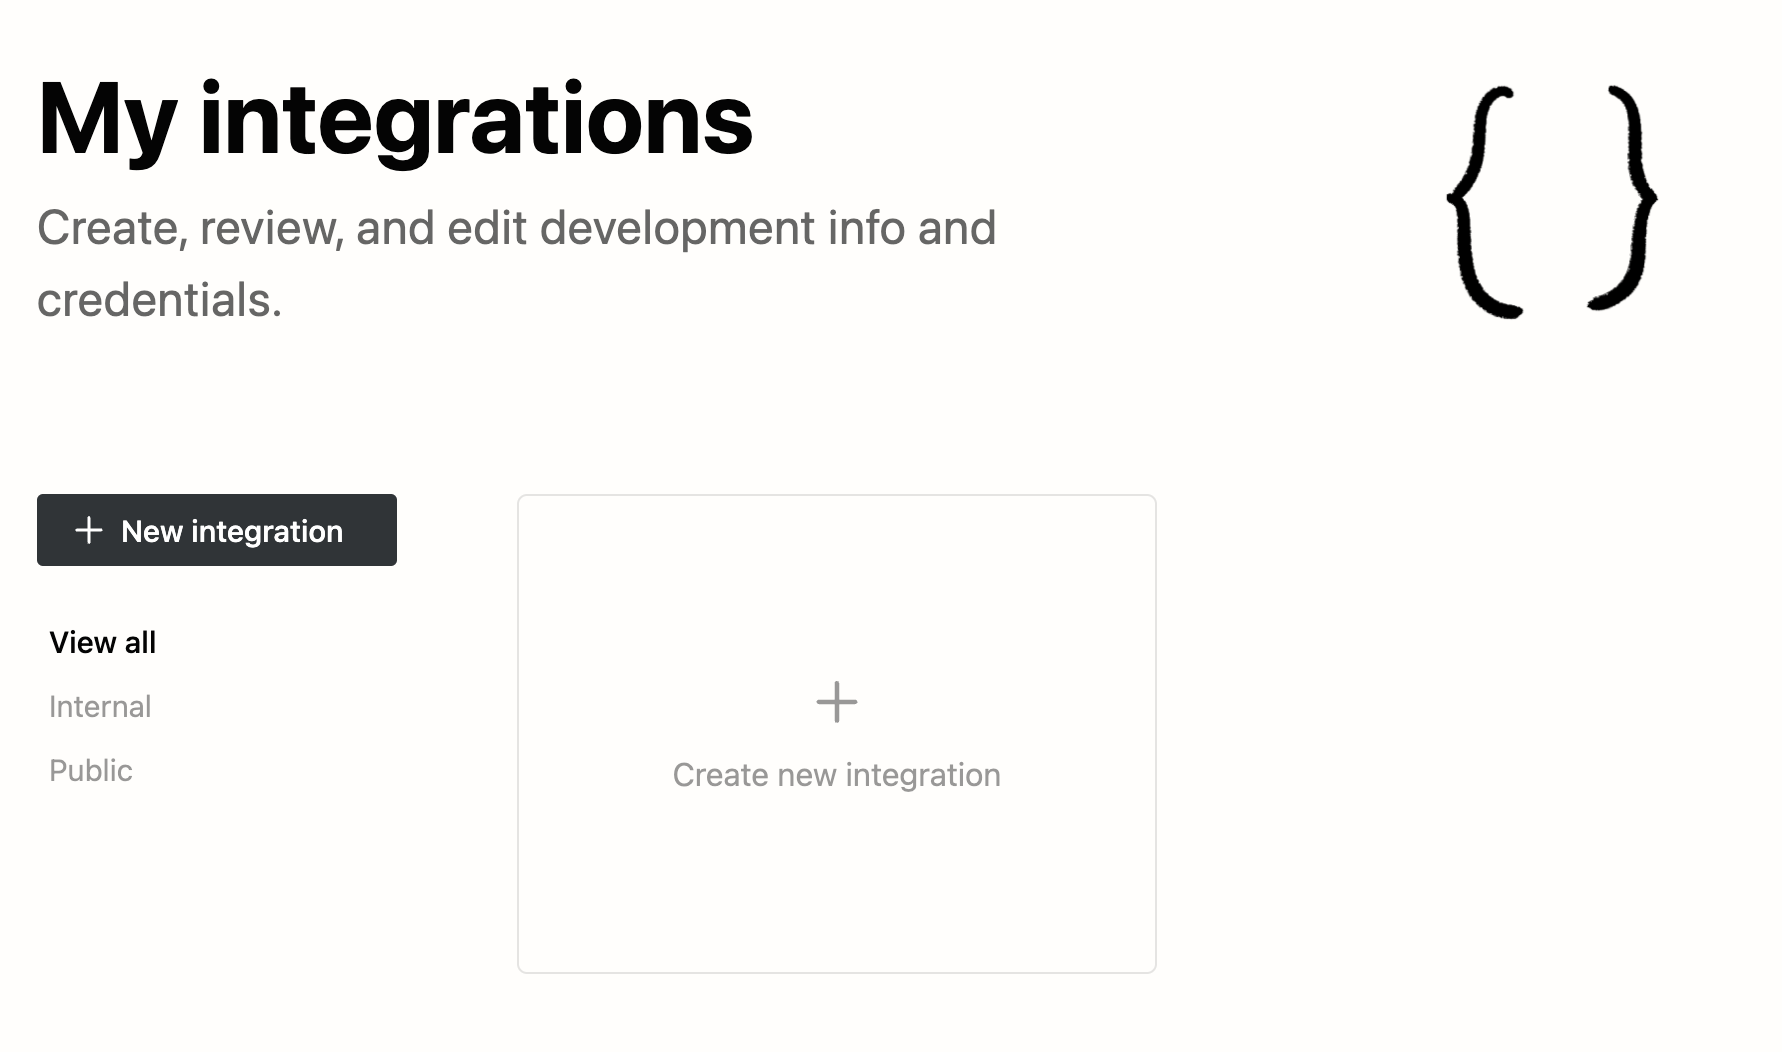
Visit my integrations and login with your Notion account.
Click on Create new integration to create a new internal integration.
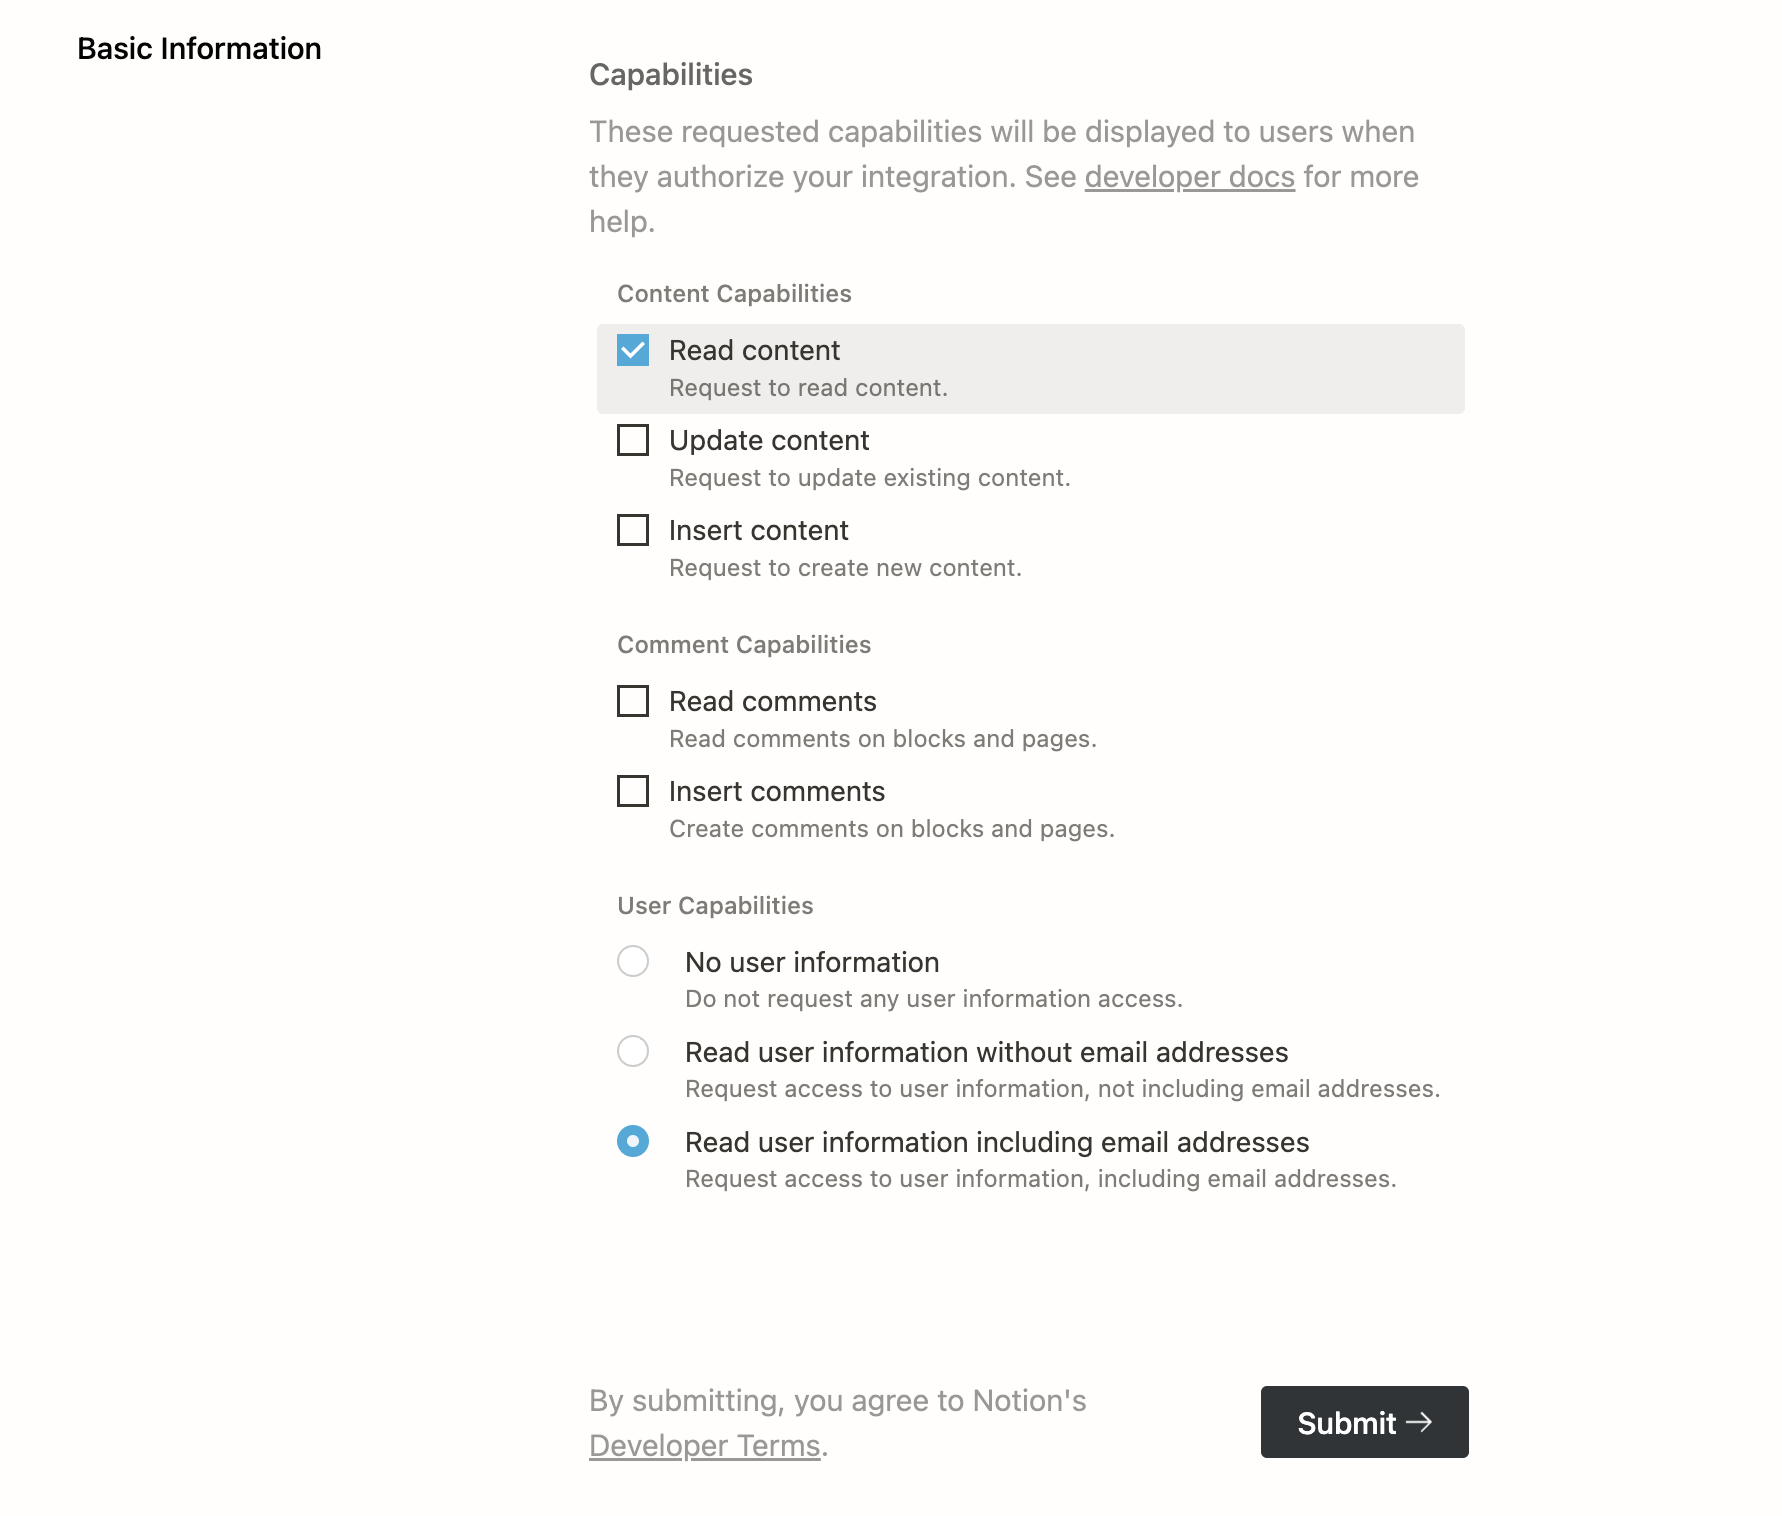
In the capabilities section, select Read Content and Read user information including email address. The Read Content permission is necessary for Notion-Hugo to pull your Notion content, and the Read user information including email address permission is used to fill front matters with author information. Notion-Hugo does not collect any of your information.
Click the submit button to finish creating the Notion integration.
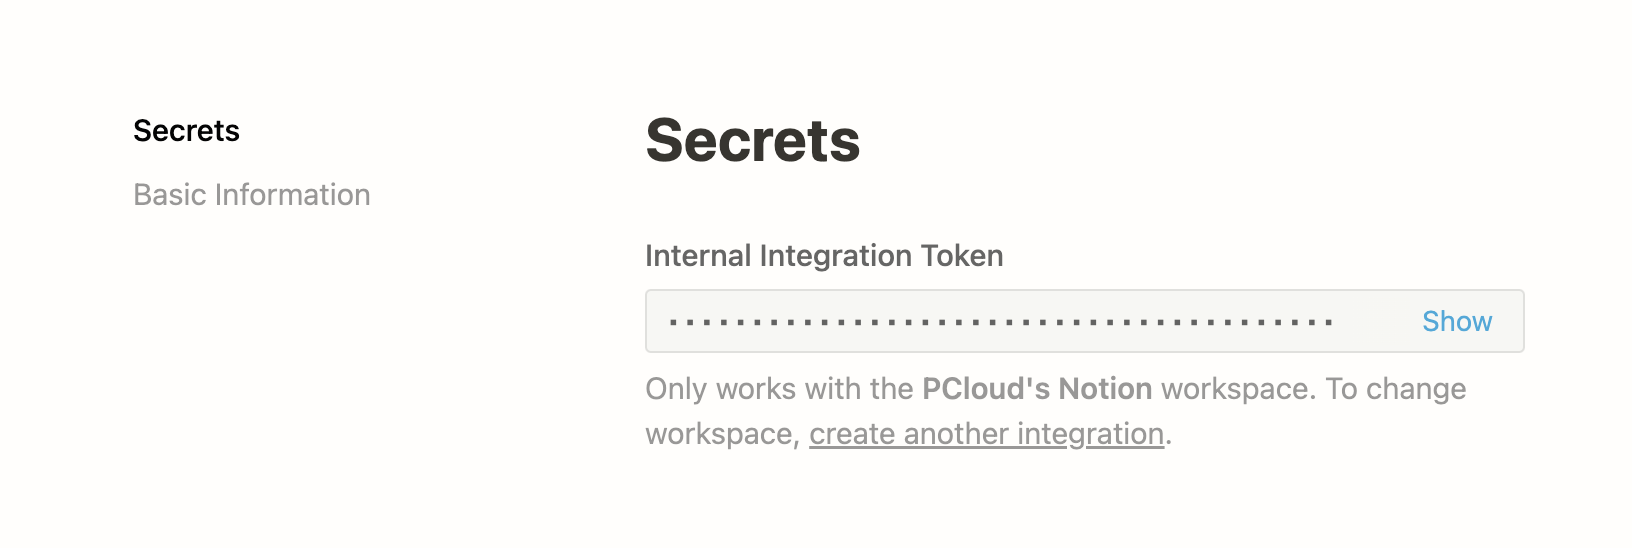
Copy the Internal Integration Token.
Navigate to the GitHub repo you just created, click on Settings -> Secrets -> Actions.
Click the New Repository Secret button on the top right.
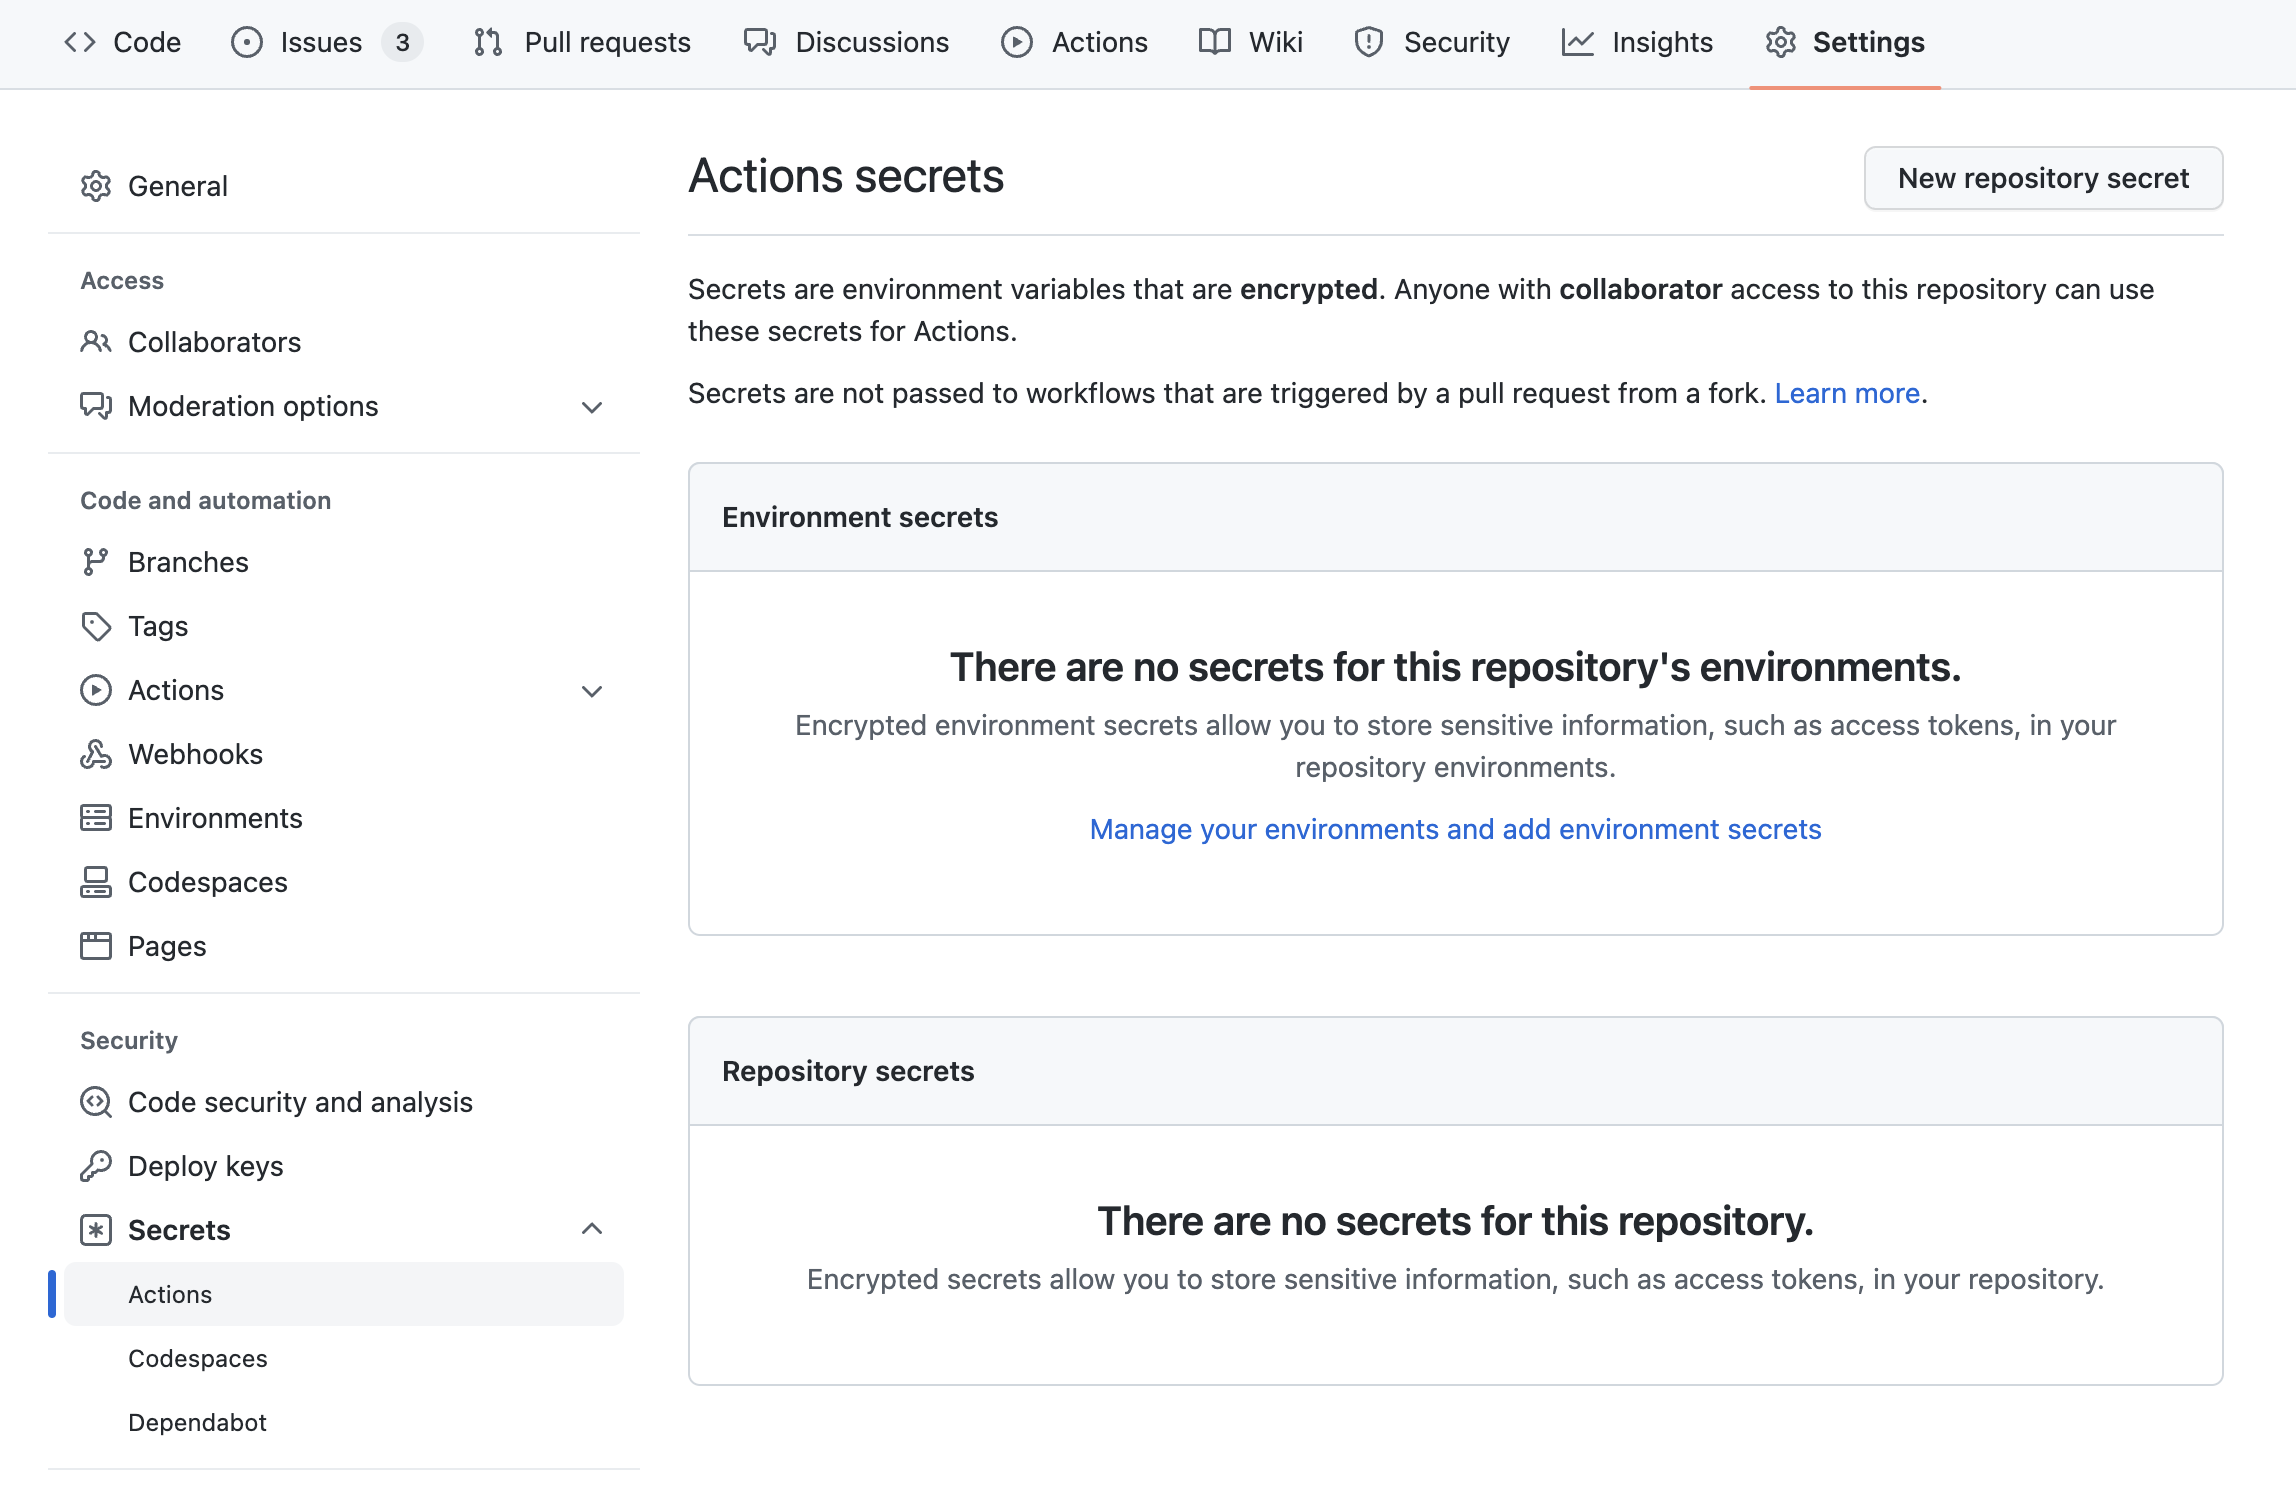
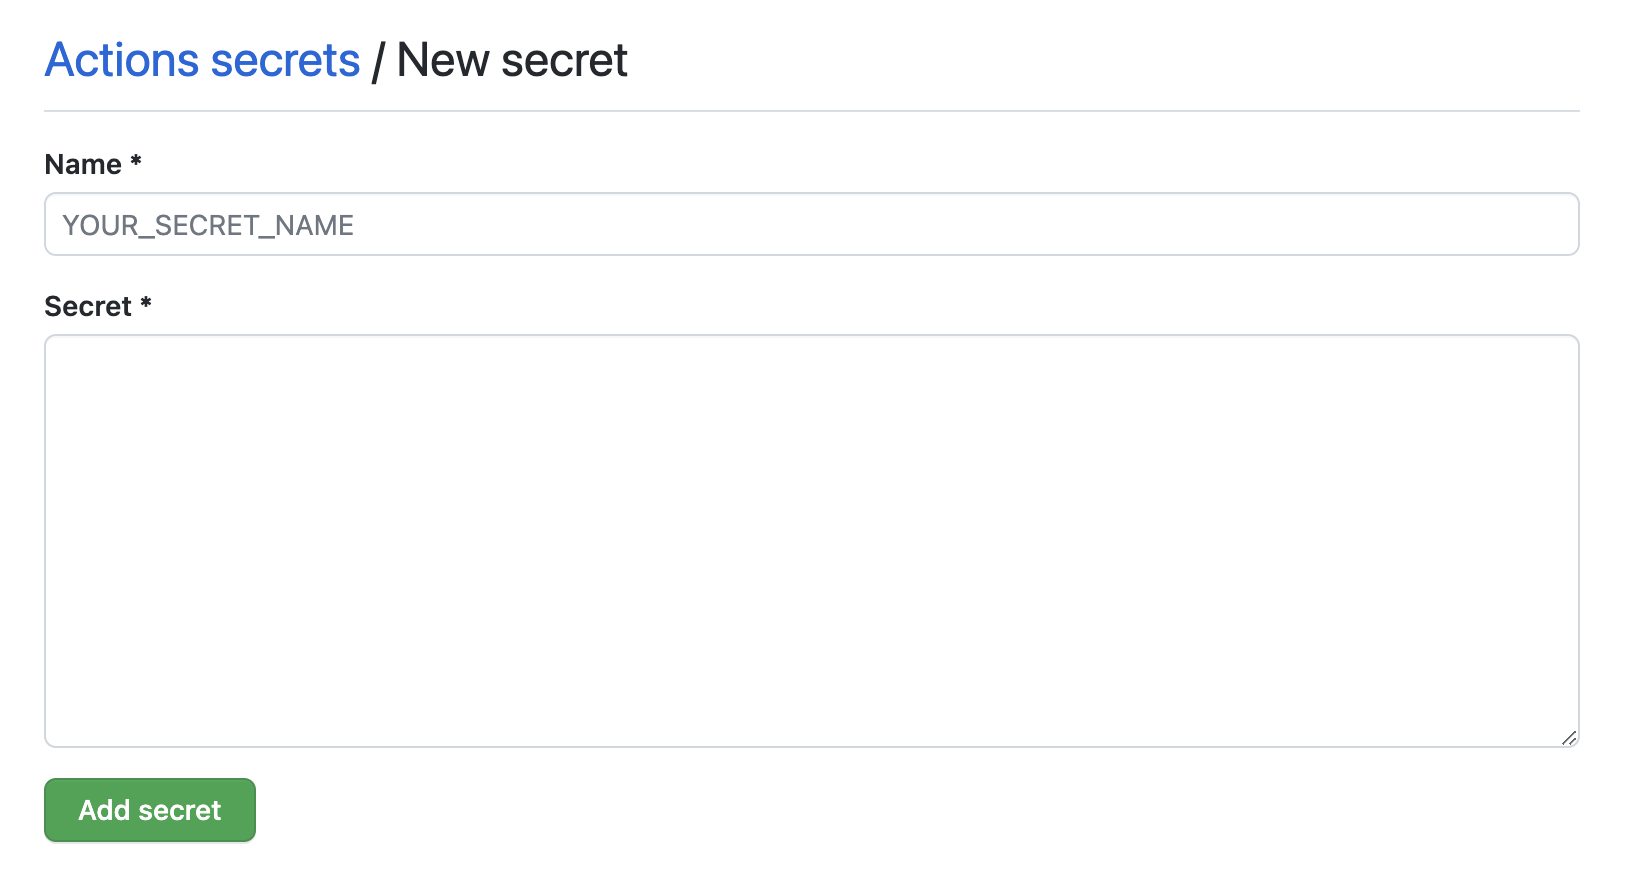
Add a new secret with name NOTION_TOKEN, paste the copied token into the secret field. Click the green Add secret button to save the change.
Duplicate this Notion Template into your own workspace.
Visit the page you just duplicated, click the ellipsis button on the top right and add the integration you just created as a connection.
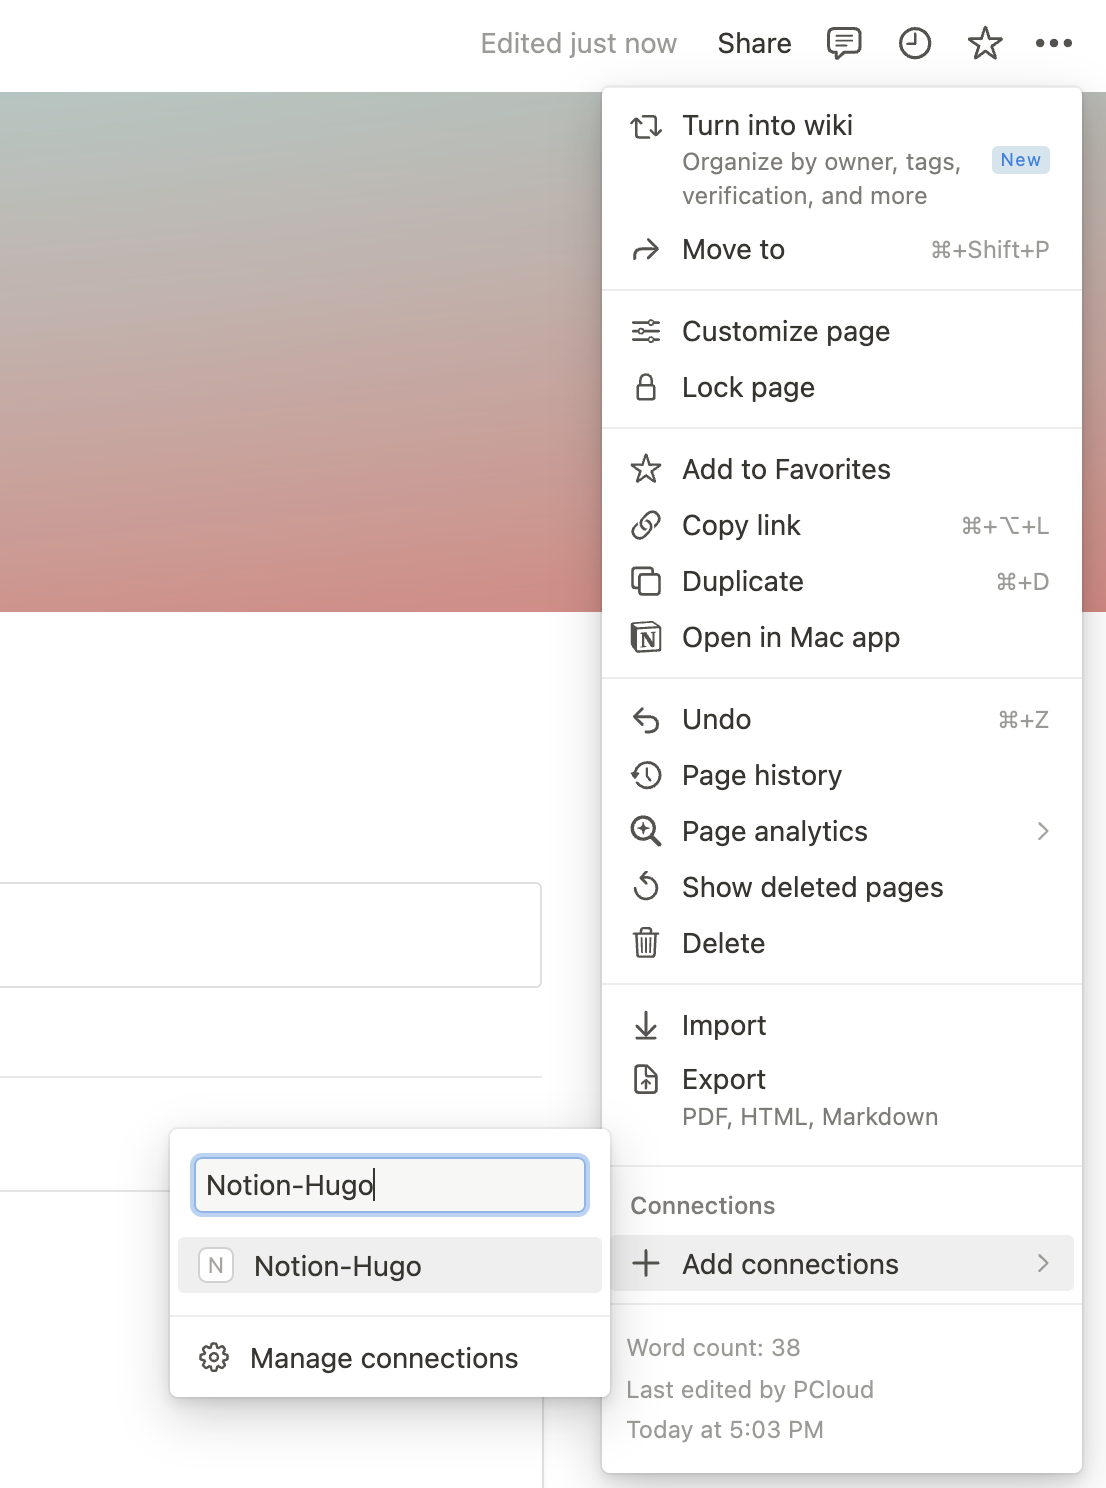
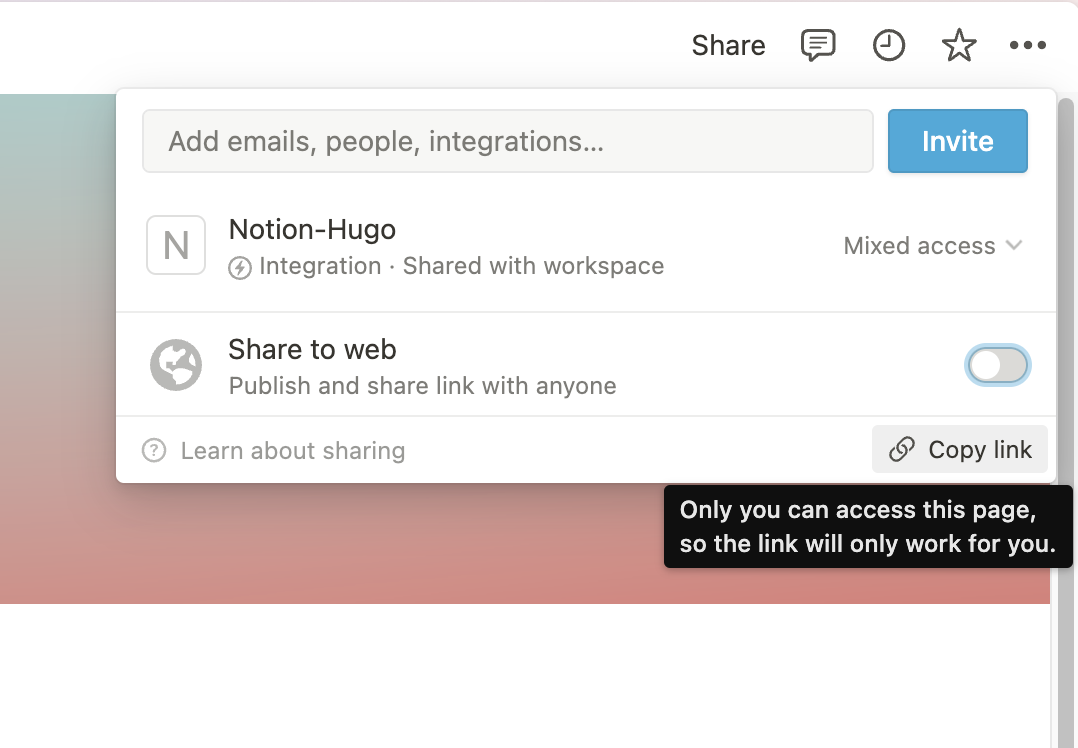
On the page you just shared with the integration, click on the share button again, then click the Copy link button on the bottom right to copy the link to this page.
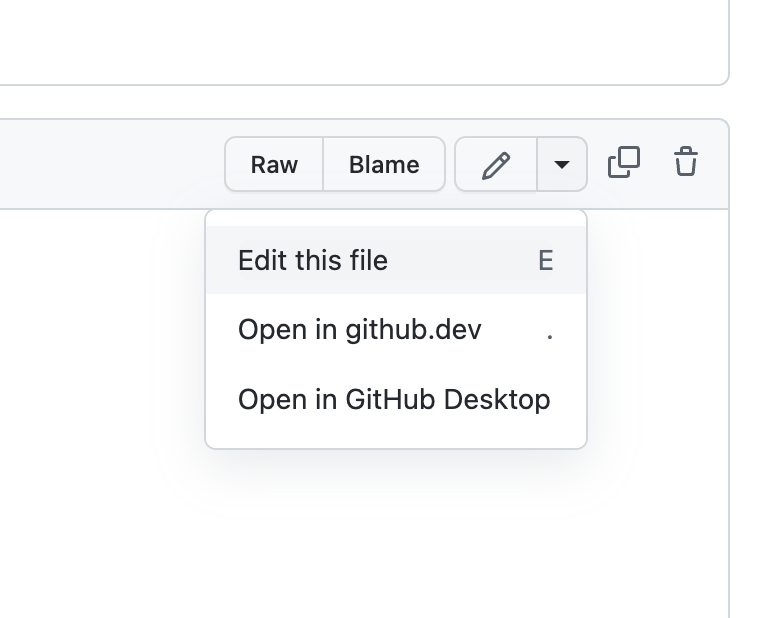
Now navigate back to your GitHub repository, open the notion-hugo.config.ts file, click to edit the file.
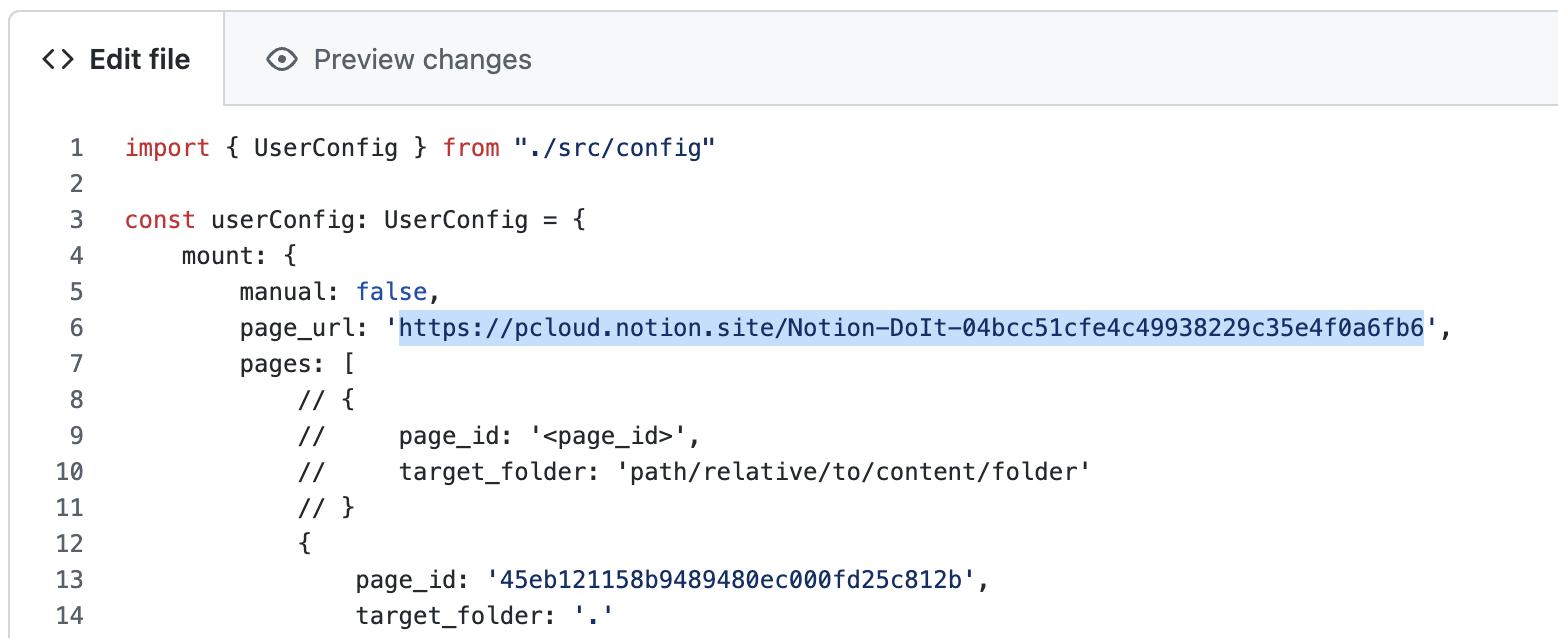
Replace the page_url with the link you just copied.
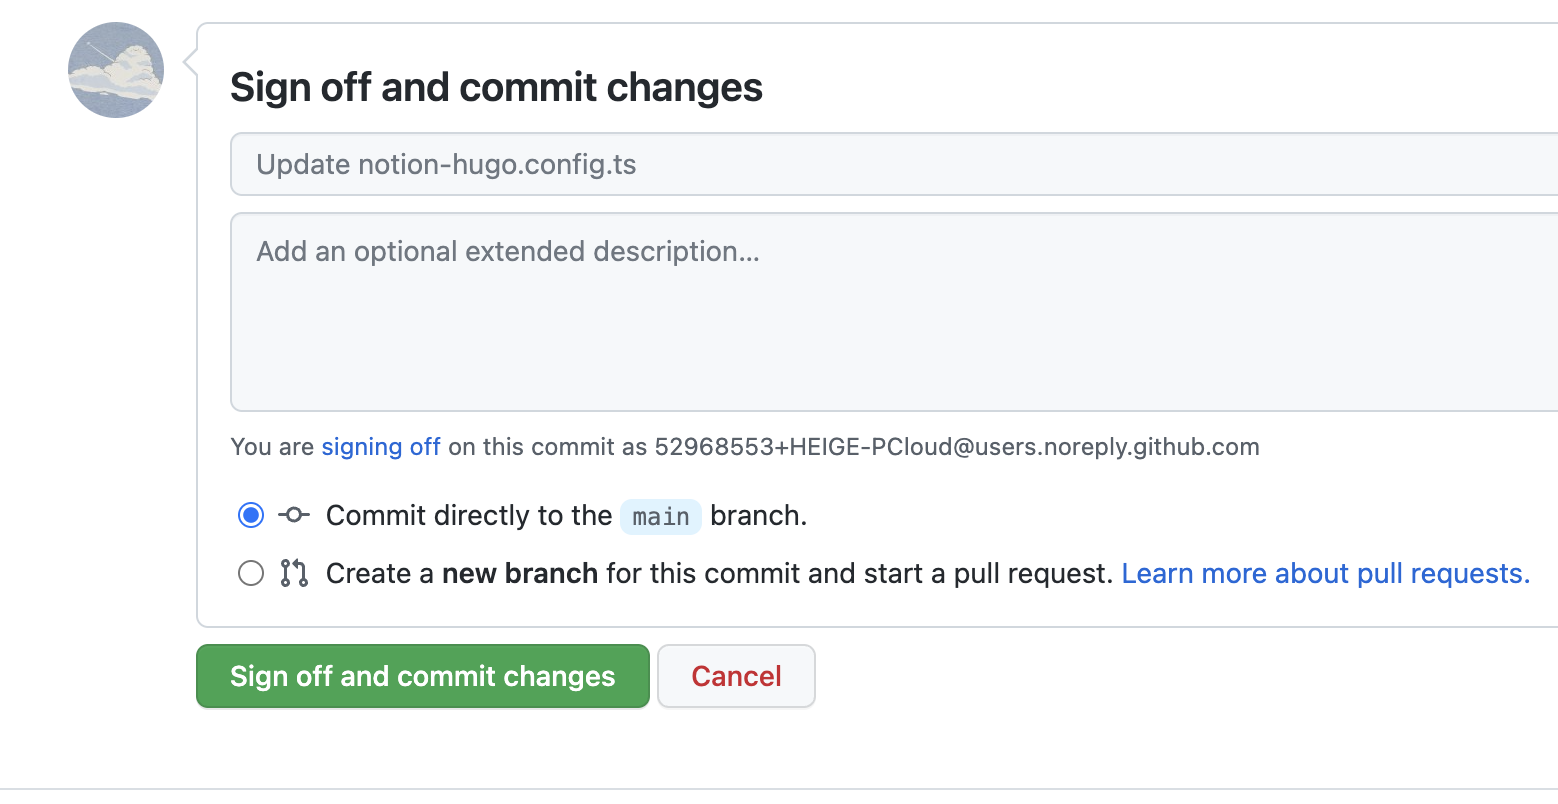
Click the commit changes button at the bottom to save the file.
Navigate to the Cloudflare Pages dashboard, click the Workers & Pages tab on the left, then click the Create button, then select the Pages tab, and click the Connect to Git button. Choose Notion-Hugo from the repository list, then click the Begin Setup button.
Fill in the build settings as follows:
- Build command:
npm install; npm start; hugo - Build output directory:
public - Environment variables:
HUGO_VERSION:0.140.0(fill in the latest version of Hugo here)NODE_VERSION:22.12.0(fill in the latest version of Node.js here)NOTION_TOKEN:secret_token(fill in the token you copied from the Notion integration)
Click the Save and Deploy button to deploy your website.
Now we need to add a KV namespace for the Cloudflare Functions. Navigate to the Storage & Database tab on the left, then click the KV tab, then click the + Create button to create a new namespace. You can name it whatever you like.
Now, navigate to Workers & Pages > your_project > Settings > Bindings, add a new KV Namespace binding, with Variable name set to KV and the KV namespace set to the namespace you just created. Click the Save button to save the changes.
Finally, we need to configure the baseURL. Visit the Deployments tab to check the domain of your website (in this case, it is https://notion-hugo-example.pages.dev).
Navigate back to your GitHub repository, change the base_url in notion-hugo.config.ts to the domain of your website. Also update the baseURL in config/_default/config.toml to this value. Click the commit changes button at the bottom to save the file.
Congratulations! Your website is now live at the domain you just configured.
Pick a Hugo theme you like, and add it to your repository. You can customize the theme to your liking.
Use a custom domain for your website. You can add a custom domain in the Cloudflare Pages dashboard. See the Cloudflare documentation for more information. The baseURL needs to be updated after changing the domain.
Yes. By default Notion-Hugo syncs with your Notion every midnight. Any updated content will be committed to the repository. You can change the schedule in the .github/workflows/cd.yml file.
name: CD
on:
  schedule:
- cron: '0 0 * * *'You can trigger the CD workflow manually by navigating to the Actions tab in your repository, then click the CD workflow, then click the Run workflow button to trigger the workflow.
