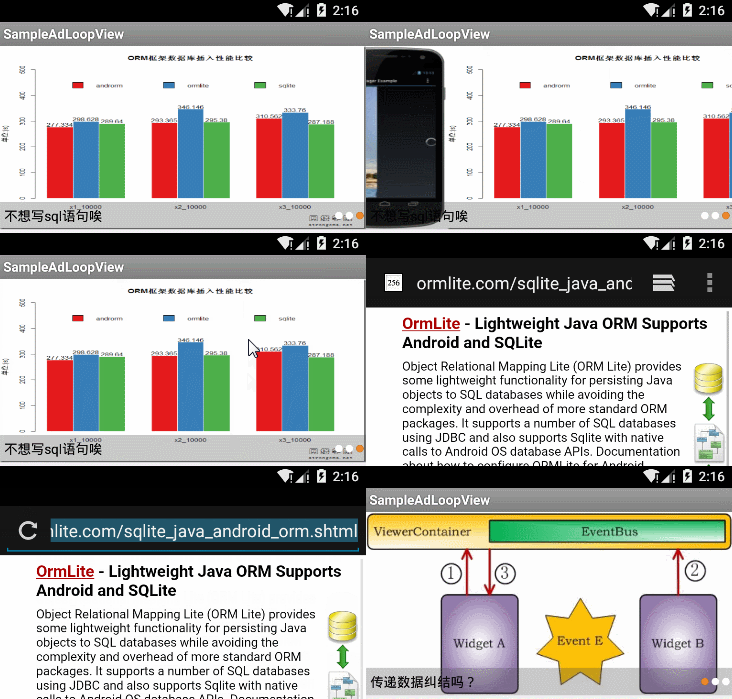
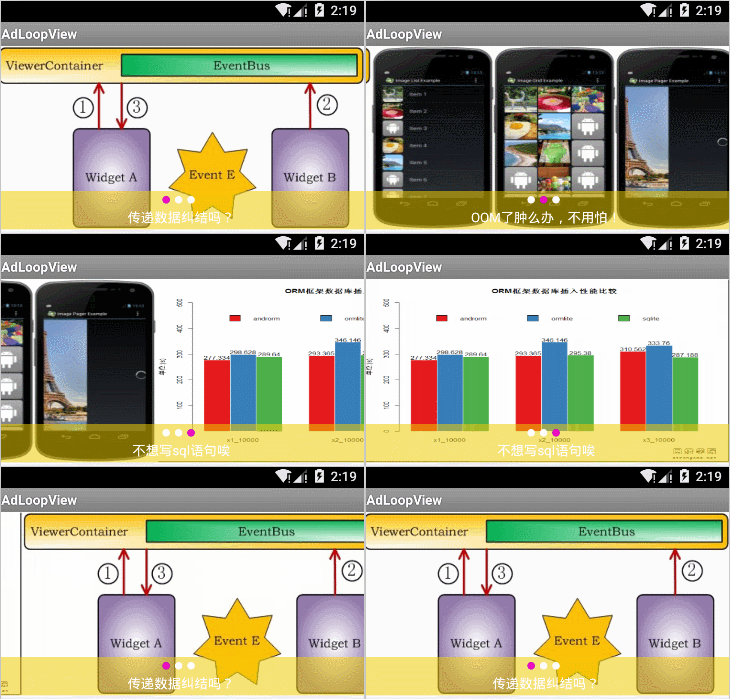
Android LoopView is a powerful widget for unlimited rotation picture, It provides some configuration options and good control the appearance and operational requirements.
If you are building with Gradle, simply add the following line to the dependencies section of your build.gradle file:
compile 'com.kevin:loopview:1.0.6'
To add the LoopView to your application, specify <com.kevin.loopview.AdLoopView in your layout XML.
<com.kevin.loopview.AdLoopView
    android:id="@+id/main_act_adloopview"
    android:layout_width="match_parent"
    android:layout_height="192dp">
</com.kevin.loopview.AdLoopView>
AdLoopView mLoopView = (AdLoopView) this.findViewById(R.id.main_act_adloopview);
String json = LocalFileUtils.getStringFormAsset(this, "loopview_date.json");
// Use JsonTool to parse JSON data to entity
LoopData loopData = JsonTool.toBean(json, LoopData.class);
// set AdLoopView date use entity
mLoopView.refreshData(loopData);
// begin to loop
mLoopView.startAutoLoop();

mLoopView.setOnClickListener(new BaseLoopAdapter.OnItemClickListener() {
        @Override
        public void onItemClick(PagerAdapter parent, View view,
			int position, int realPosition) {
            // get the loop data and the action link
            LoopData loopData = mLoopView.getLoopData();
            String url = loopData.items.get(position).link;

            // Open connection with browser
            Intent intent = new Intent();
            intent.setData(Uri.parse(url));
            intent.setAction(Intent.ACTION_VIEW);
            startActivity(intent);
        }
    });
If you decide to use AdLoopView as a view, you can define it in your xml layout like this:
<com.kevin.loopview.AdLoopView
    android:id="@+id/adloop_act_adloopview"
    android:layout_width="match_parent"
    android:layout_height="192dp"
    kevin:loop_interval="5000"
    kevin:loop_dotMargin="5dp"
    kevin:loop_autoLoop="[true|false]"
    kevin:loop_dotSelector="@drawable/ad_dots_selector"
	kevin:loop_defaultImg="@mipmap/ic_launcher"
	kevin:loop_layoutId="@layout/ad_loopview_layout">
</com.kevin.loopview.AdLoopView>
// Set page switching transition time
mLoopView.setScrollDuration(1000);
// Set time interval
mLoopView.setInterval(3000);
// To initialize the data in a collection
mLoopView.setLoopViewPager(List<Map<String, String>> data);
// Initialized data in JSON data mode
mLoopView.setLoopViewPager(String jsonData);
// Initialized data in entiry mode
mLoopView.setLoopViewPager(LoopData rotateData);
// Update data in a collection mode
mLoopView.refreshData(final List<Map<String, String>> data);
// Update data in entiry mode
mLoopView.refreshData(LoopData loopData);
// Update data in JSON data mode
mLoopView.refreshData(String jsonData);
// Get the running loop date
mLoopView.getLoopData();
// Begin to auto Loop
mLoopView.startAutoLoop();
// Begin to auto Loop delay
mLoopView.startAutoLoop(long delayTimeInMills);
// Stop to auto Loop
mLoopView.stopAutoLoop();
// Set a custom loop layout
mLoopView.setLoopLayout(int layoutResId);
In custom layout you must to use those ids loop_view_pager in ViewPager loop_view_dots in indicate point parent LinearLayout and loop_view_desc in description TextView;
Make sure you at least have loop_view_pager.
Copyright 2015 Kevin zhou

Licensed under the Apache License, Version 2.0 (the "License");
you may not use this file except in compliance with the License.
You may obtain a copy of the License at

   http://www.apache.org/licenses/LICENSE-2.0

Unless required by applicable law or agreed to in writing, software
distributed under the License is distributed on an "AS IS" BASIS,
WITHOUT WARRANTIES OR CONDITIONS OF ANY KIND, either express or implied.
See the License for the specific language governing permissions and
limitations under the License.

