- Python >= 3.7
- PyTorch >= 1.7
- Option: NVIDIA GPU + CUDA
🤗 Installation
Following is the method to install this repo and get it up and working
- Clone this repo on your local machine/cloud machine, anywhere
clone https://github.com/PoyBoi/AynAssg.git
cd AynAssg
- Run a dry-run, it will run through the code and install the dependencies required
python main.py --r
- Download your favourite models from your favourite repository collection, and place them in the
AynAssg/models/diffusedfolder- I use Civit.AI's models as they are community backed and tested
Following are the usable methods as of now (will update in future if needed):
- Convert
.safetensorinto a diffuser model to use with this repo - Generate images using any converted model
- Change the background of an image with assisted inpainting and prompts
- Upscale the image using Real-ESRGAN
- Fix the faces in the image using GFPGAN
Please run this command to make sure you're inside the repo before running any of the commands
cd AynAssg
Here is how to run these methods:
python main.py \
--c \
--l <Location of model>
Model is stored in
AynAssg\models\diffusedwithin the folder of the same name as the original model
python main.py \
--g \
--l <Location of model> \
--p '<Prompt, separated by commas>' \
--n '<Negative Prompt>' \
-batch-size <int> -steps <int> -size <w h> \
-seed <int> -cfg <int> -clip-skip <int>
Images are stored in
AynAssg\outputswith prefixoutput_gen
python main.py \
--b \
--l <Location of model> \
--p '<Prompt>' \
--n '<Negative Prompt>' \
-f '<Location of image>' \
-steps <int> -seed <int> -cfg <int> -clip-skip <int>
Images are stored in
AynAssg\outputswith prefixoutput_bg
python main.py \
--u <Upscaling's Scale> \
-f '<Location of image>'
- Restored images are stored in
AynAssg\results\restored_imgs- Comparisions, cropped faces and restored faces are stores in their respective folders inside
AynAssg\results
- Alter the sampling steps as per the sampler that you want to use, a choice will be given in the Terminal
- When prompted, learn about the abbreviations if needed
- Feeling stuck ? Run this to find out about the methods you can use
python main.py -h
- A handy copy of the console
options:
  -h, --help                    show this help message and exit
  -convert, --c, -C             Check for if you want to convert a .safetensor model into a diffusor model and store it
  -generate, --g, -G            Sets mode to generate
  -background, --b, -B          Generates the background for an image
  -upscale U, --u U, -U U       Upscales the image by scale of <x>
  -setup, --r, -R               Does a dry run through the code, installing dependancies.
  -file F, --f F, -f F          Pass the location for the image to be used for inpainting
  -loc L, --l L, -L L           Set the location for the model
  -prompt P, --p P, -P P        Stores the prompt
  -neg-prompt N, --n N, -N N    Stores the negative prompt
  -seed S, --s S, -S S          Seed for generating the image
  -cfg CFG                      How imaginative the AI is, from a scale of 1 to
  -clip-skip CLIP_SKIP          Accounts for the CLIP skip setting
  -steps STEPS                  The amount of inference steps the models takes
  -batch-size BATCH_SIZE        Controls the number of images generated at once
  -size SIZE [SIZE ...]         Input the size of the image in W H
  -lora LORA                    Location of lora to be applied, if any
- Please have cURL installed
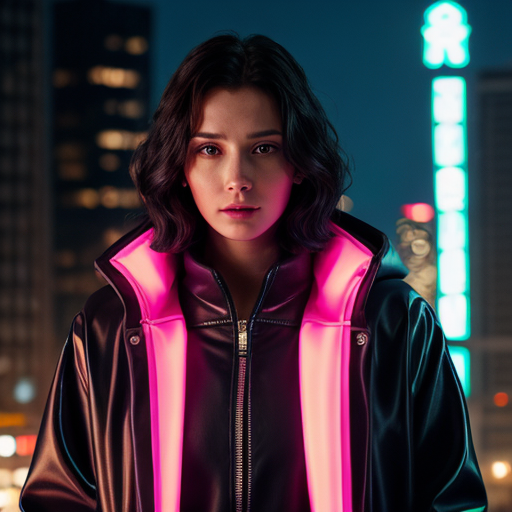
Prompt: neon lights, female, cyberpunk, (wearing long coat, big collars), dark, cinematic, 8k uhd, realistic, looking at camera, portait
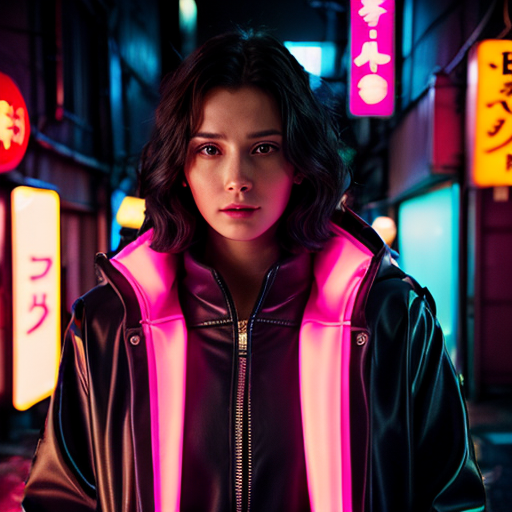
Prompt: (blurred, portait), neon, cyberpunk, background, realisitc, photshoot, alleyway, alley, japanese, 8k uhd
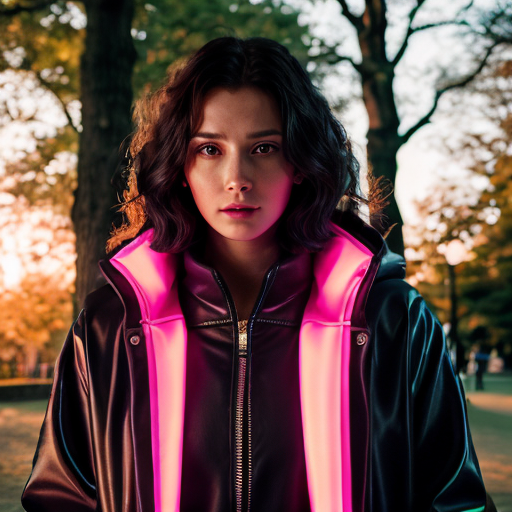
Prompt: (blurred, portait), park, open air, trees, cyberpunk, sunset, beautiful, background, realisitc, photshoot, 8k uhd
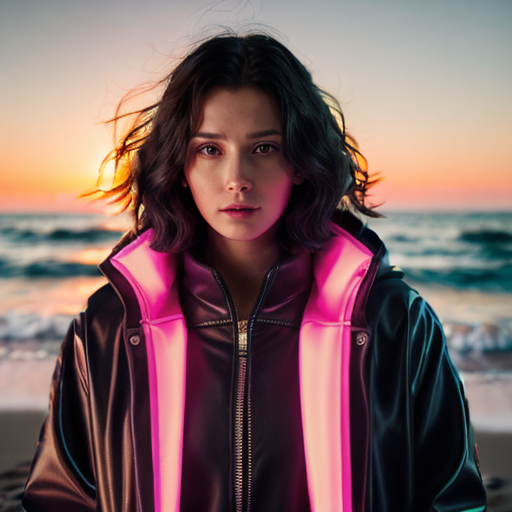
Prompt: (blurred, portait), realisitc background of a beach shore on a sunset with waves and the ocean, photshoot, 8k uhd
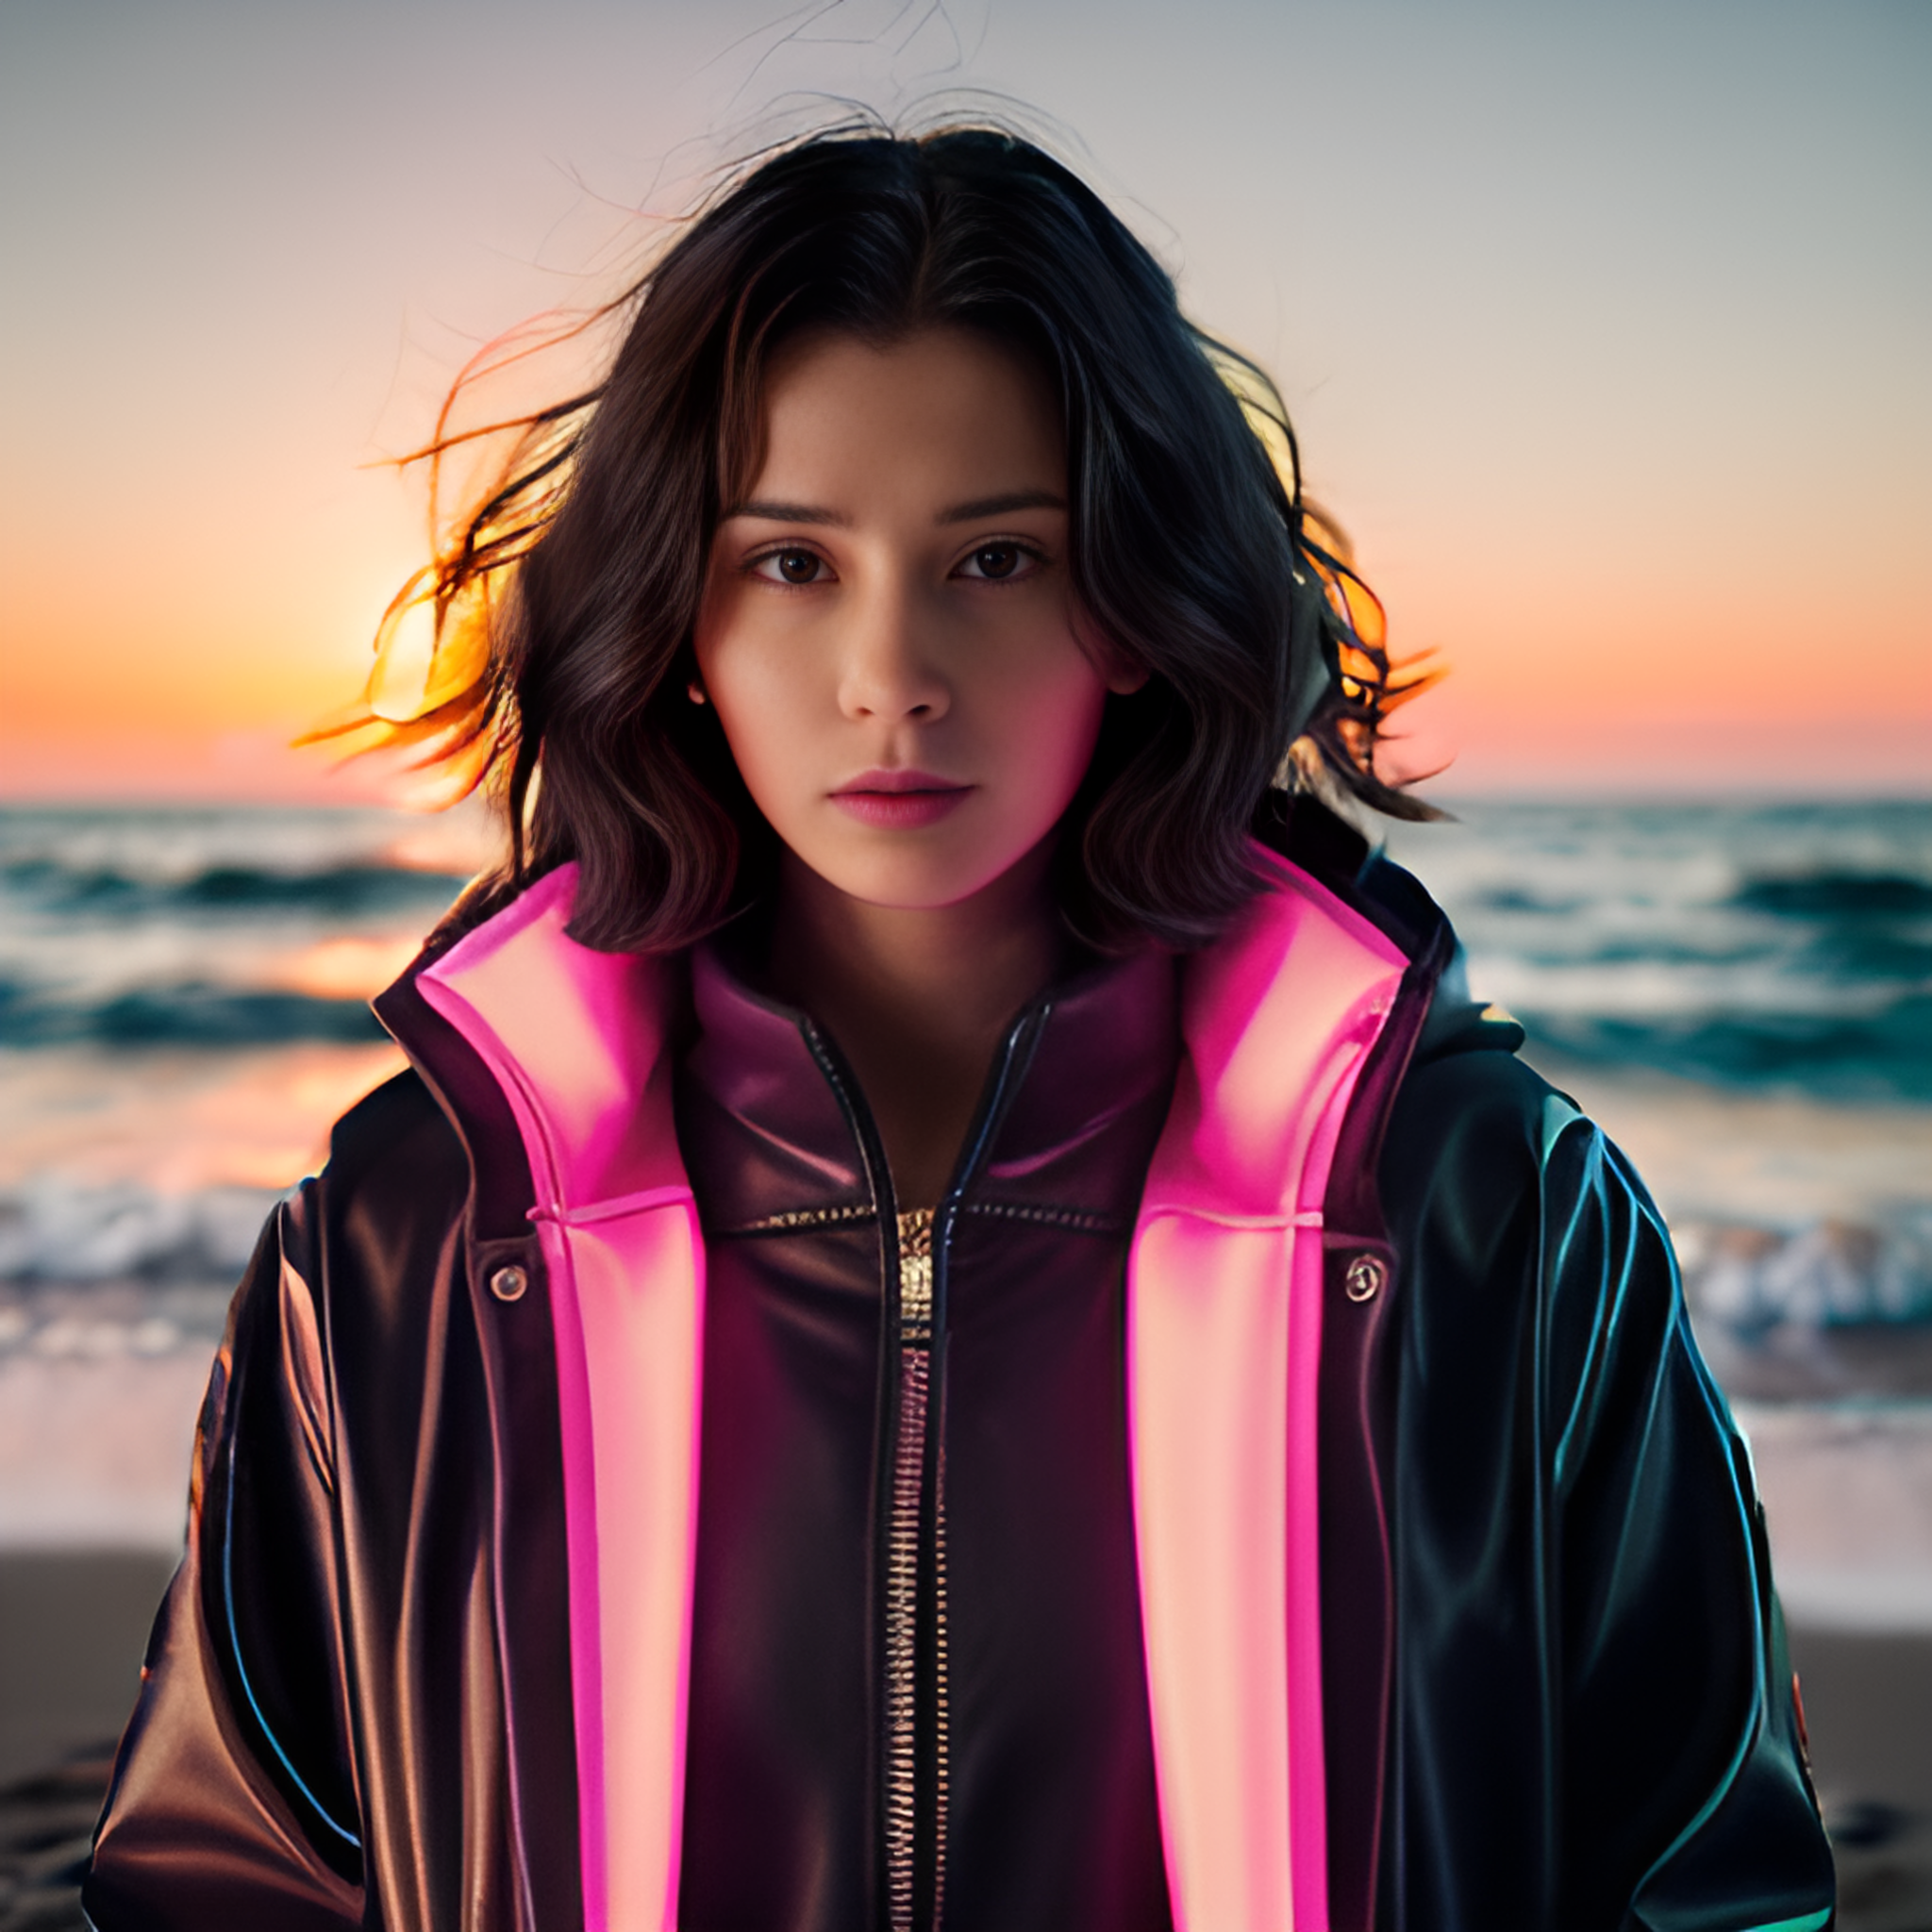
Upscaled from 512x512 to 2048x2048
This is the path to follow:
- [✅] Deploy Stable Diffusion into python, use this link
- [✅] Convert civit.ai model required into diffuser model, using this, colab link pvt here
- for the same, try making a "mix" that can work with the problem statement given, using the "voldemort mix thing from 4chan", the "blends"
- test the model, and see what iteration count works the best, read the description of each model correctly for the usage
- Now apply the rest of the things:
- Hypernetworks / ControlNet / Lora-Lycrosis / assign VAE (have to edit the pipeline for this) / CLIP skip
- [✅] image upscaling / hi-res fix / assign height-width / face restoration
- [✅] sampling steps (check model for best usage) / sampling method / cfg scale (maybe) / batch count
- [✅] positive prompt / negative prompt / carried over prompt from what the model author tells / cfg / seed
- [✅] save location / show folder / show seed / save prompt with image
- [✅] Make it so that the image is generated in 512x512
- [✅] make the model such that it has good realism, good geography, and good human relevance carry-over
- copy the posture from the image
- either use a lower CFG, or add a controlNet that extracts the pose from the image
- [✅] use inpainting via segmentation of Unet
- [✅] upscale the image from 512^2 to 2048^2
- [✅] restore the faces if any
- [✅] Enhance the image using some method
To see the path followed, refer
AynAssg/path.md
- GFPGAN
@InProceedings{wang2021gfpgan,
    author = {Xintao Wang and Yu Li and Honglun Zhang and Ying Shan},
    title = {Towards Real-World Blind Face Restoration with Generative Facial Prior},
    booktitle={The IEEE Conference on Computer Vision and Pattern Recognition (CVPR)},
    year = {2021}
}
- Real-ESRGAN
    author    = {Xintao Wang and Liangbin Xie and Chao Dong and Ying Shan},
    title     = {Real-ESRGAN: Training Real-World Blind Super-Resolution with Pure Synthetic Data},
    booktitle = {International Conference on Computer Vision Workshops (ICCVW)},
    date      = {2021}
}
- Basic-SR
  author =       {Xintao Wang and Liangbin Xie and Ke Yu and Kelvin C.K. Chan and Chen Change Loy and Chao Dong},
  title =        {{BasicSR}: Open Source Image and Video Restoration Toolbox},
  howpublished = {\url{https://github.com/XPixelGroup/BasicSR}},
  year =         {2022}
}
- FaceXLib