a napari plugin for anatomical segmentation of general cellular images
This napari plugin was generated with Cookiecutter using with @napari's cookiecutter-napari-plugin template.
The plugin code was written by Carsen Stringer, and the cellpose code was written by Carsen Stringer and Marius Pachitariu. To learn about Cellpose, read the paper or watch this talk.
For support with the plugin, please open an issue. For support with cellpose, please open an issue on the cellpose repo.
If you use this plugin please cite the paper: ::
  @article{stringer2021cellpose,
  title={Cellpose: a generalist algorithm for cellular segmentation},
  author={Stringer, Carsen and Wang, Tim and Michaelos, Michalis and Pachitariu, Marius},
  journal={Nature Methods},
  volume={18},
  number={1},
  pages={100--106},
  year={2021},
  publisher={Nature Publishing Group}
  }
Install an Anaconda distribution of Python -- Choose Python 3 and your operating system. Note you might need to use an anaconda prompt if you did not add anaconda to the path.
Install napari with pip: pip install napari[all]. Then install cellpose-napari via [pip]:
pip install cellpose-napari
Or install the plugin inside napari in the plugin window.
If install fails in your base environment, create a new environment:
- Download the
environment.ymlfile from the repository. You can do this by cloning the repository, or copy-pasting the text from the file into a text document on your local computer. - Open an anaconda prompt / command prompt with
condafor python 3 in the path - Change directories to where the
environment.ymlis and runconda env create -f environment.yml - To activate this new environment, run
conda activate cellpose-napari - You should see
(cellpose-napari)on the left side of the terminal line.
If you have issues with cellpose installation, see the cellpose docs for more details, and then if the suggestions fail, open an issue.
You can upgrade the plugin with
pip install cellpose-napari --upgrade
and you can upgrade cellpose with
pip install cellpose --upgrade
If you plan on running many images, you may want to install a GPU version of torch (if it isn't already installed).
Before installing the GPU version, remove the CPU version:
pip uninstall torch
Follow the instructions here to determine what version to install. The Anaconda install is recommended along with CUDA version 10.2. For instance this command will install the 10.2 version on Linux and Windows (note the torchvision and torchaudio commands are removed because cellpose doesn't require them):
conda install pytorch cudatoolkit=10.2 -c pytorch
When upgrading GPU Cellpose in the future, you will want to ignore dependencies (to ensure that the pip version of torch does not install):
pip install --no-deps cellpose --upgrade
Follow steps from above to install the dependencies. In the github repository, run pip install -e . and the github version will be installed. If you want to go back to the pip version of cellpose-napari, then say pip install cellpose-napari.
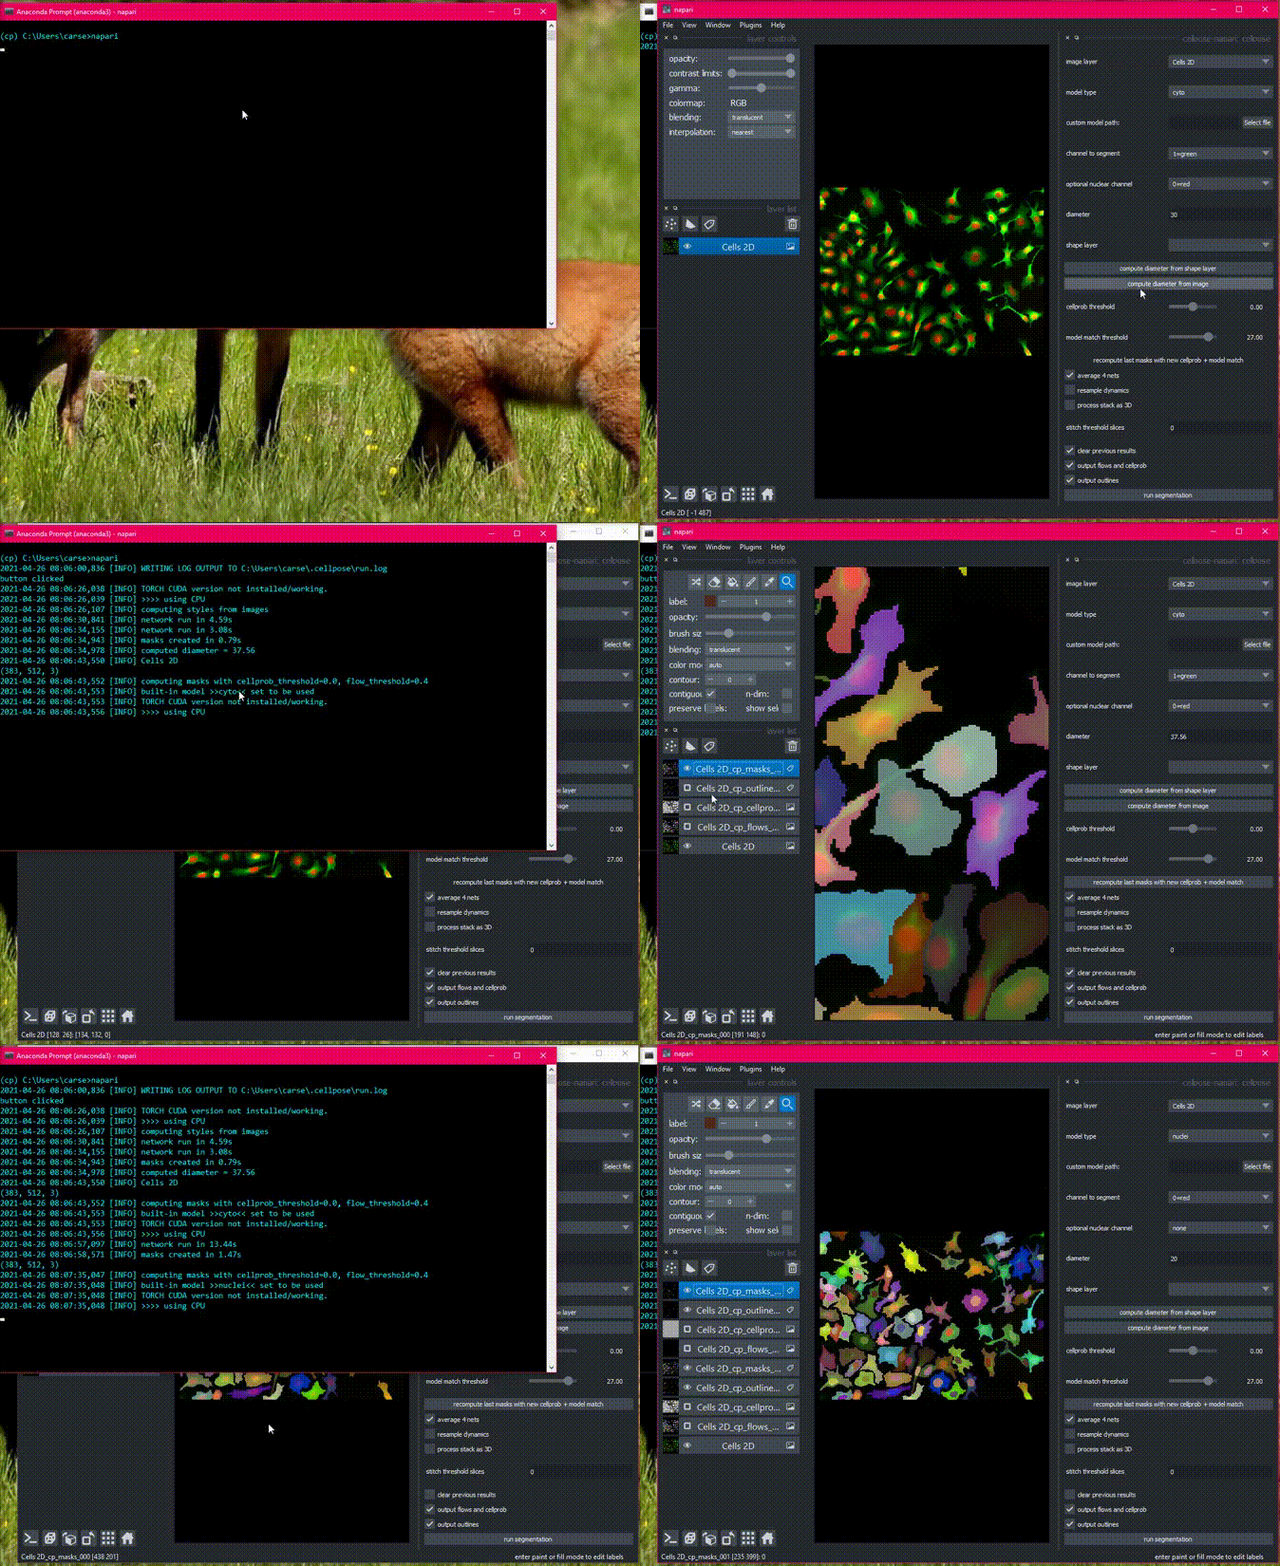
Open napari with the cellpose-napari dock widget open
napari -w cellpose-napari
There is sample data in the File menu, or get started with your own images!
Detailed usage documentation.
Contributions are very welcome. Tests are run with pytest.
Distributed under the terms of the BSD-3 license, "cellpose-napari" is free and open source software.
cellpose-napari relies on the following excellent packages (which are automatically installed with conda/pip if missing):
cellpose relies on the following excellent packages (which are automatically installed with conda/pip if missing):


