Mobile Screenshots
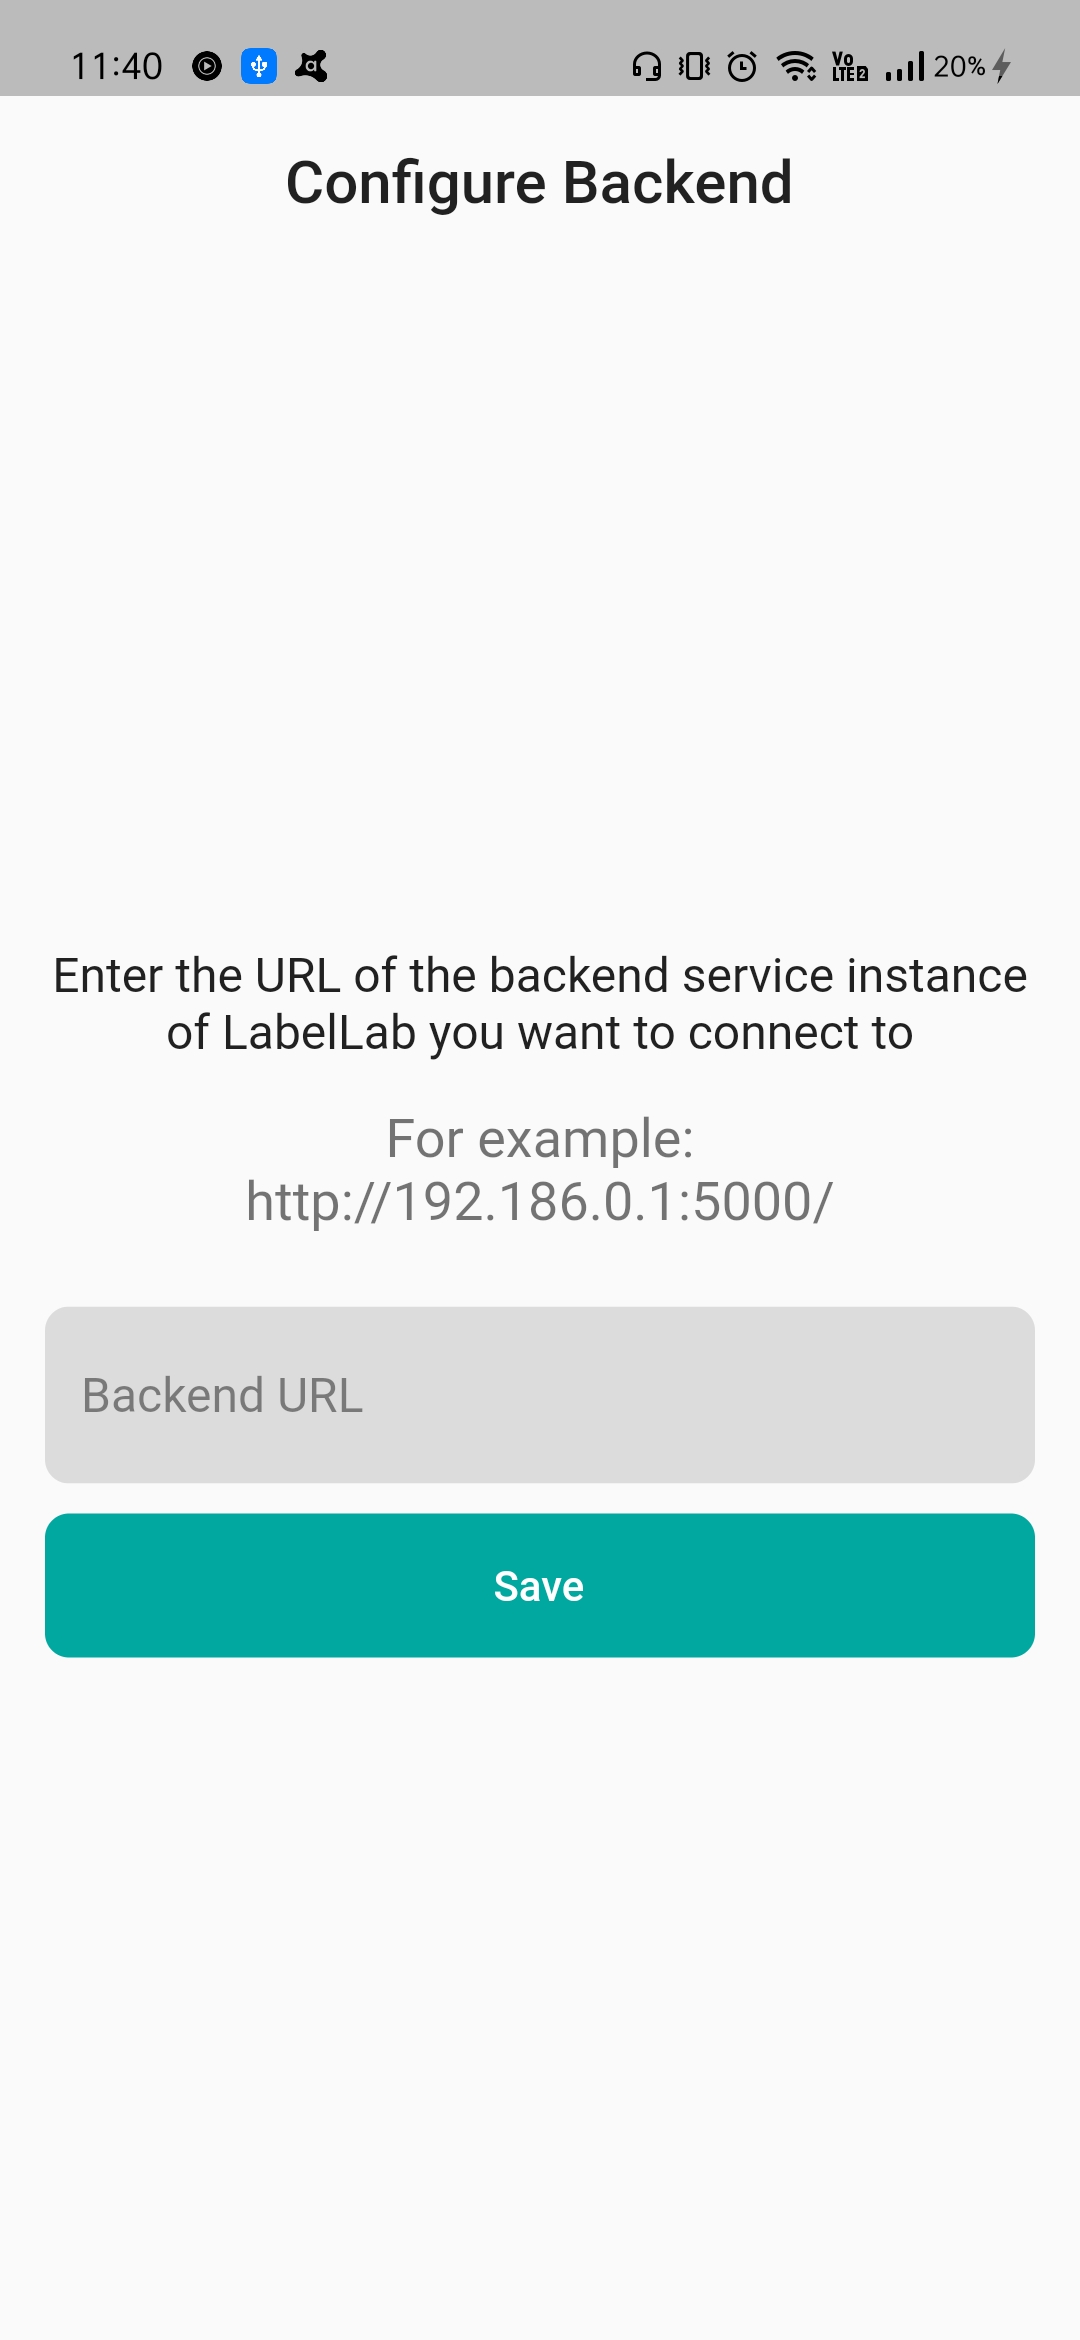
- When the mobile application is run for the first time on a device, you have to provide the URL of the backend instance that it should connect to.
- By default, the Flask backend runs on
port 5000on the system. To connect to it through a mobile device on thesame network, you have to find your IP Address to build the URL - Let's say if the user's IP Address is
154.123.0.1, then the URL would behttp://154.123.0.1:5000/
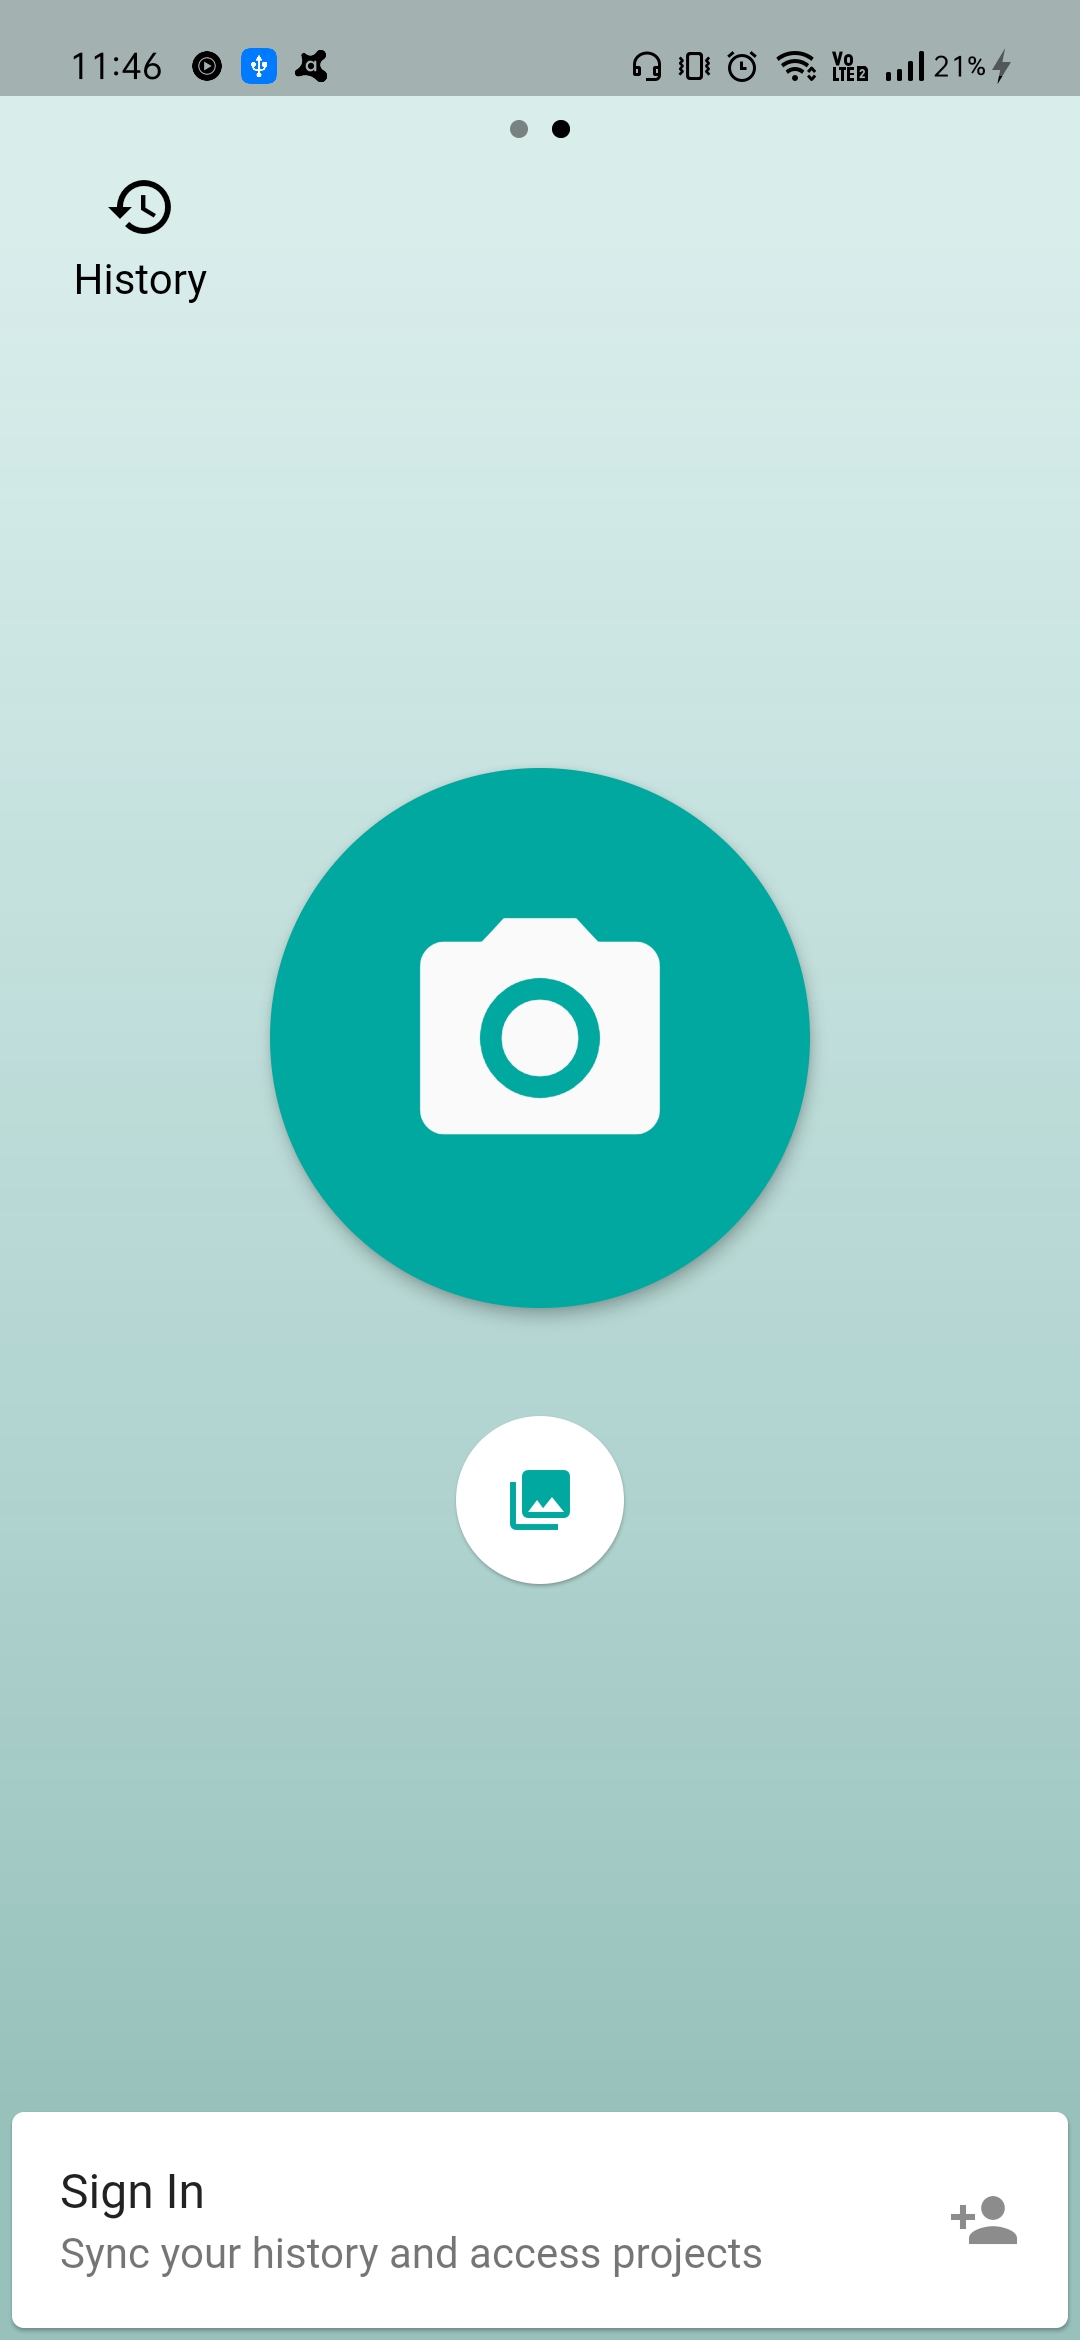
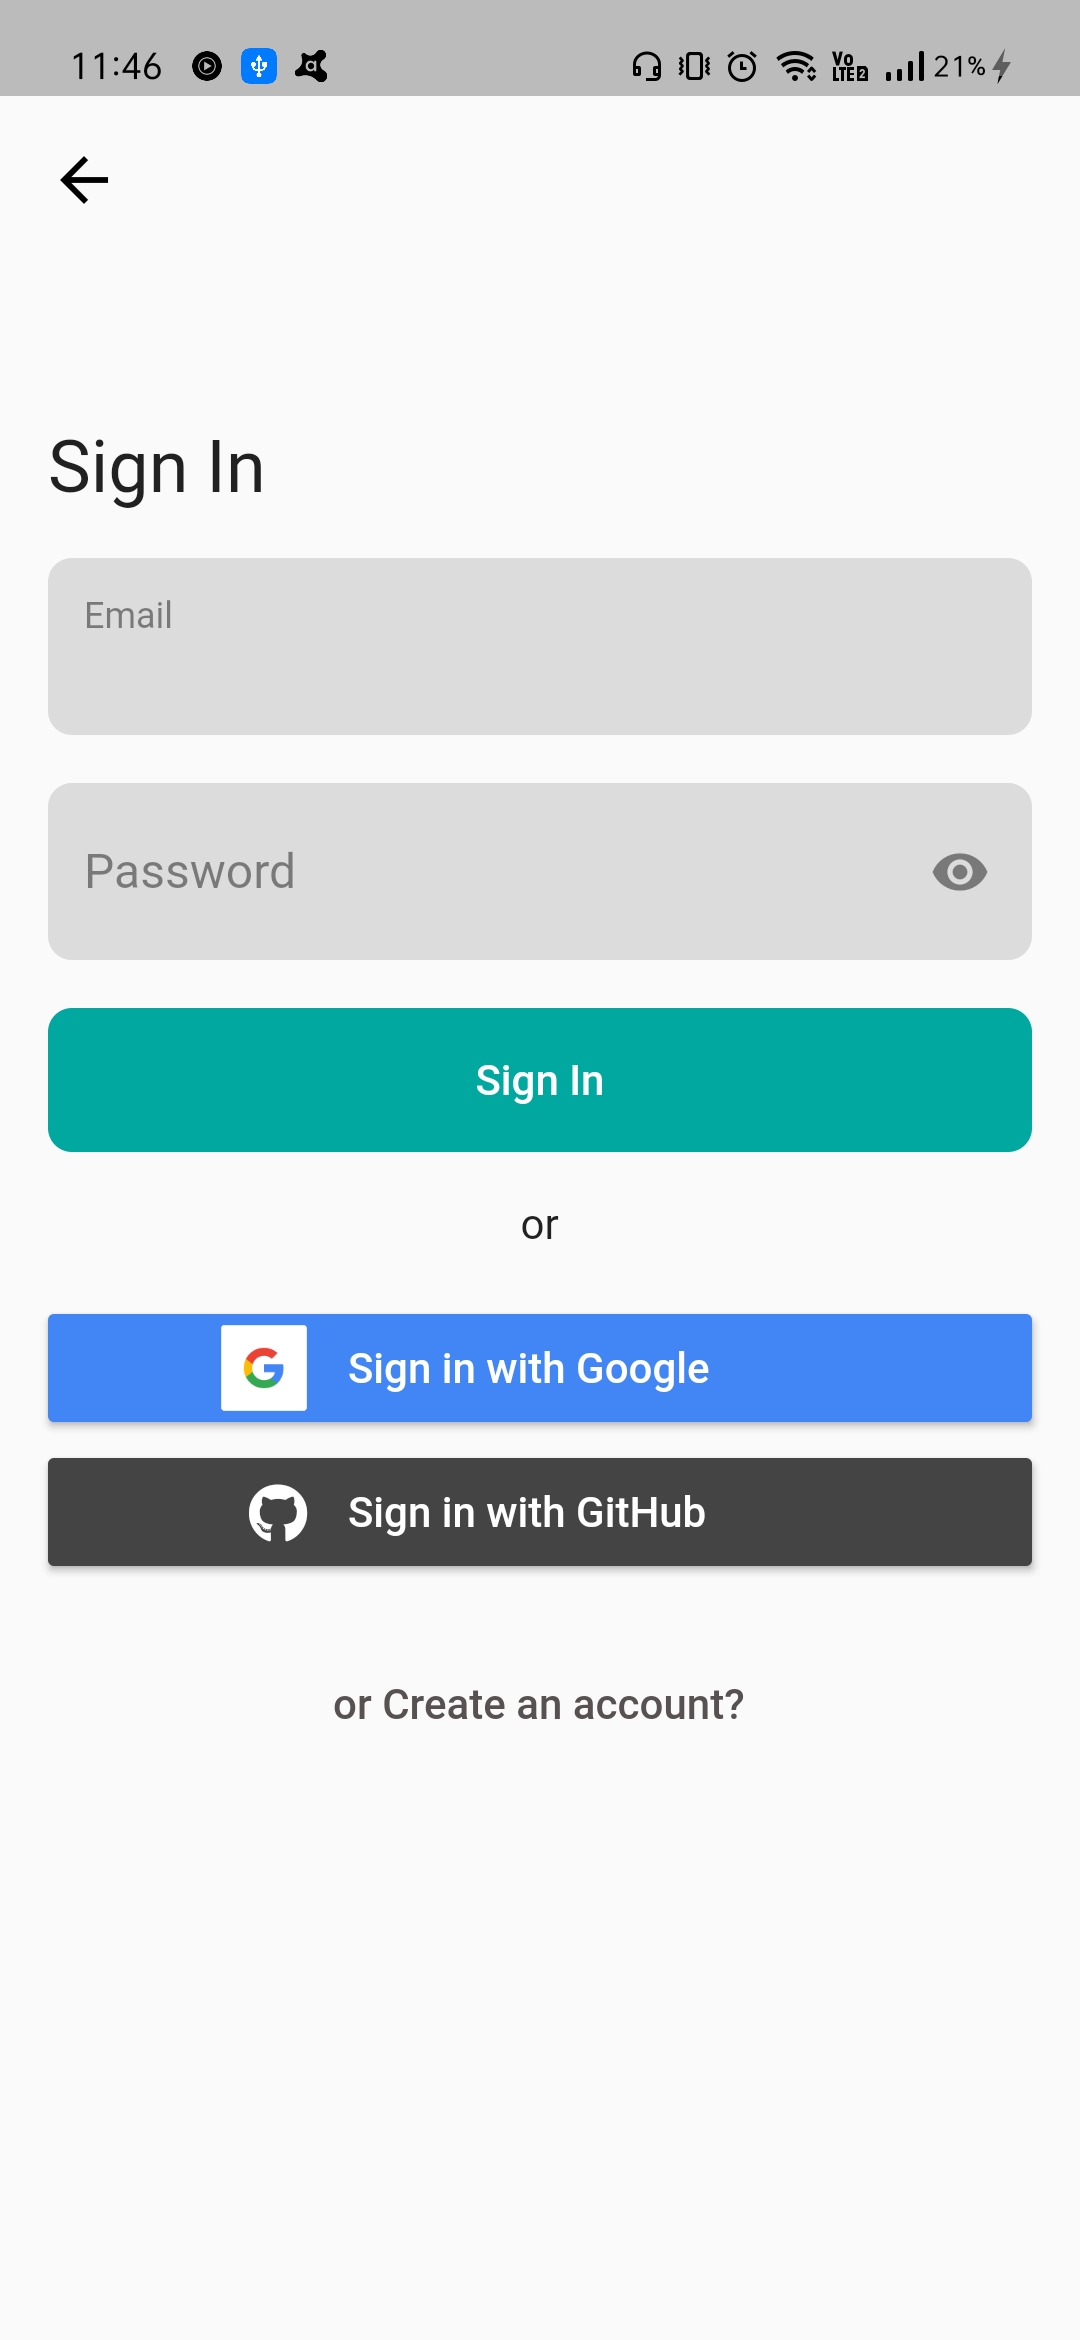
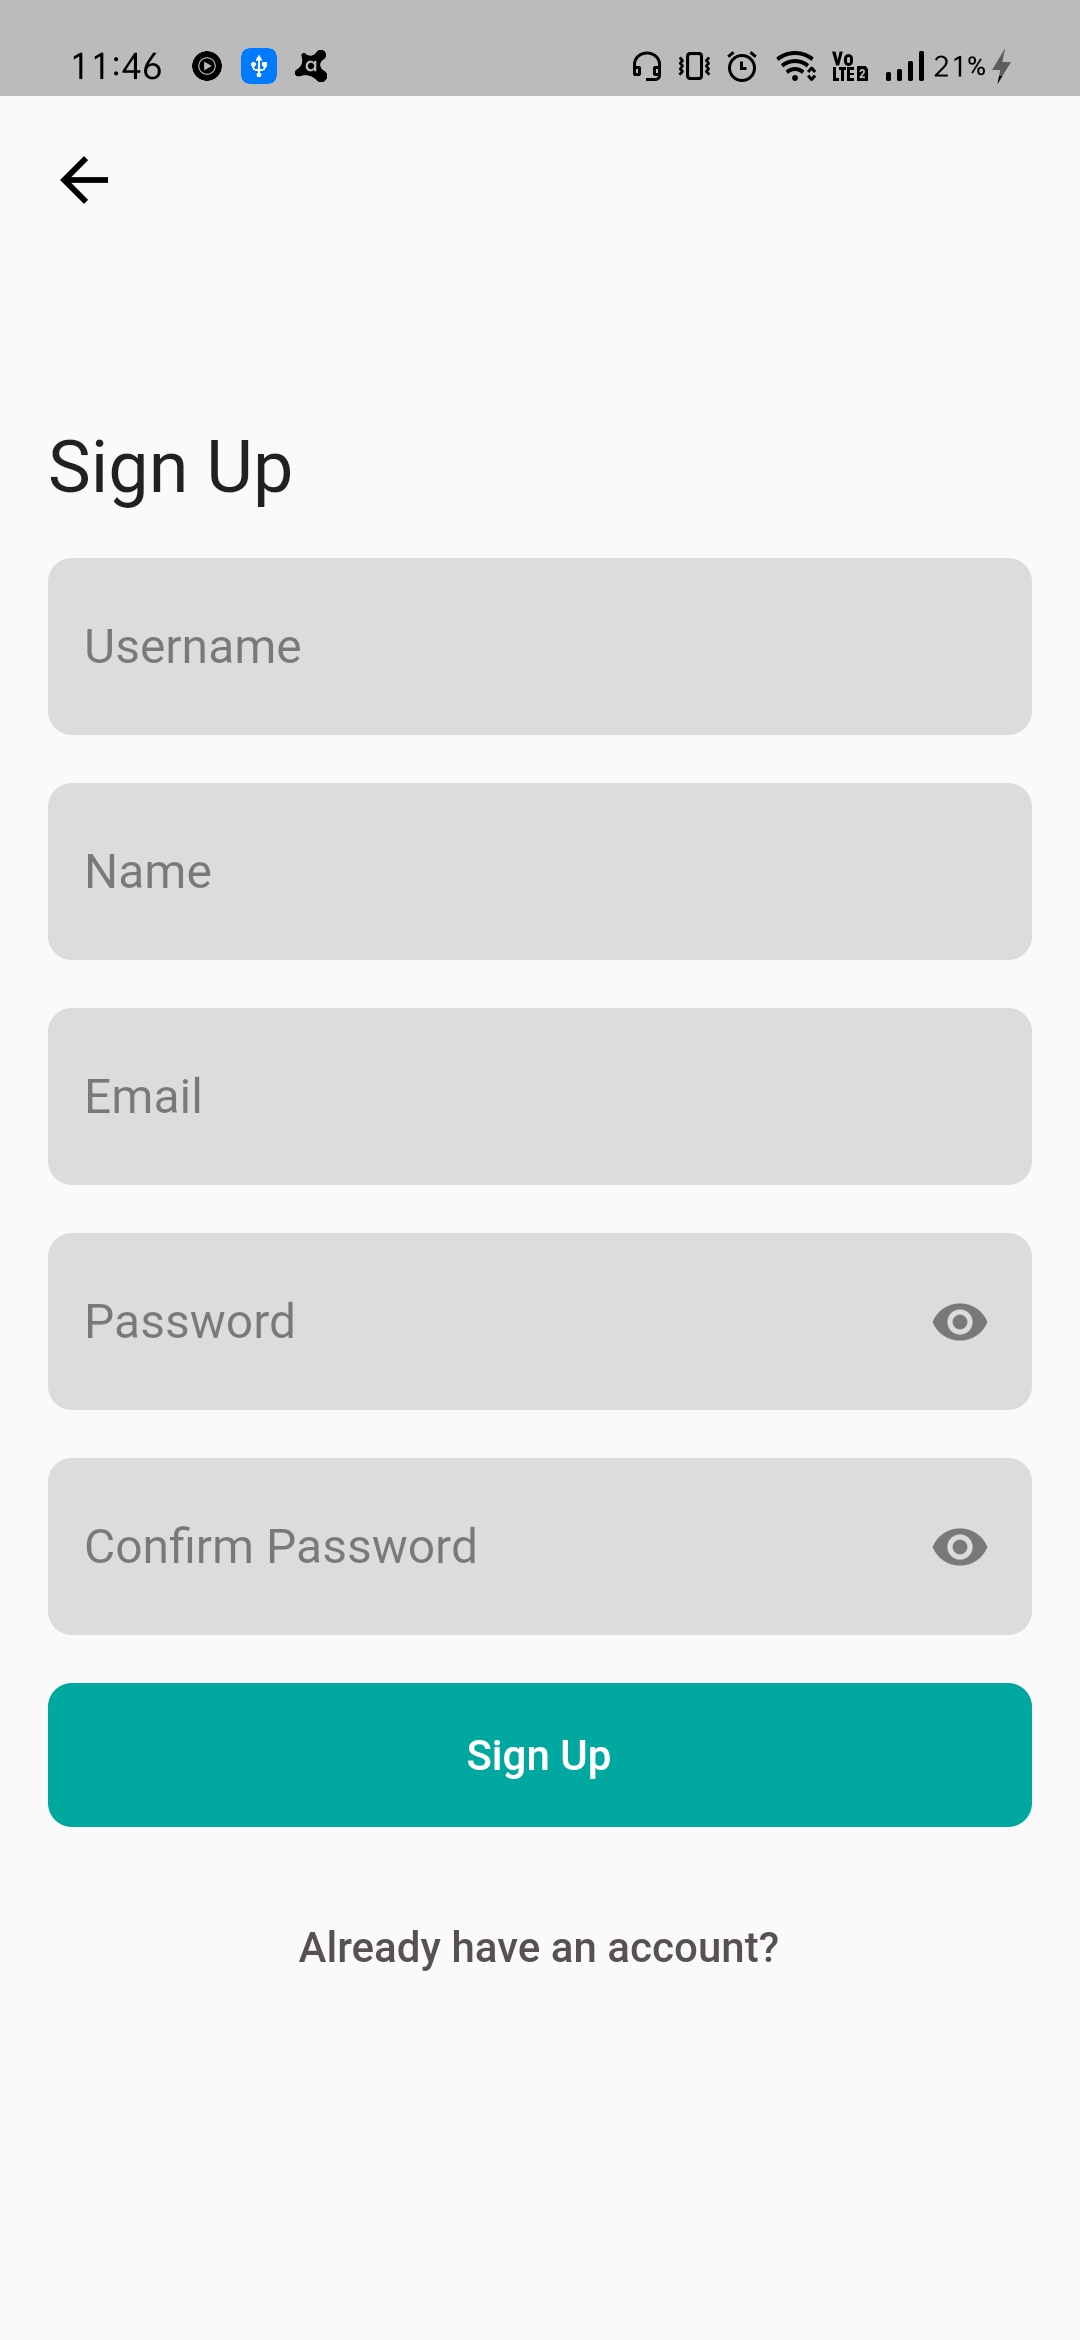
- Setting up the backend URL redirects you to the Home Screen where you can then either log in to an existing account or create a new one
- Authentication includes options such as email-password, Google and GitHub
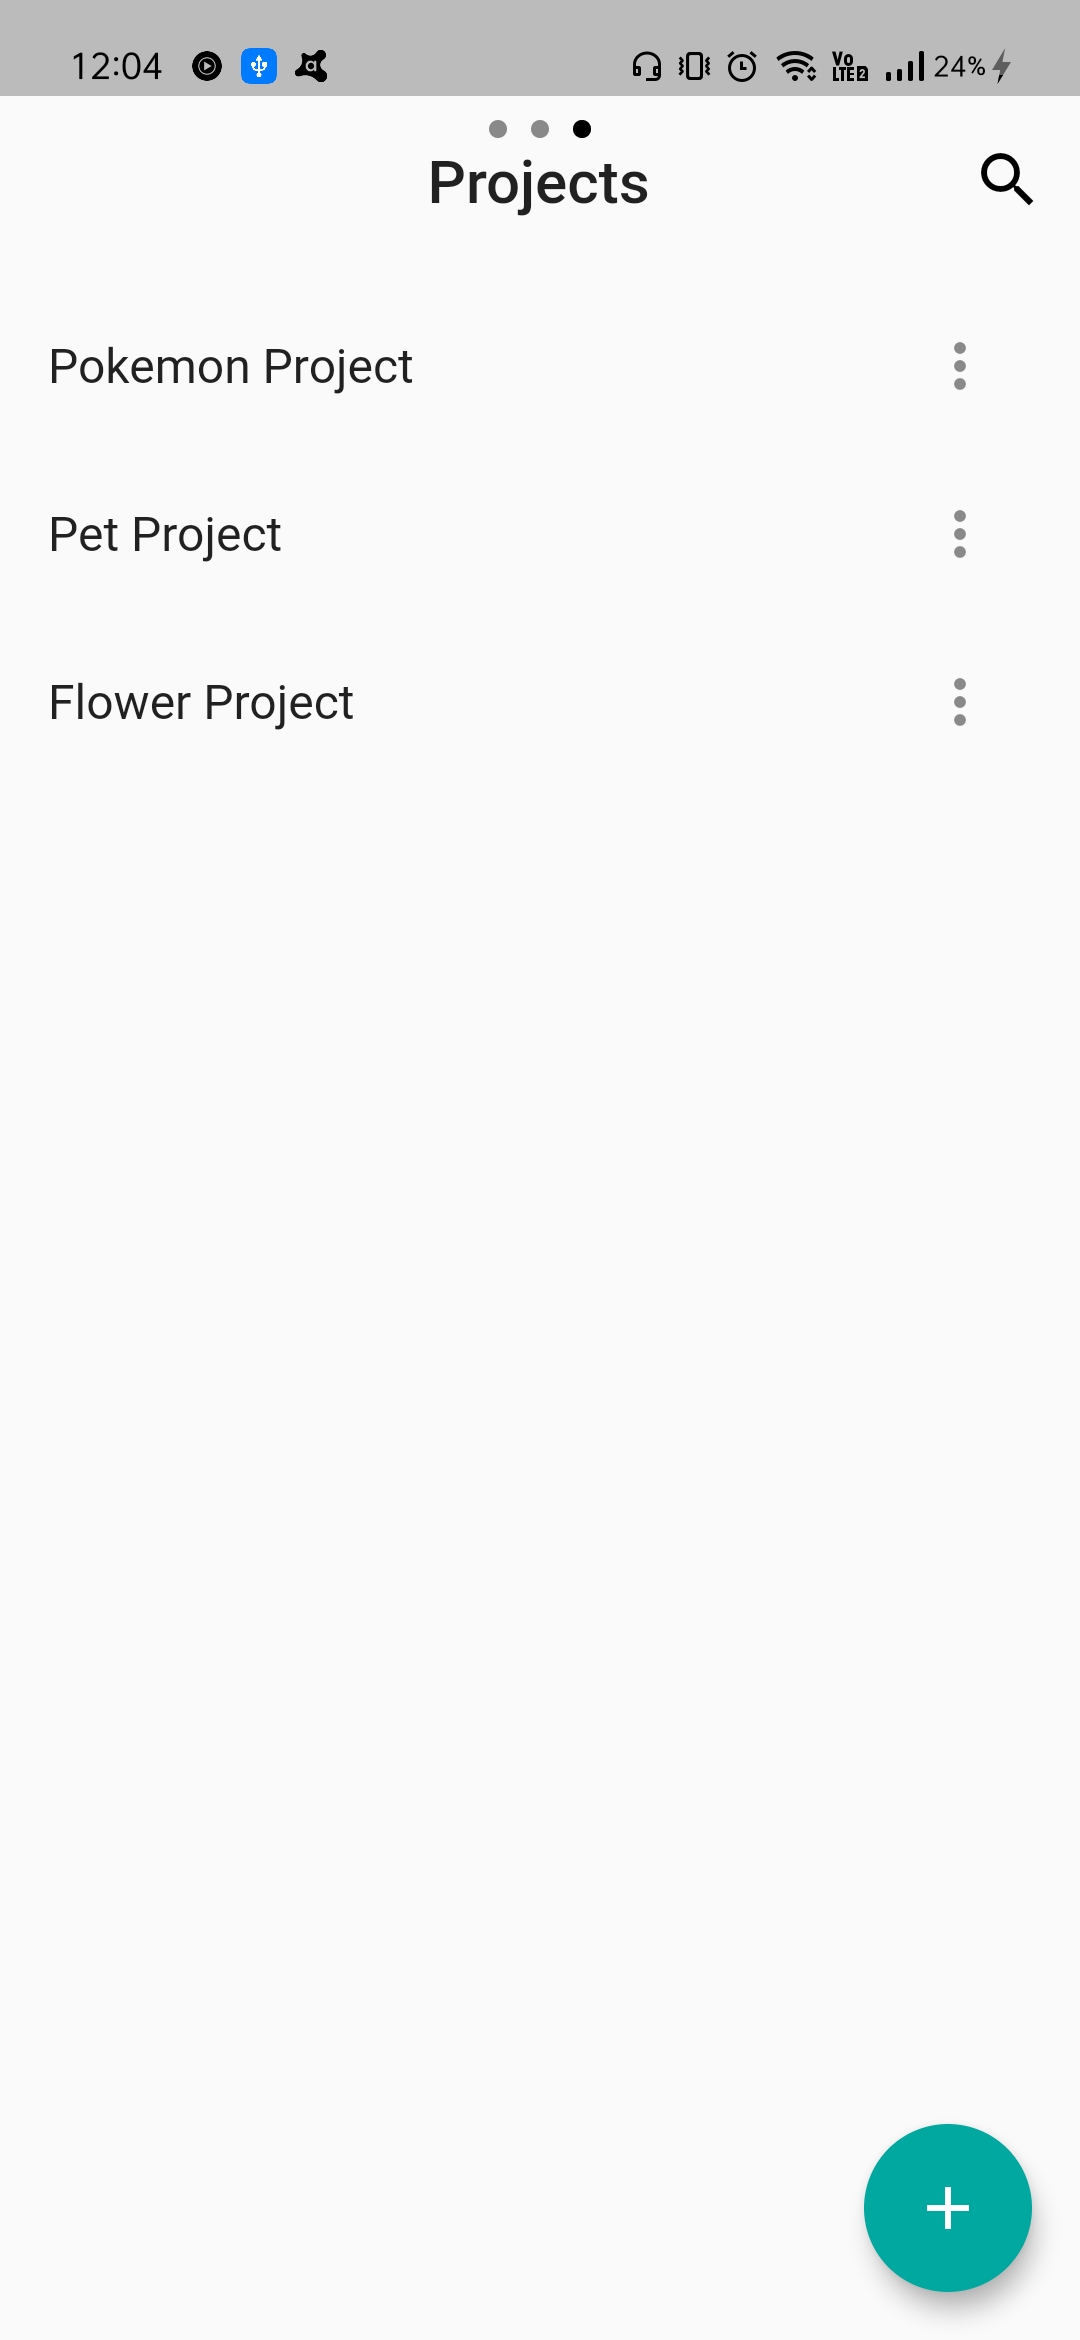
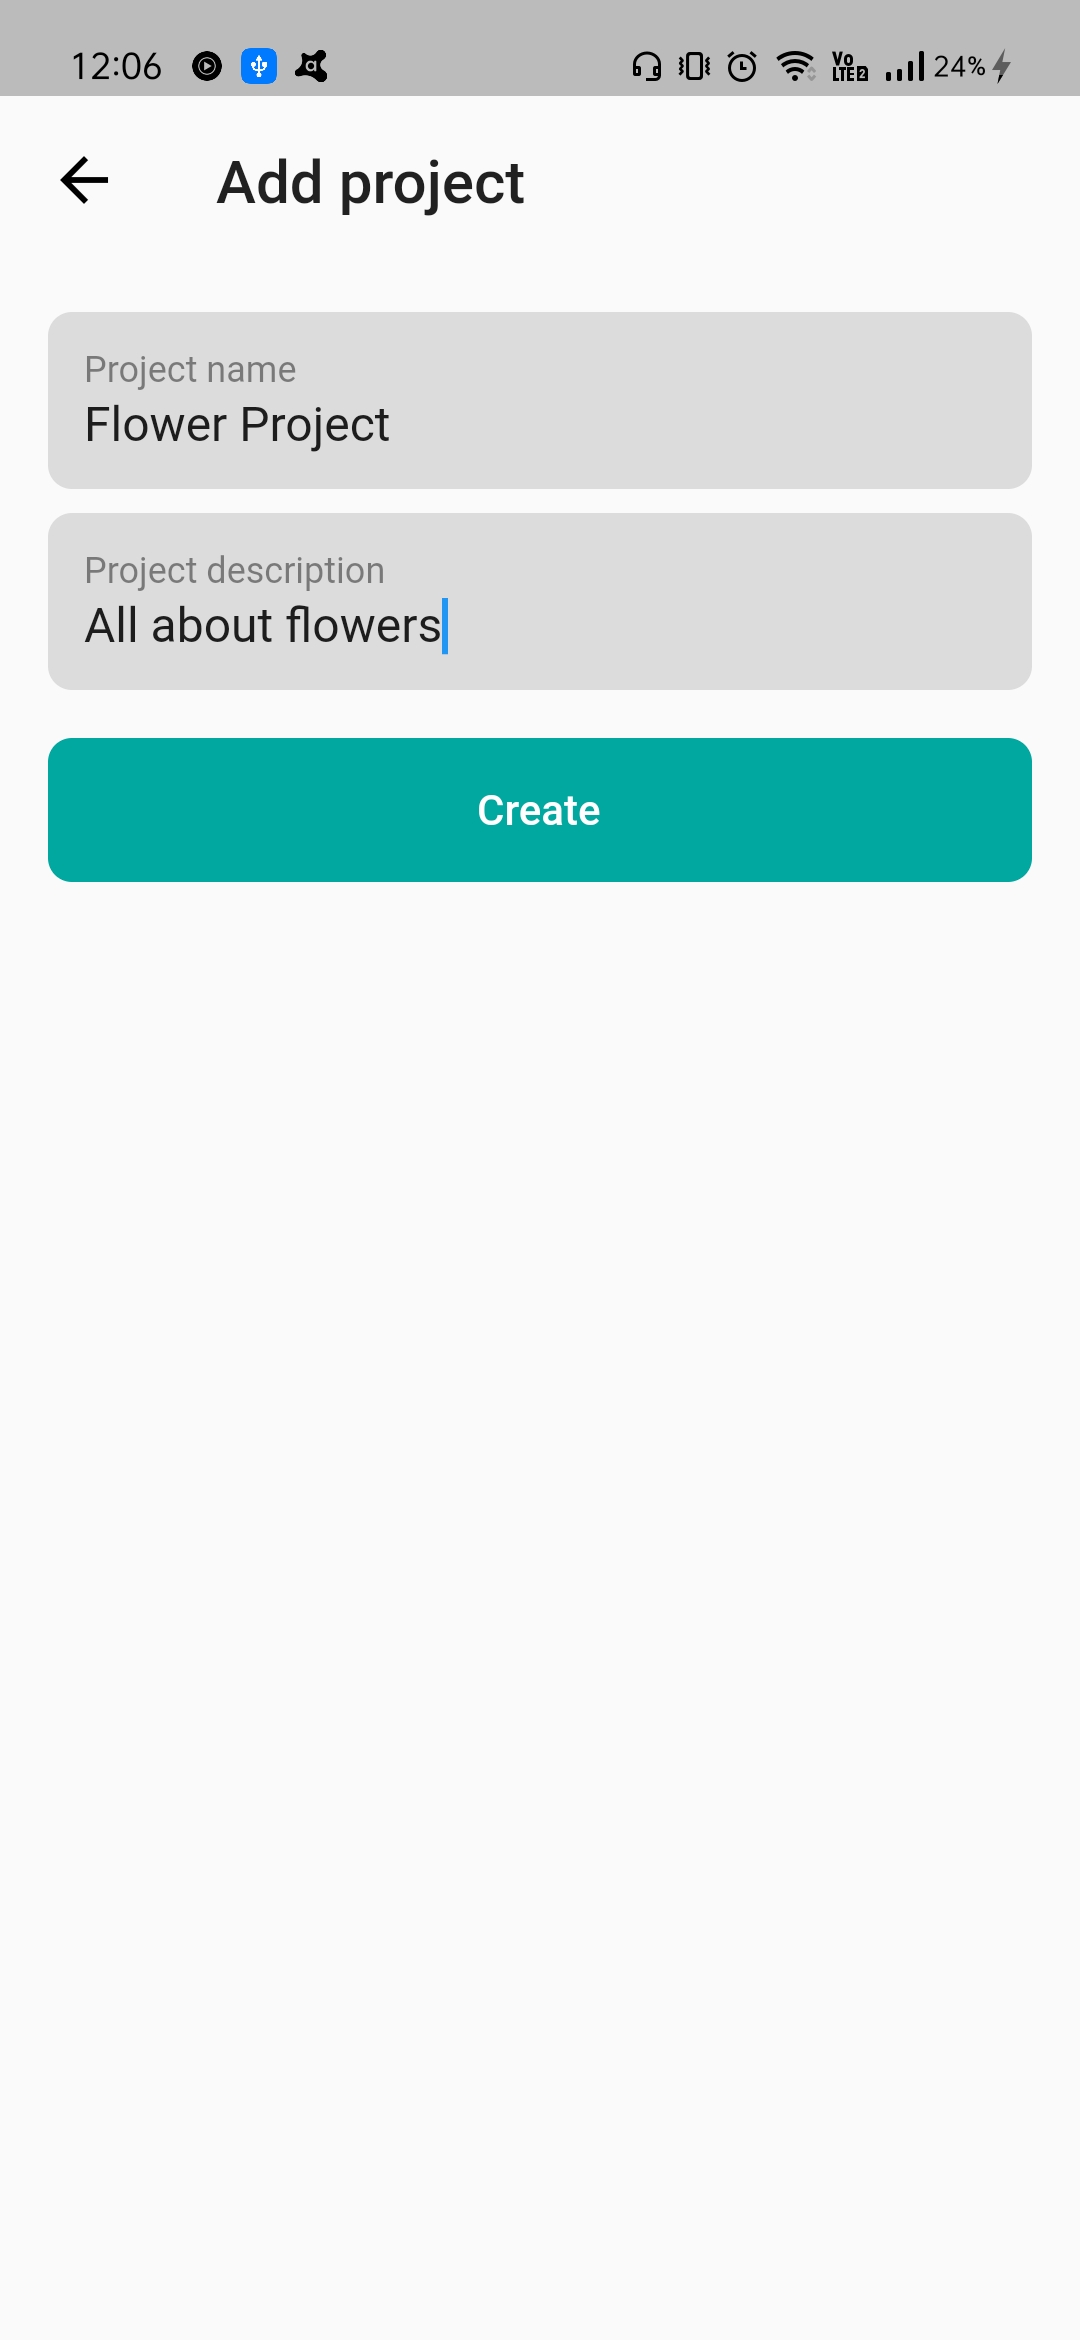
- Once logged in, you can view all your existing projects, and also create new ones with the
Add Projectbutton - After providing a name and description, the project will be created for you.
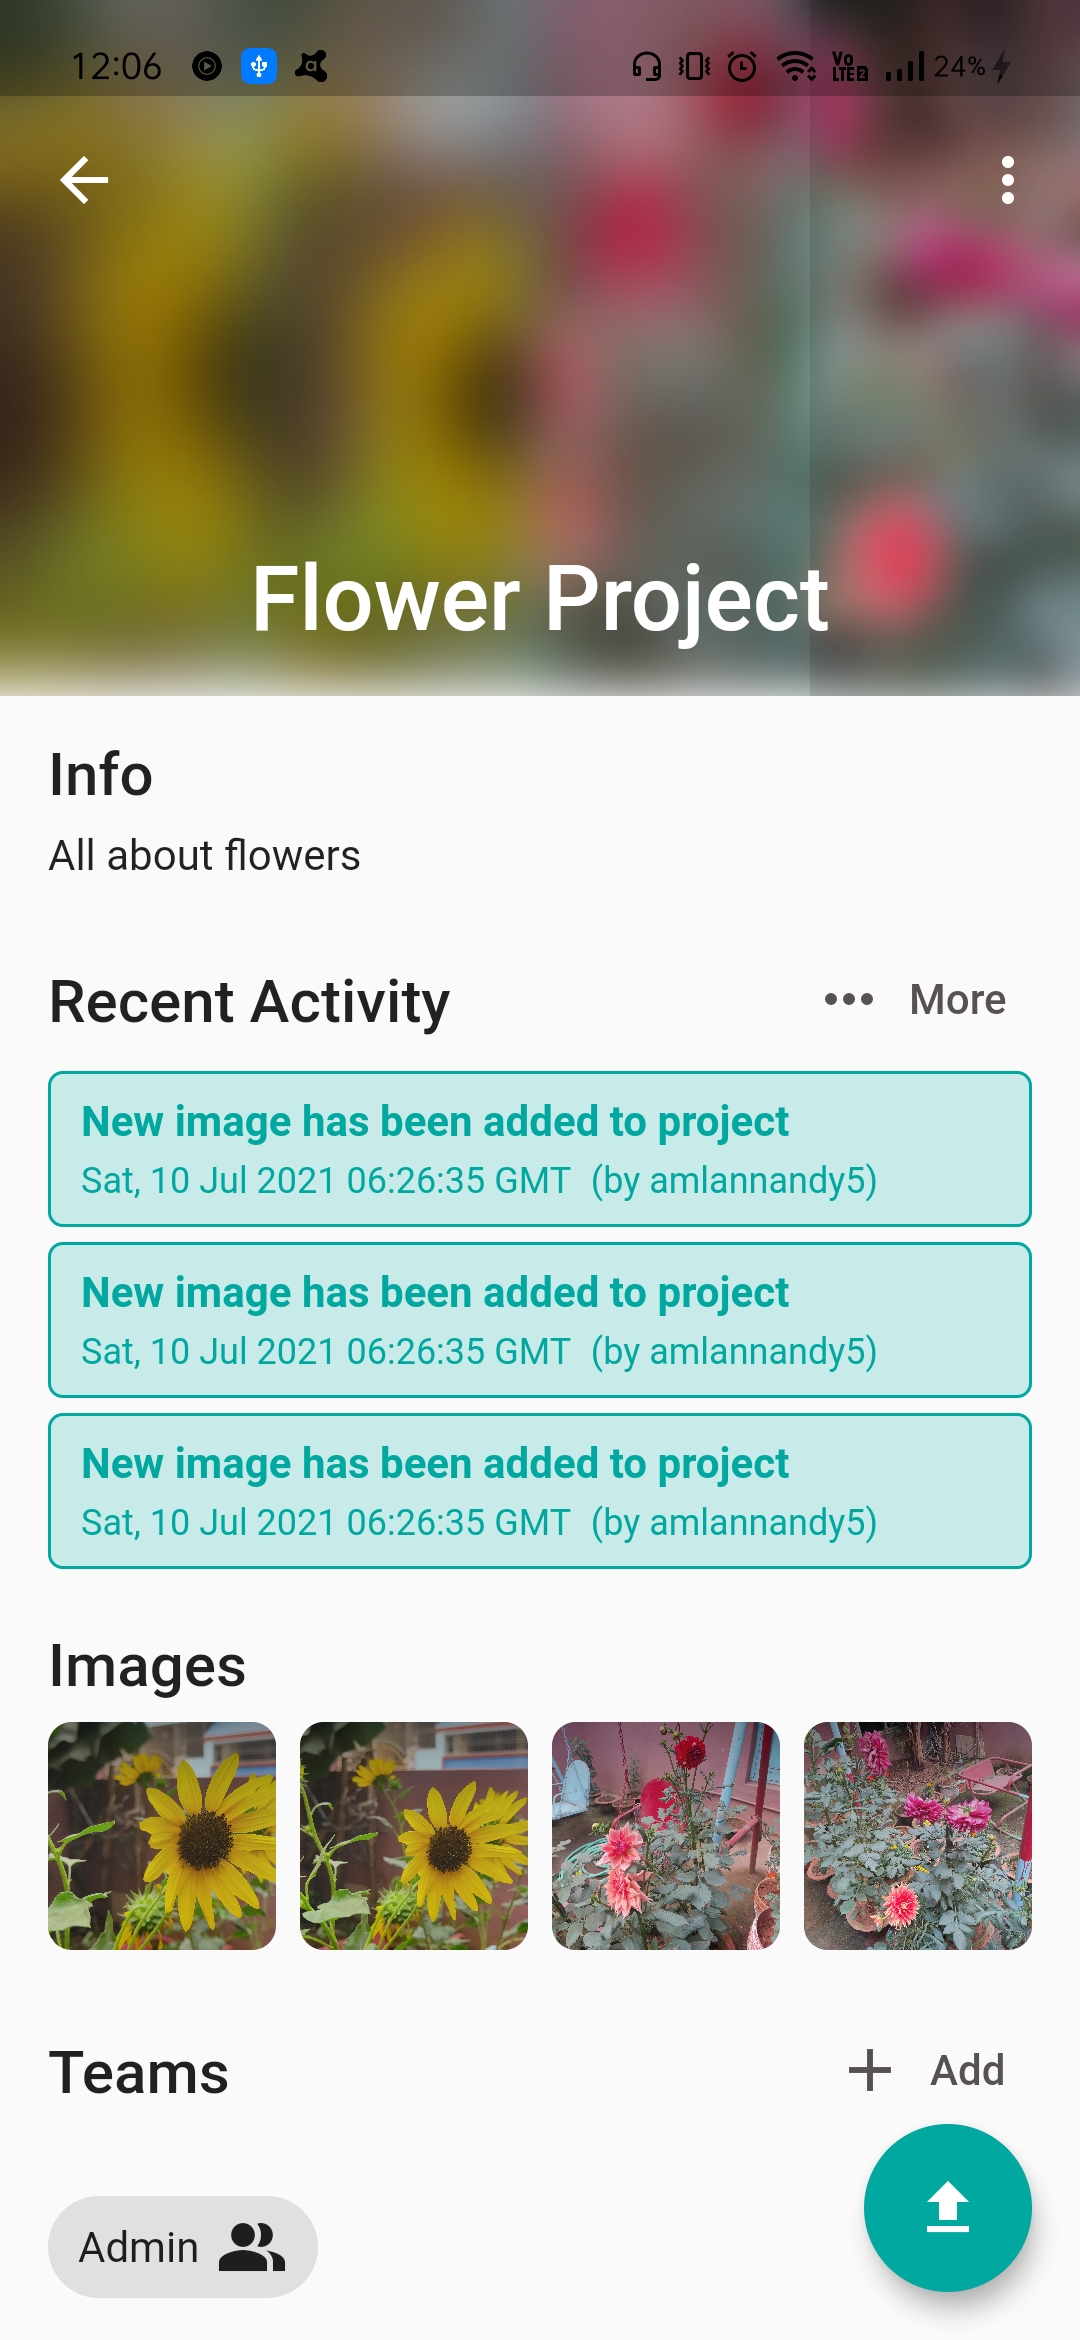
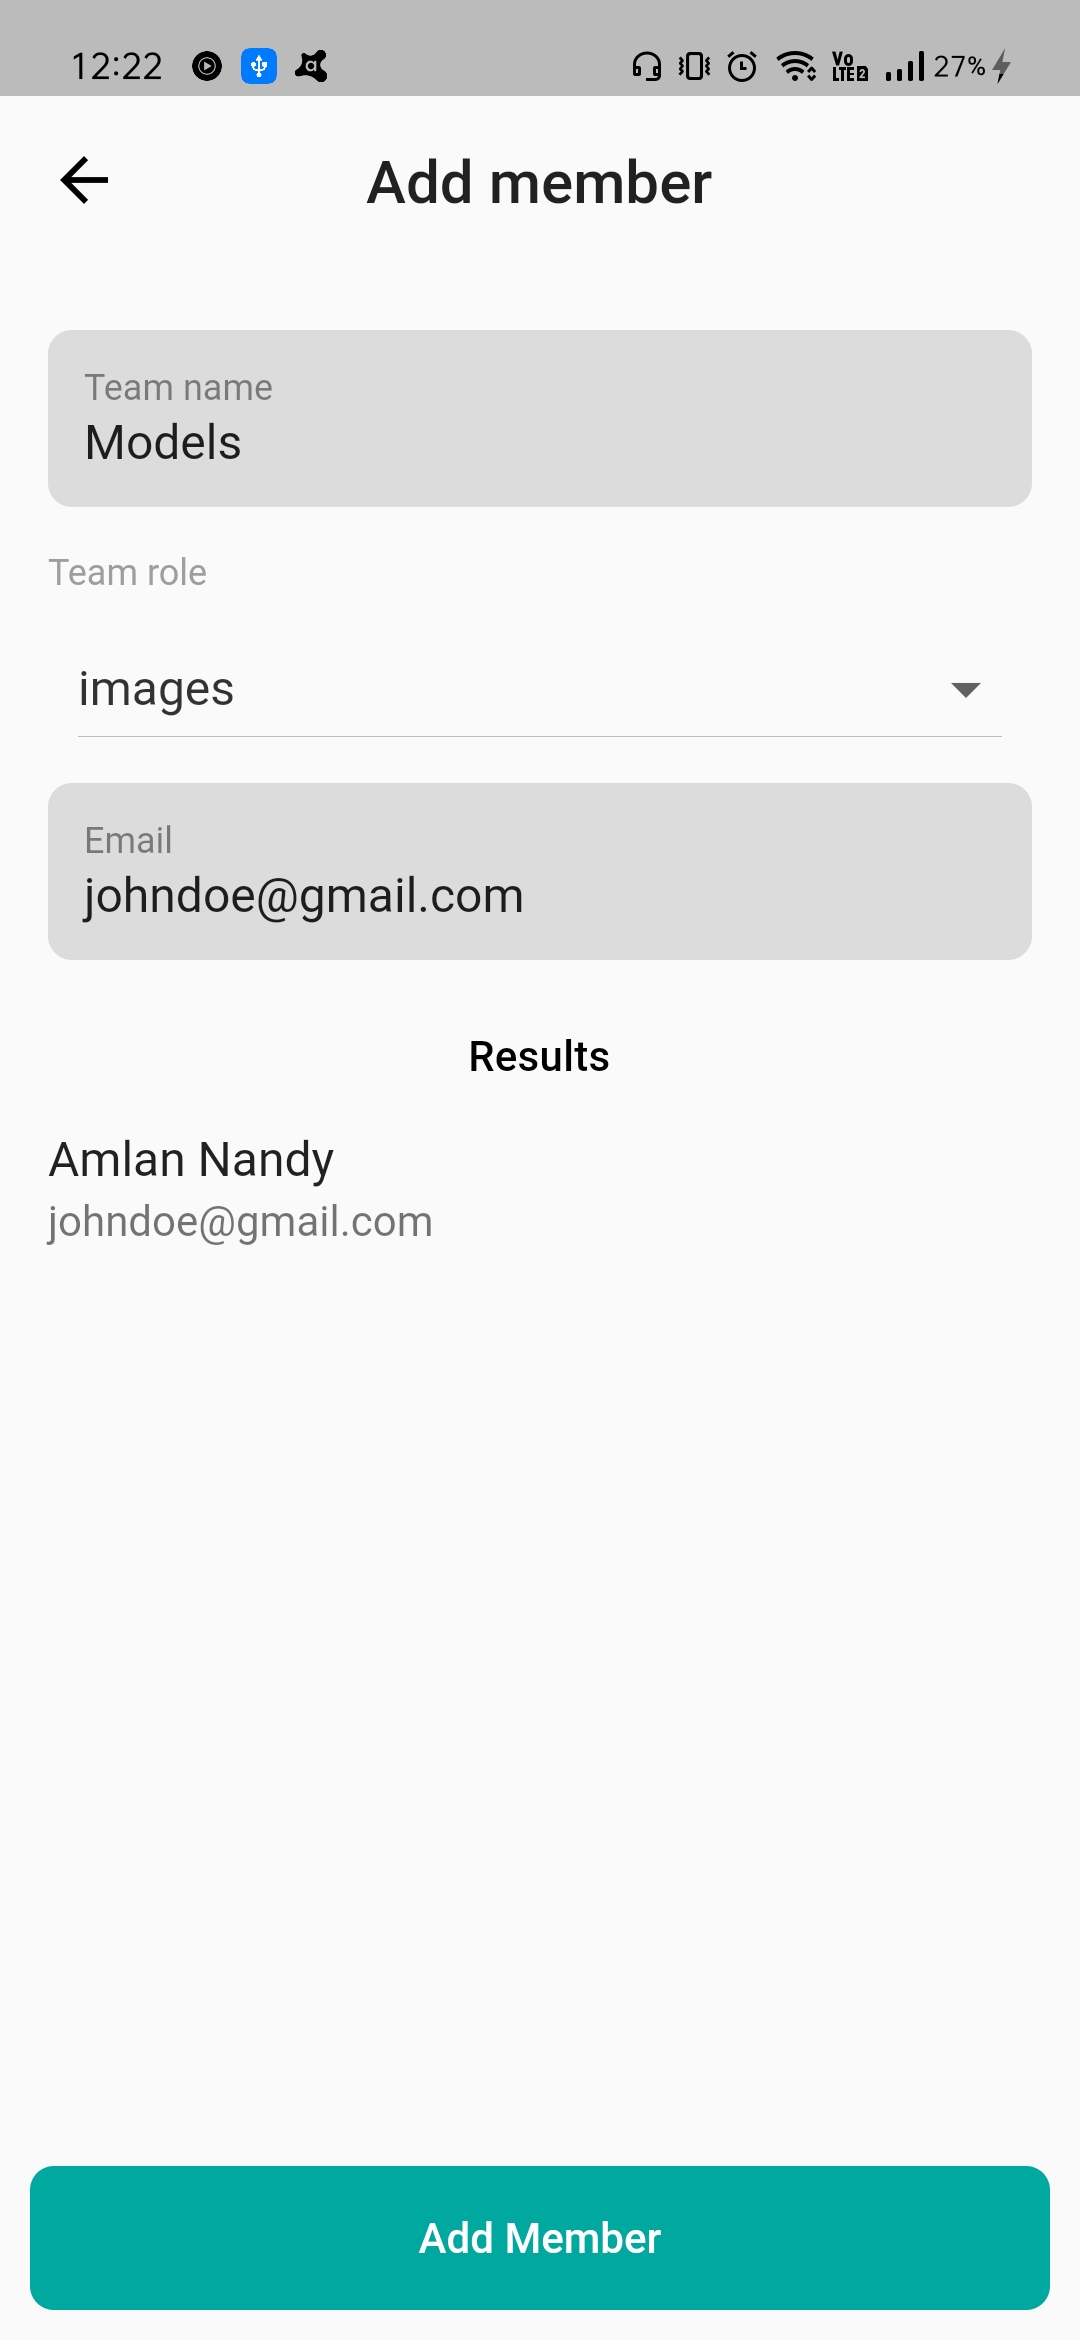
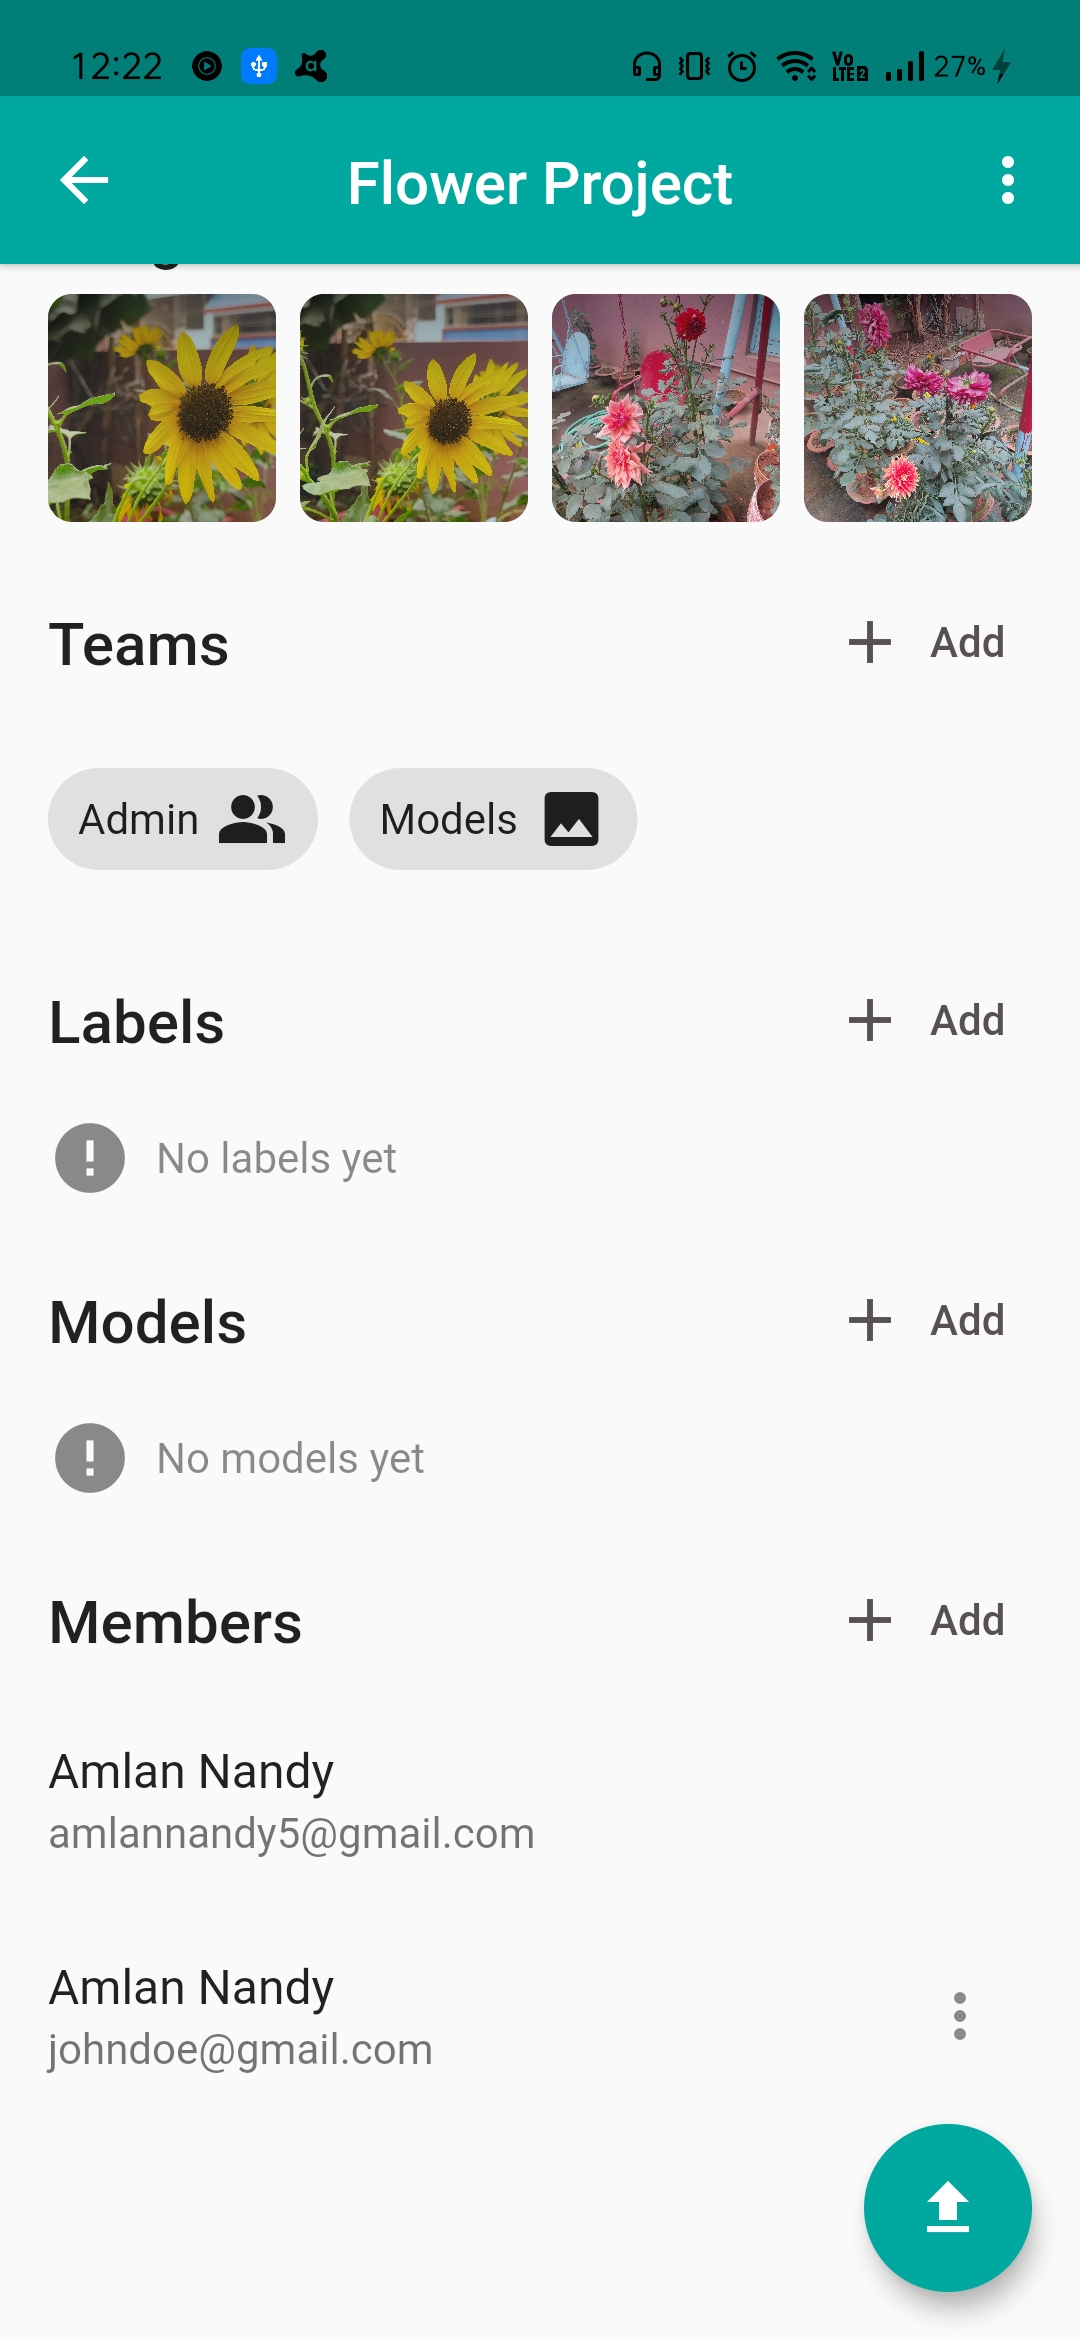
- You can view the current project members in Project Details Screen and also add new ones by using the
Add Project Memberbutton - While adding a new project member, you have to provide the team and role it must have
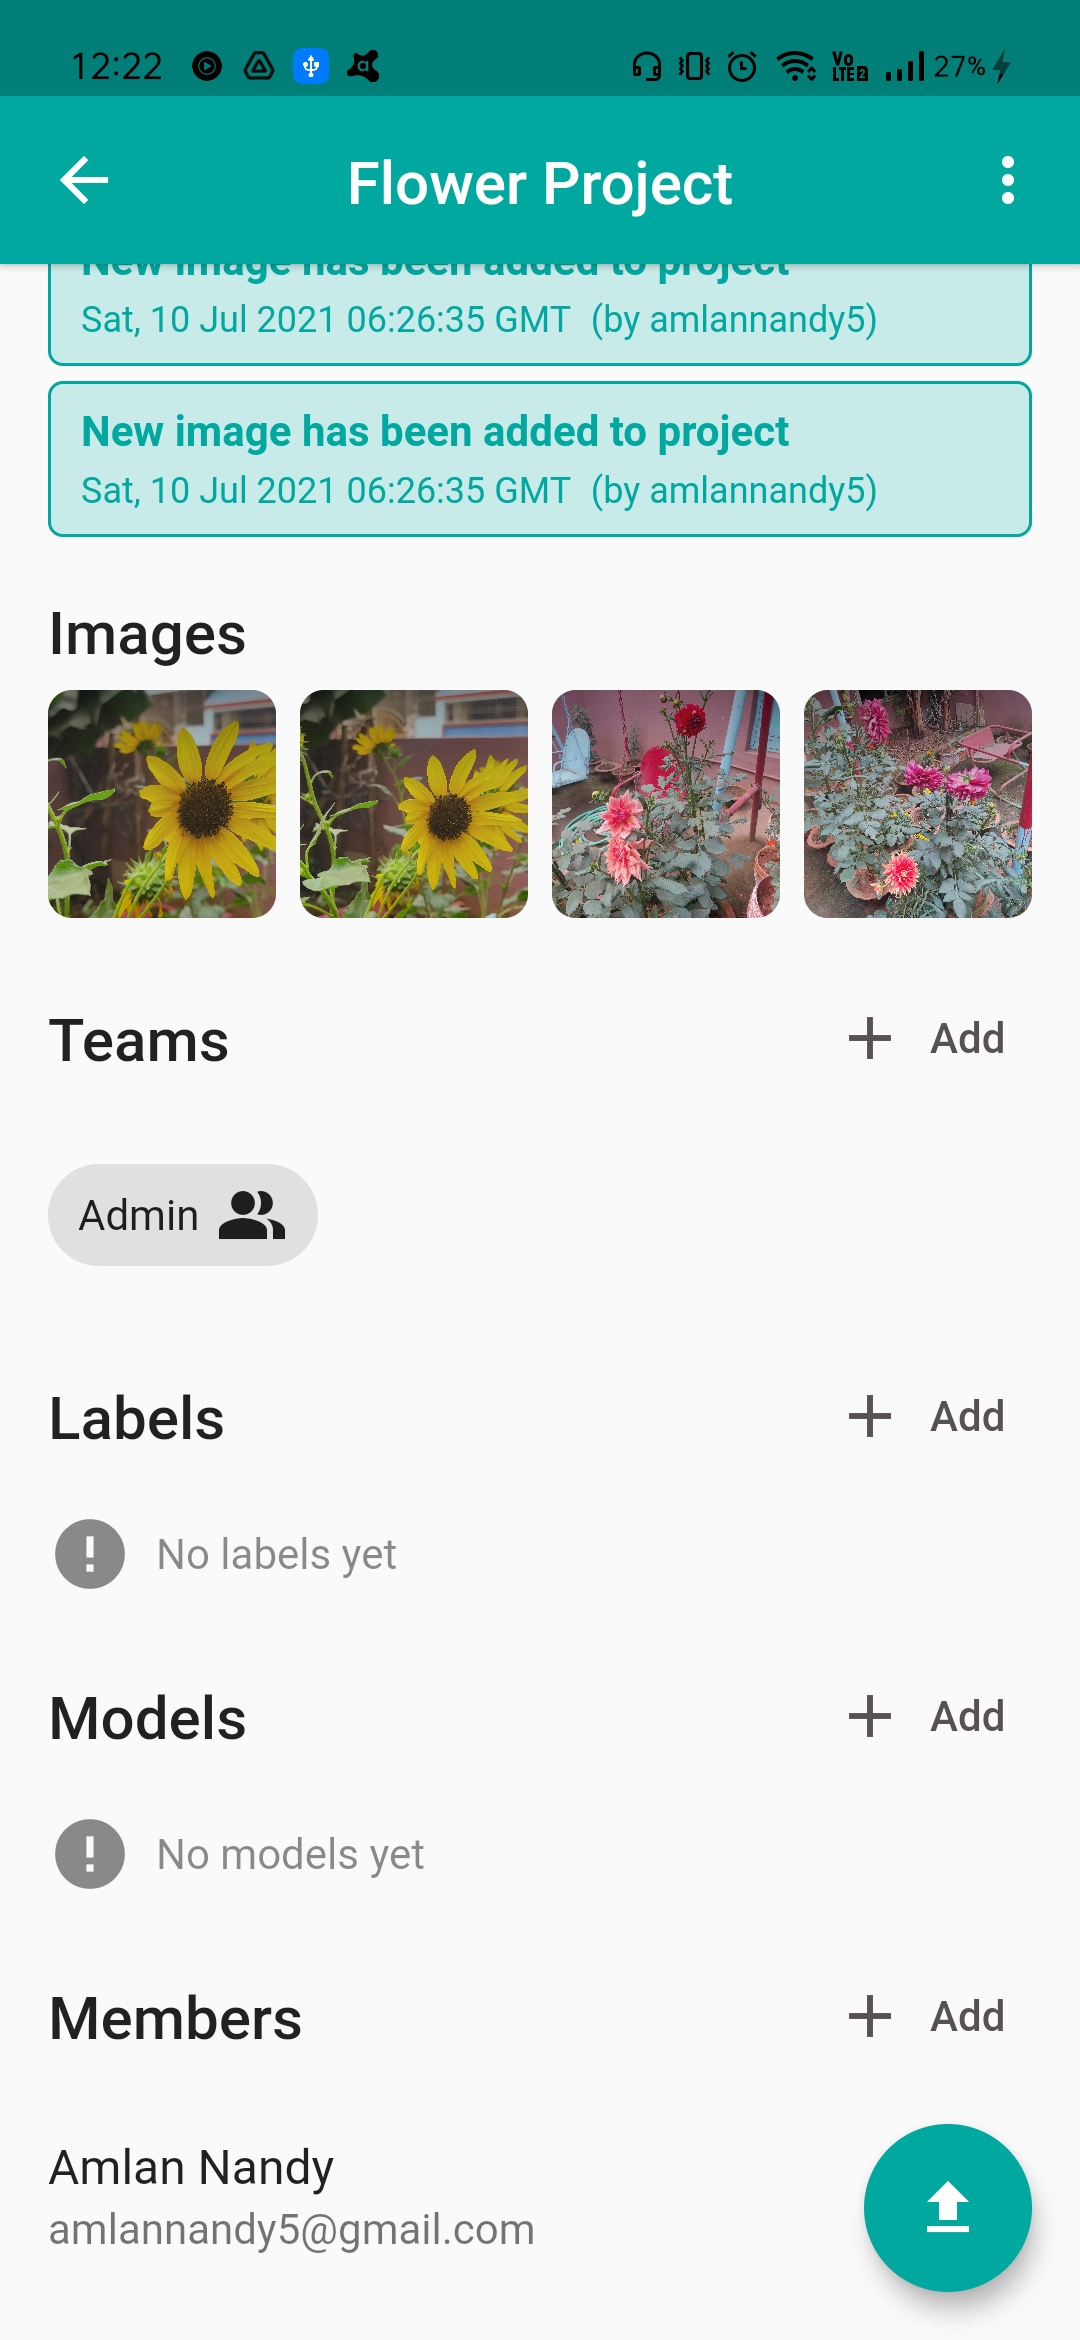
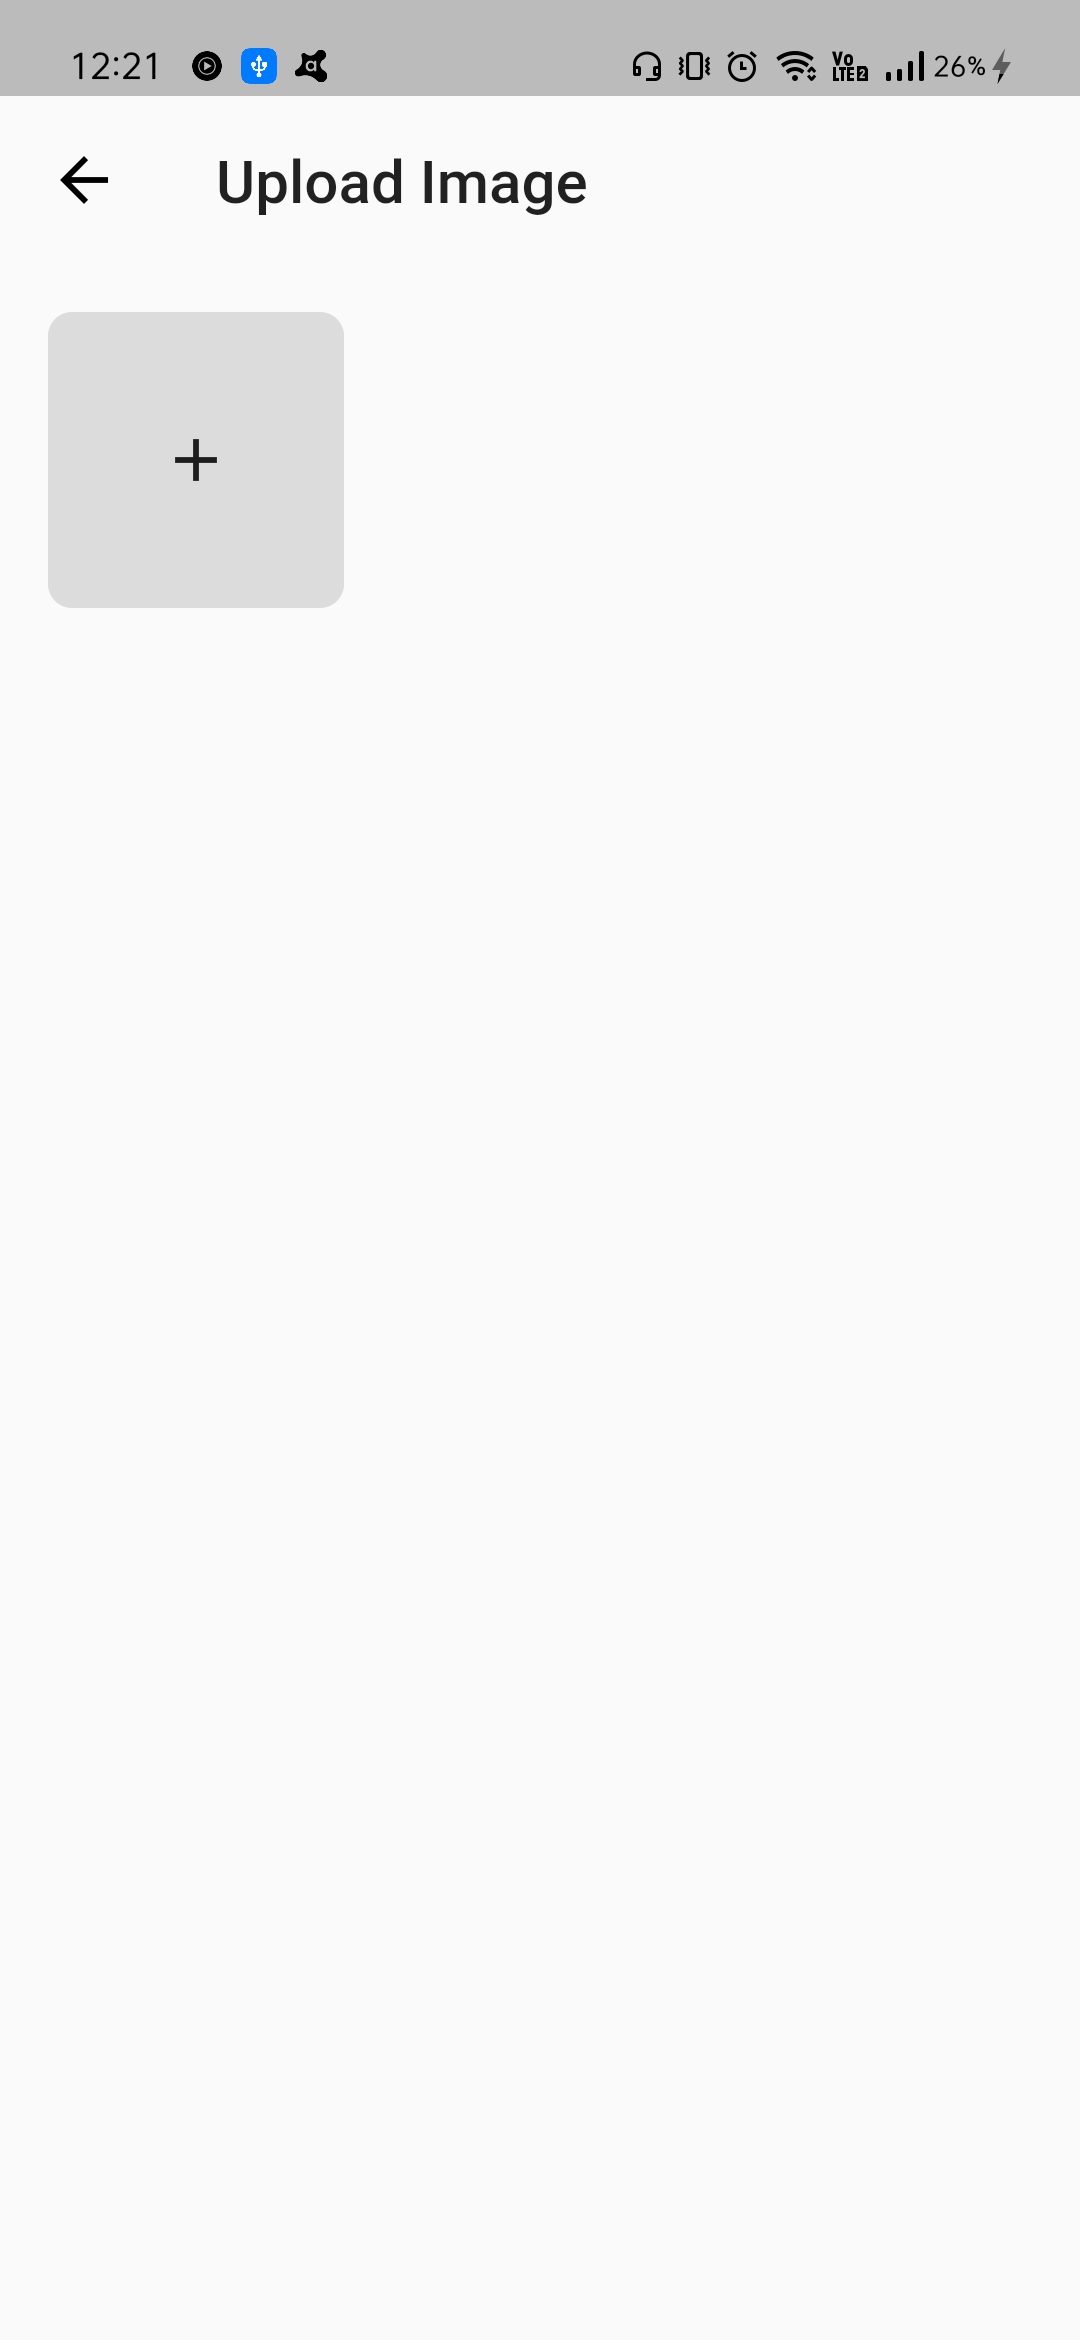
- Using the
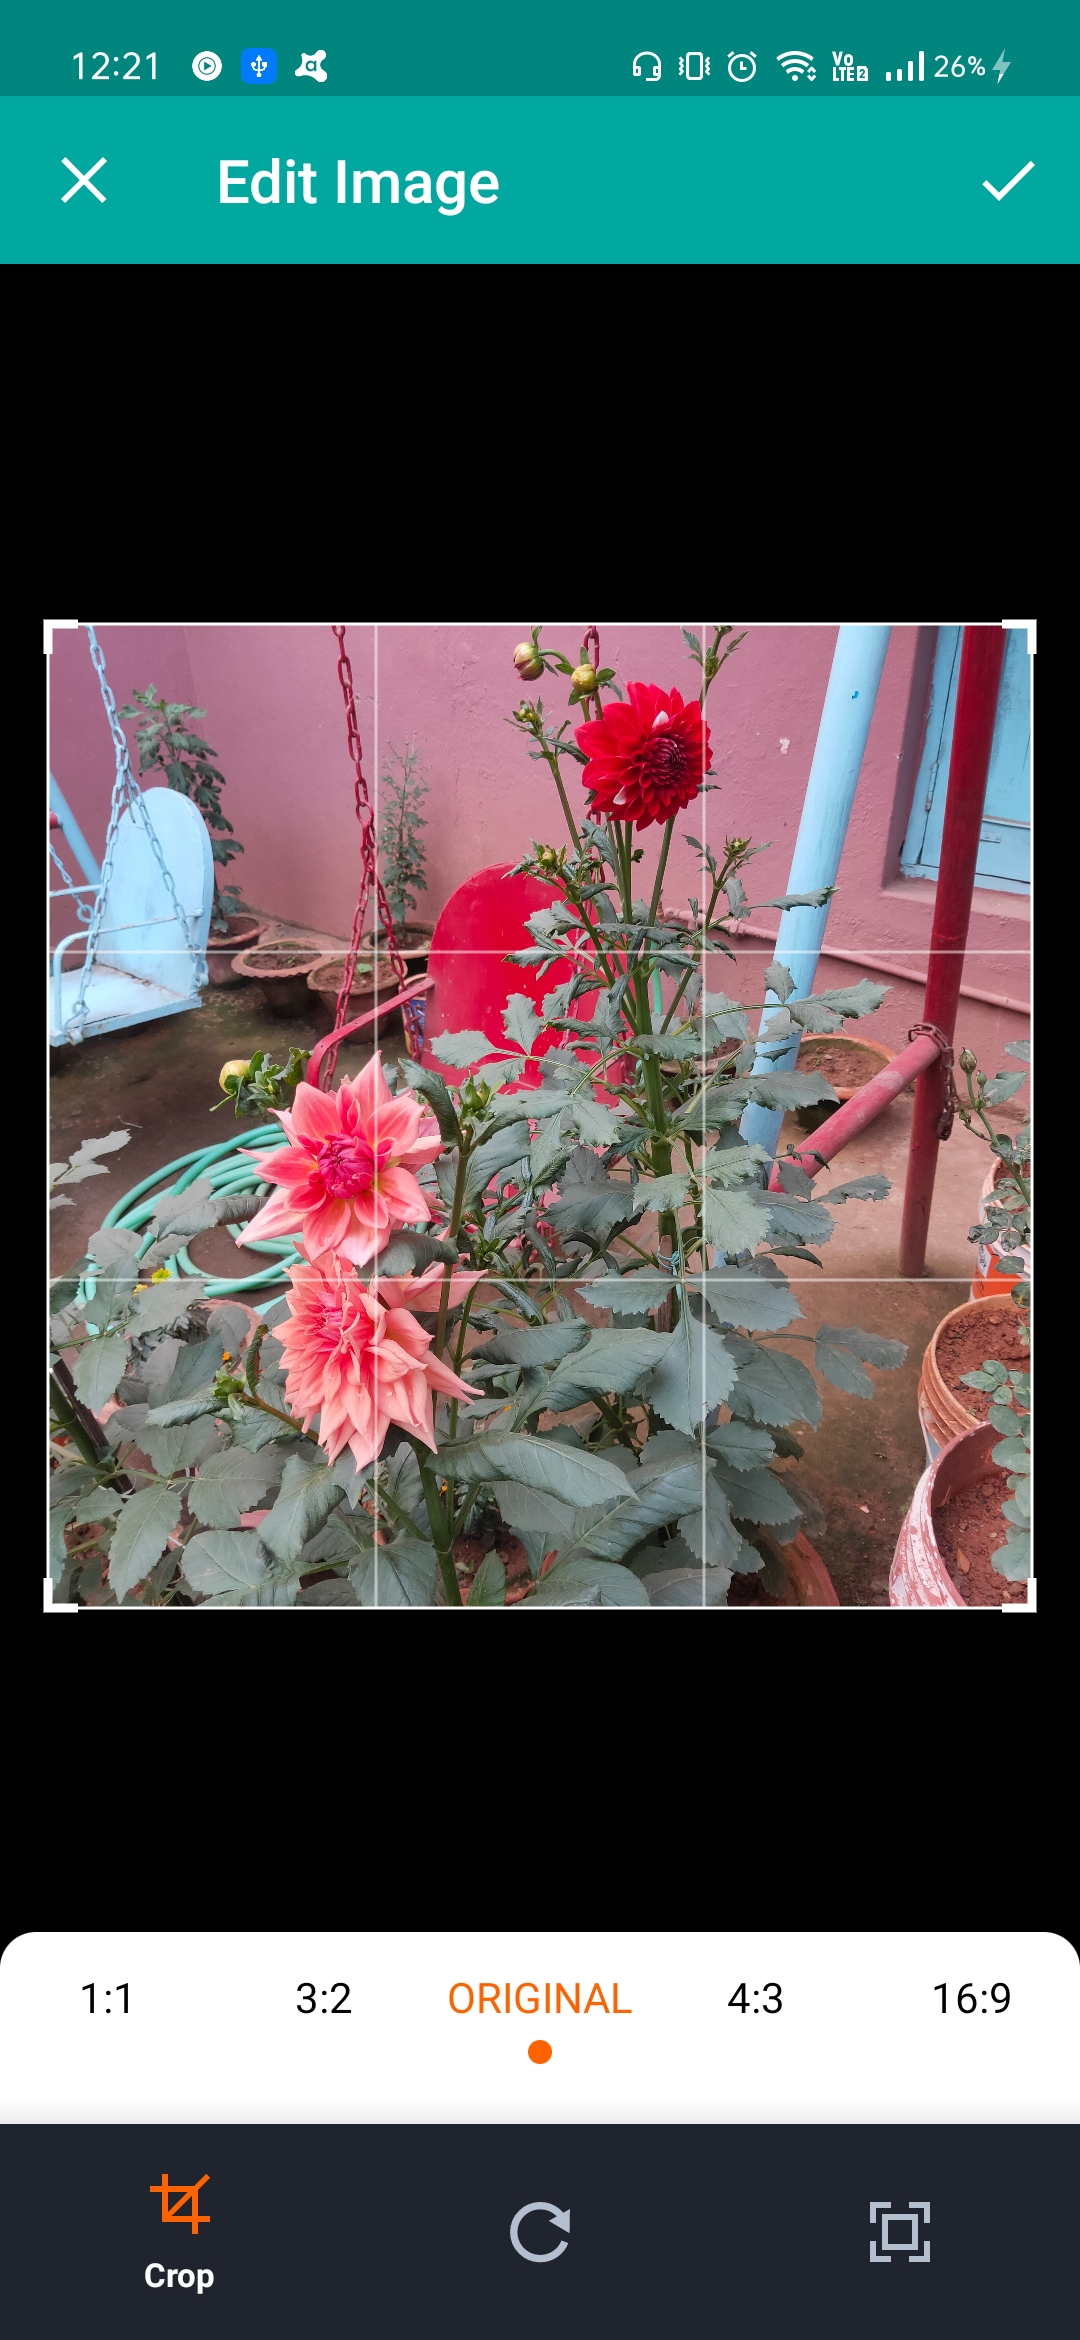
Uploadbutton, you can upload one or more images to the project - You can also edit the image before saving it to the project (
CroppingorResizing)

- The uploaded images can then be labeled with custom-made labels
- Images with the same labels can then be used to track an object with the path tracking feature


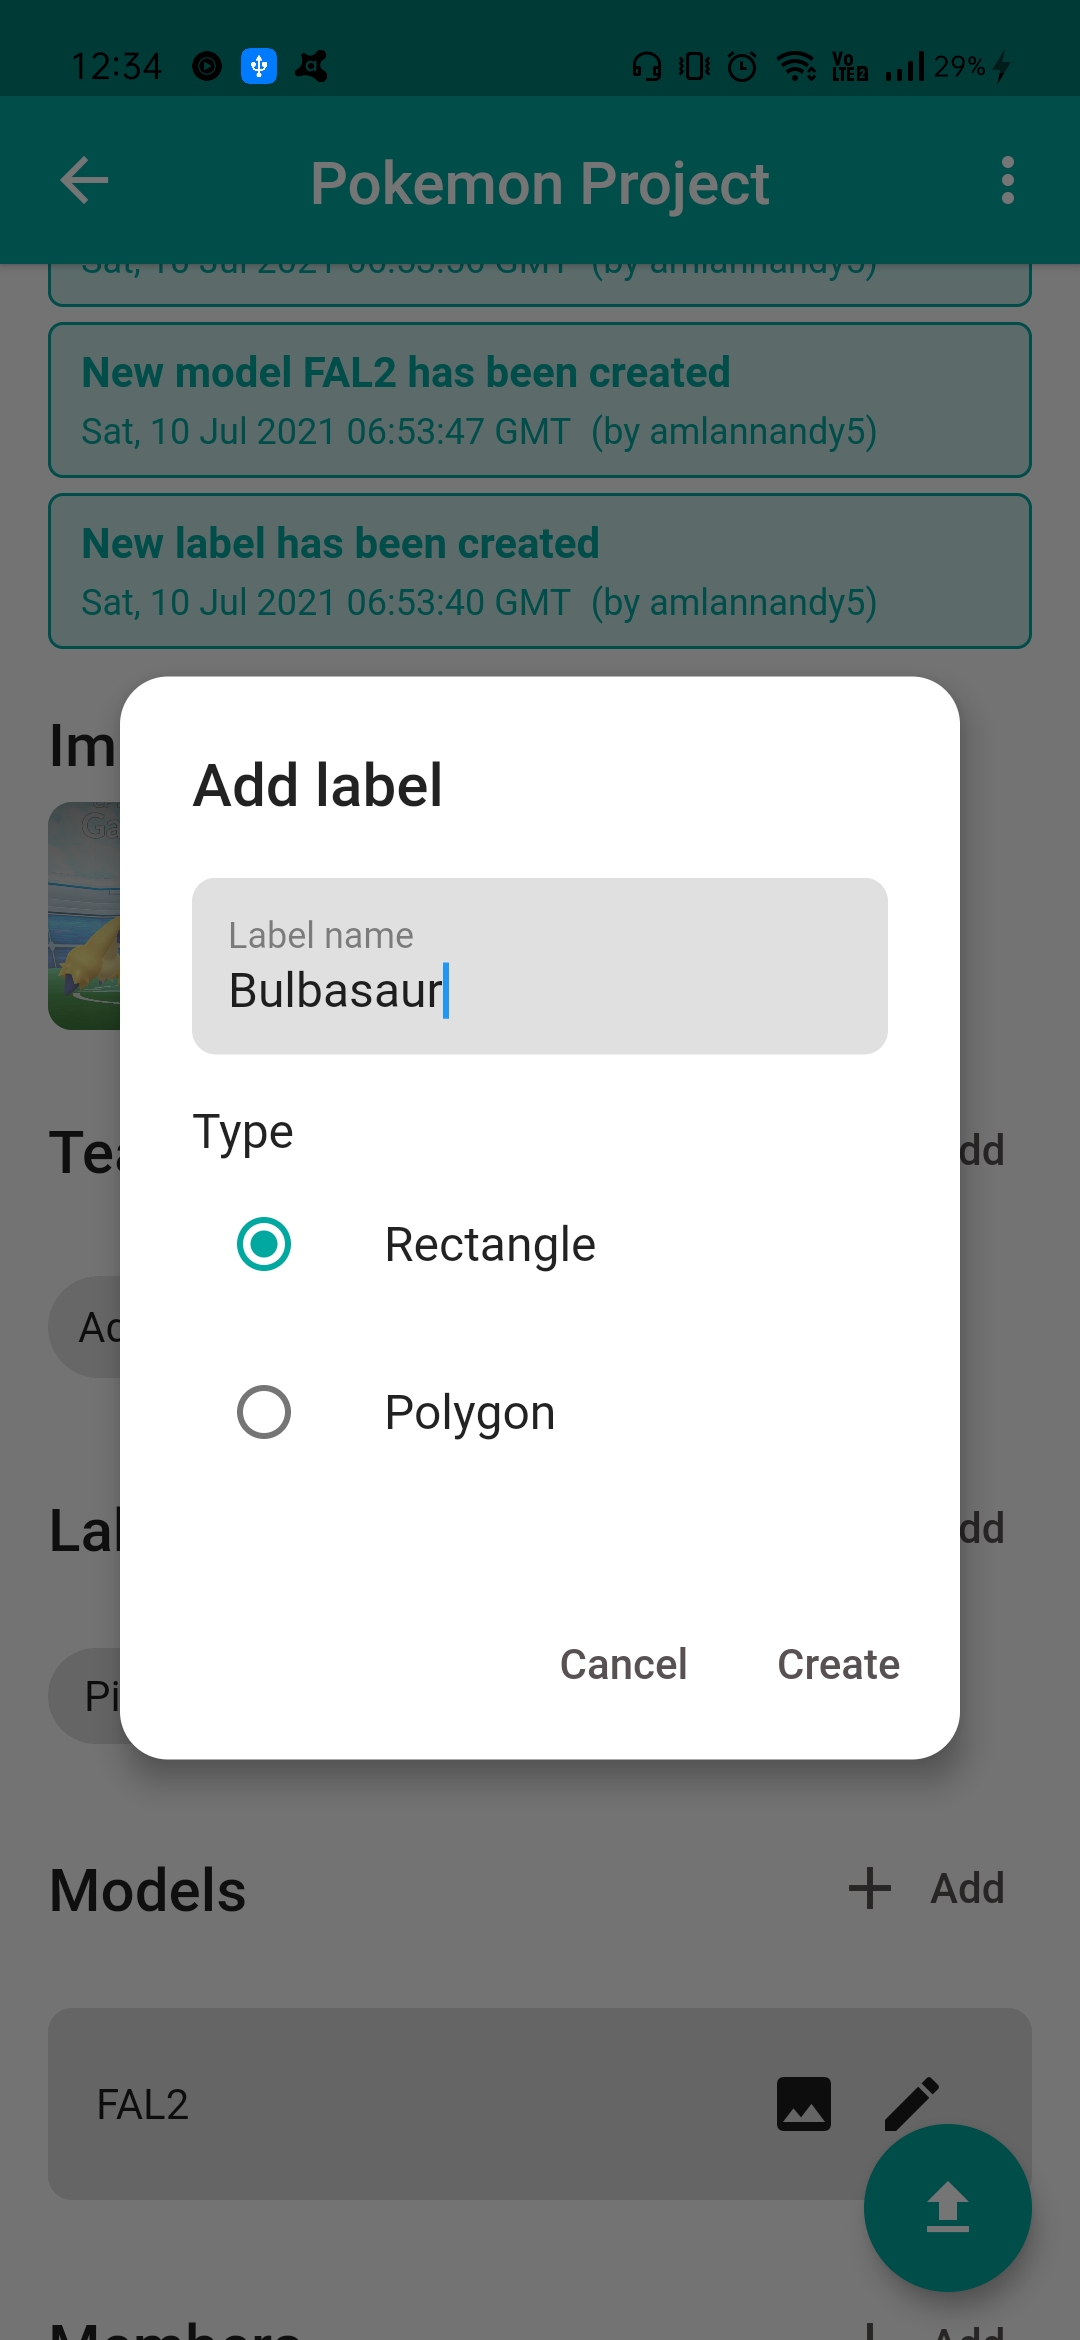
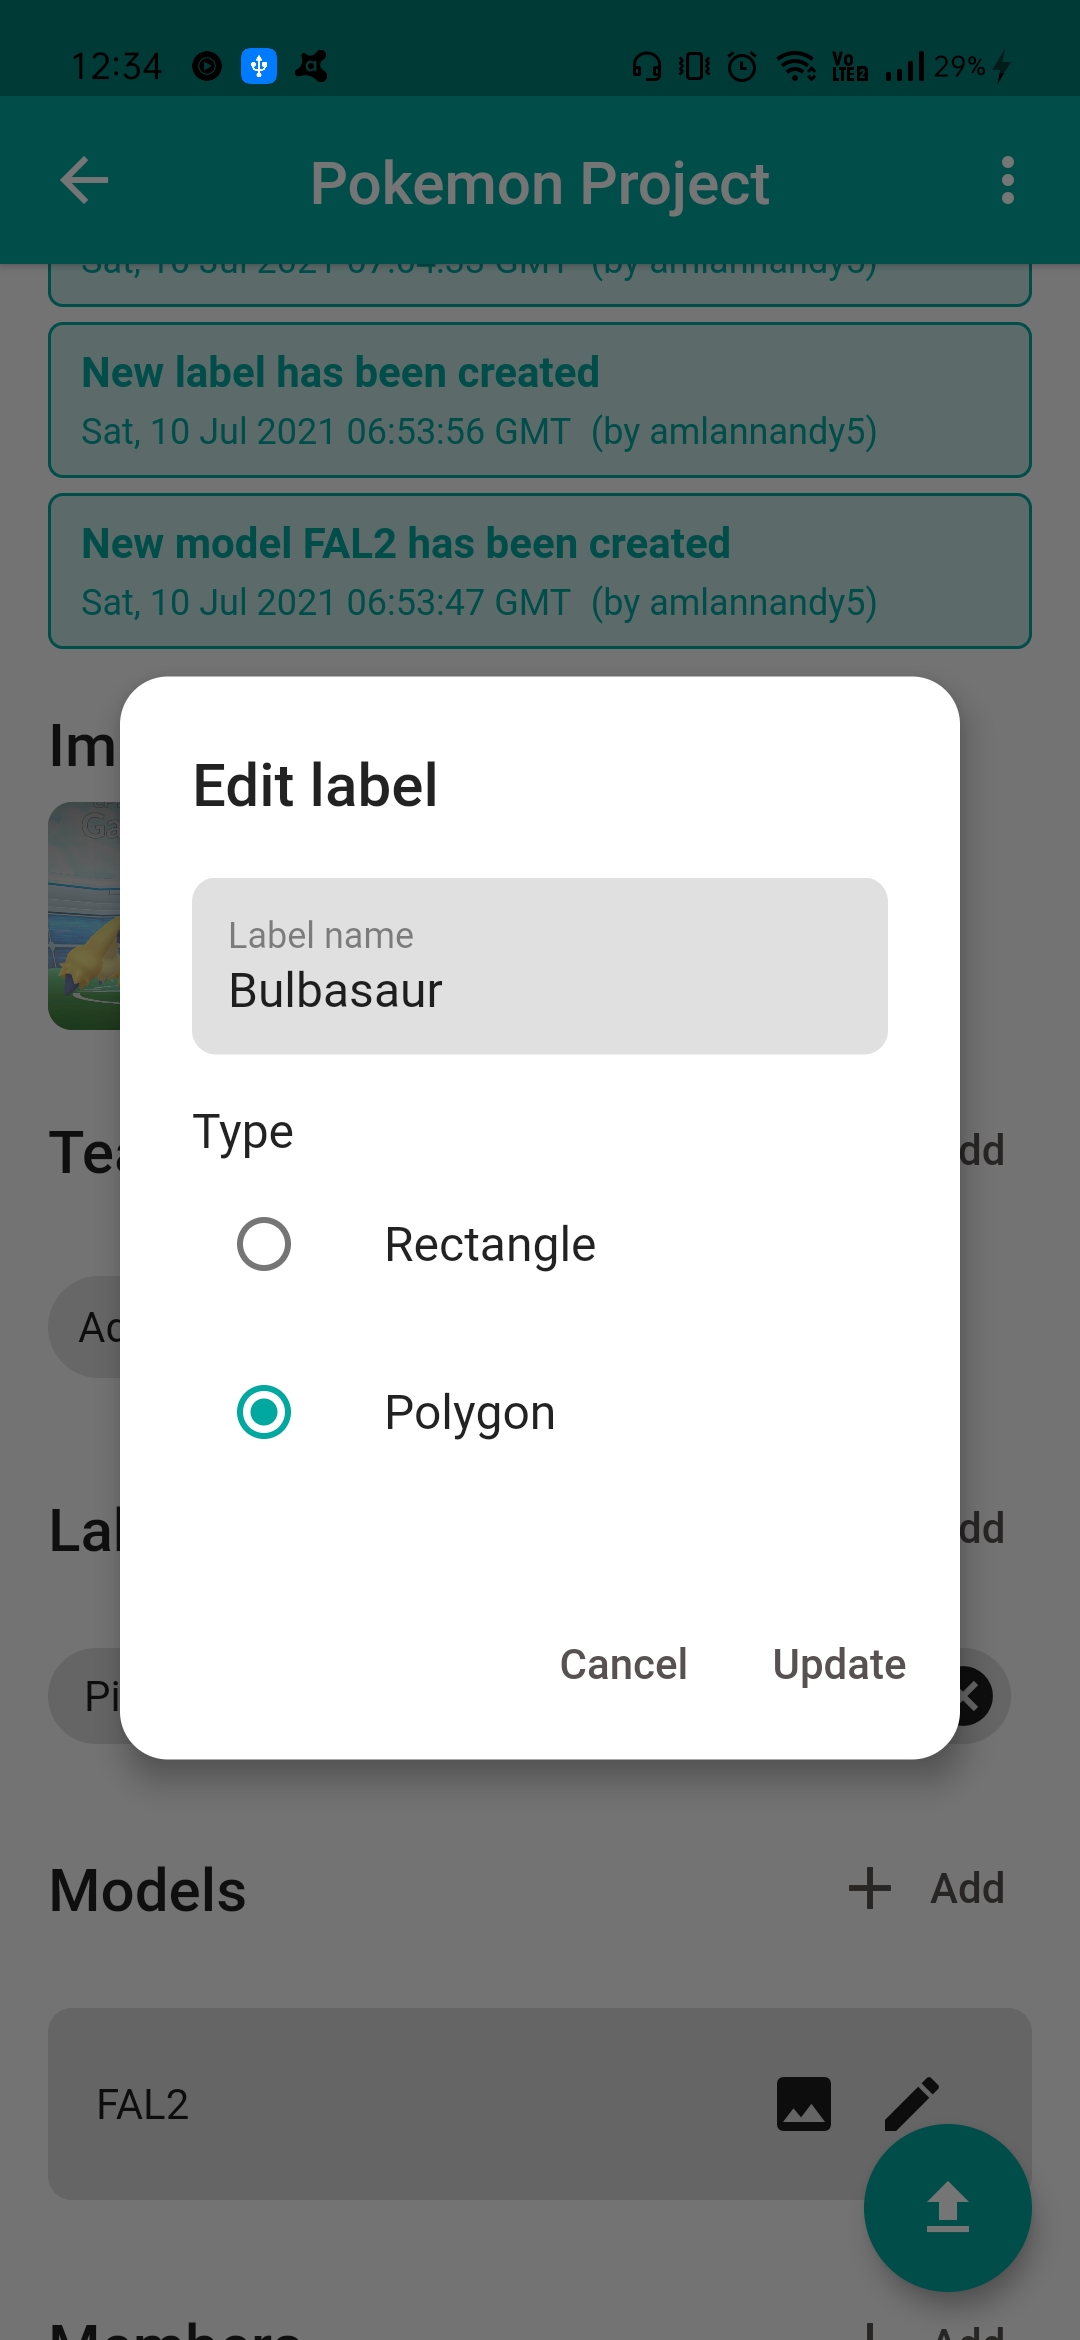
- Using the
Add Labelbutton, you can create labels to be used in the project - By pressing and holding down on a label. you can also edit it
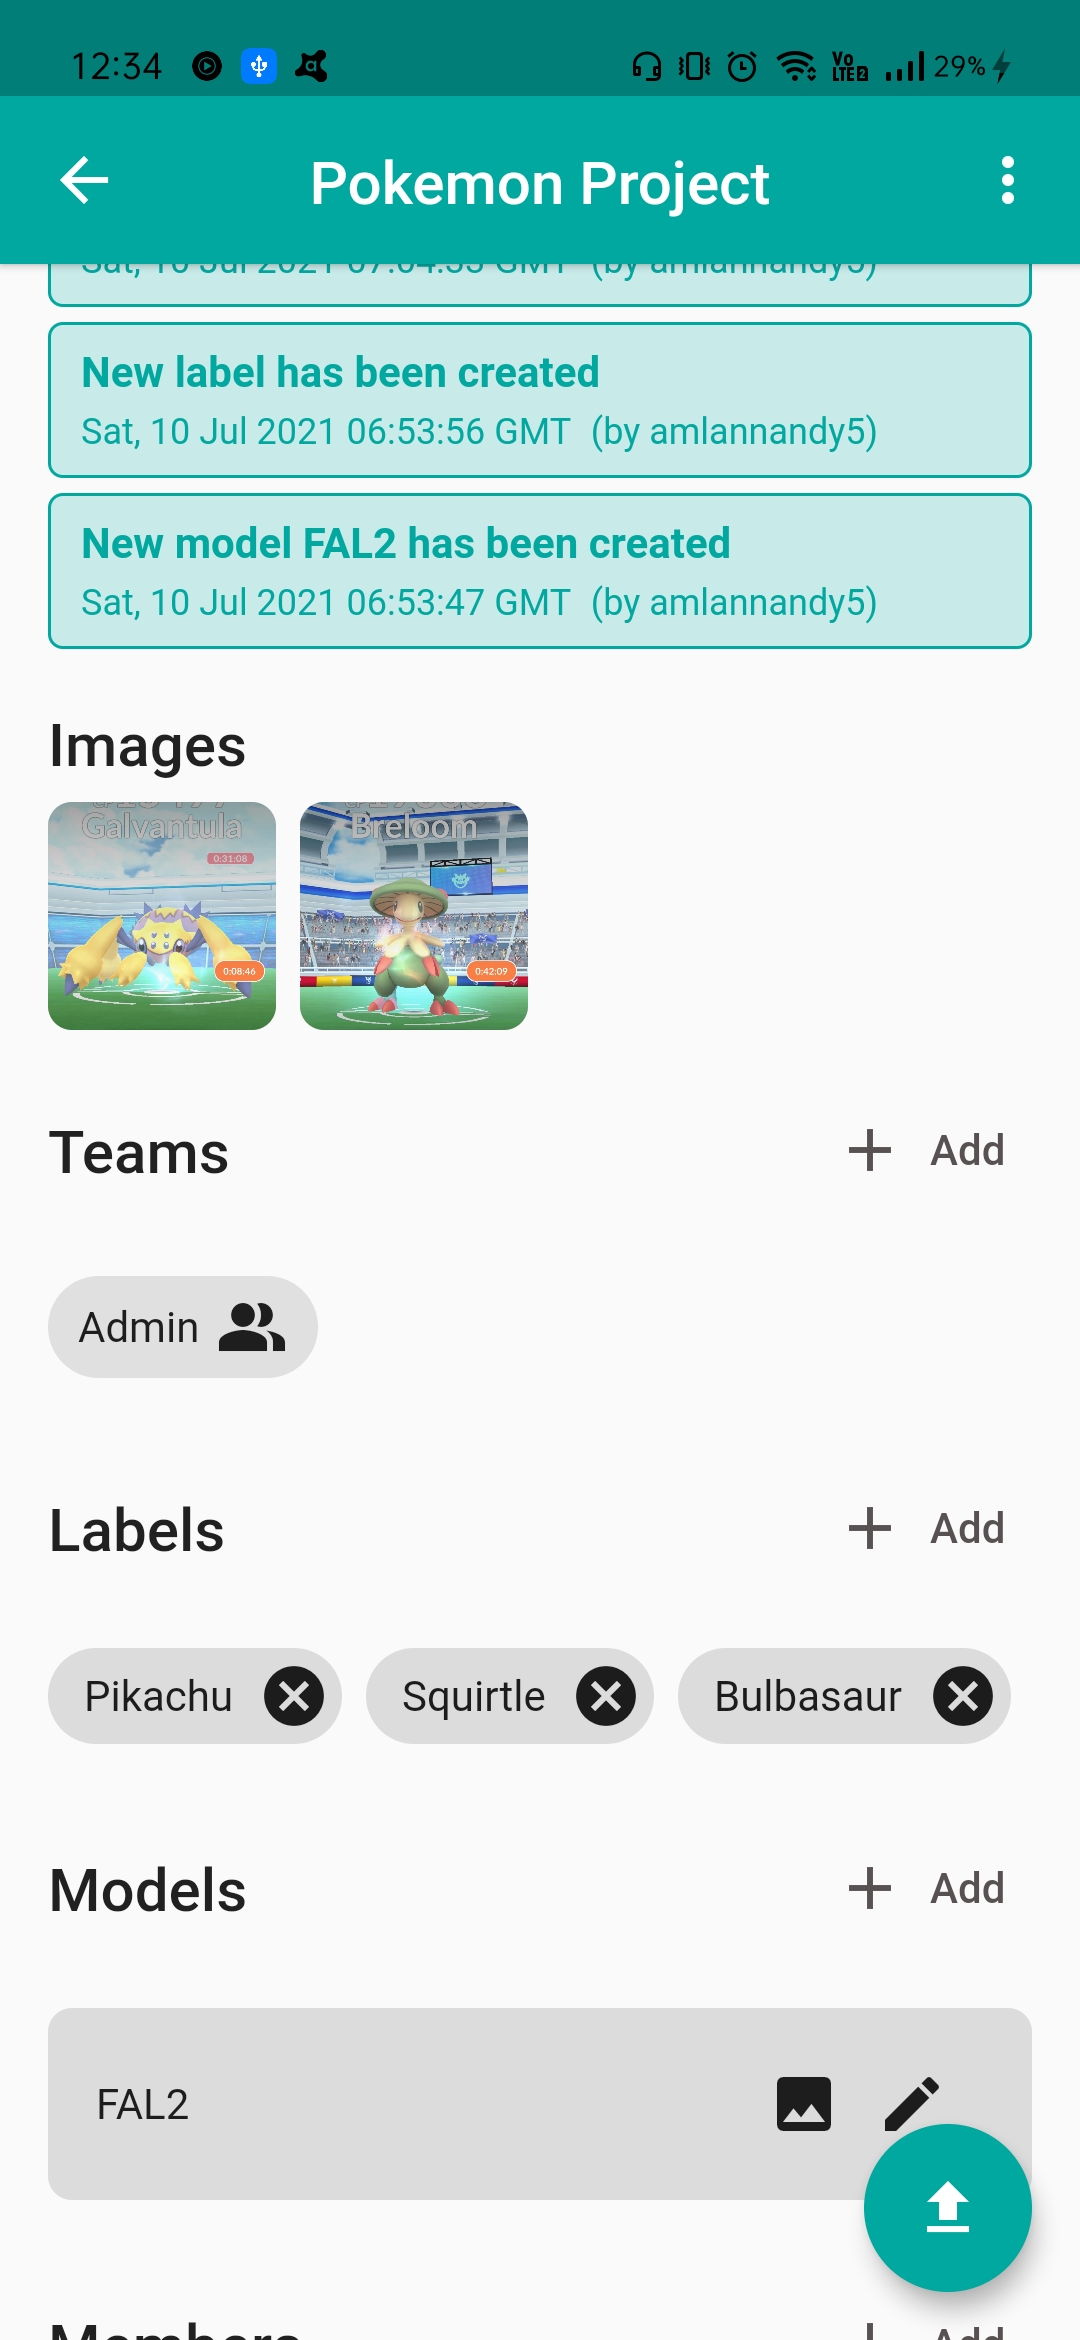
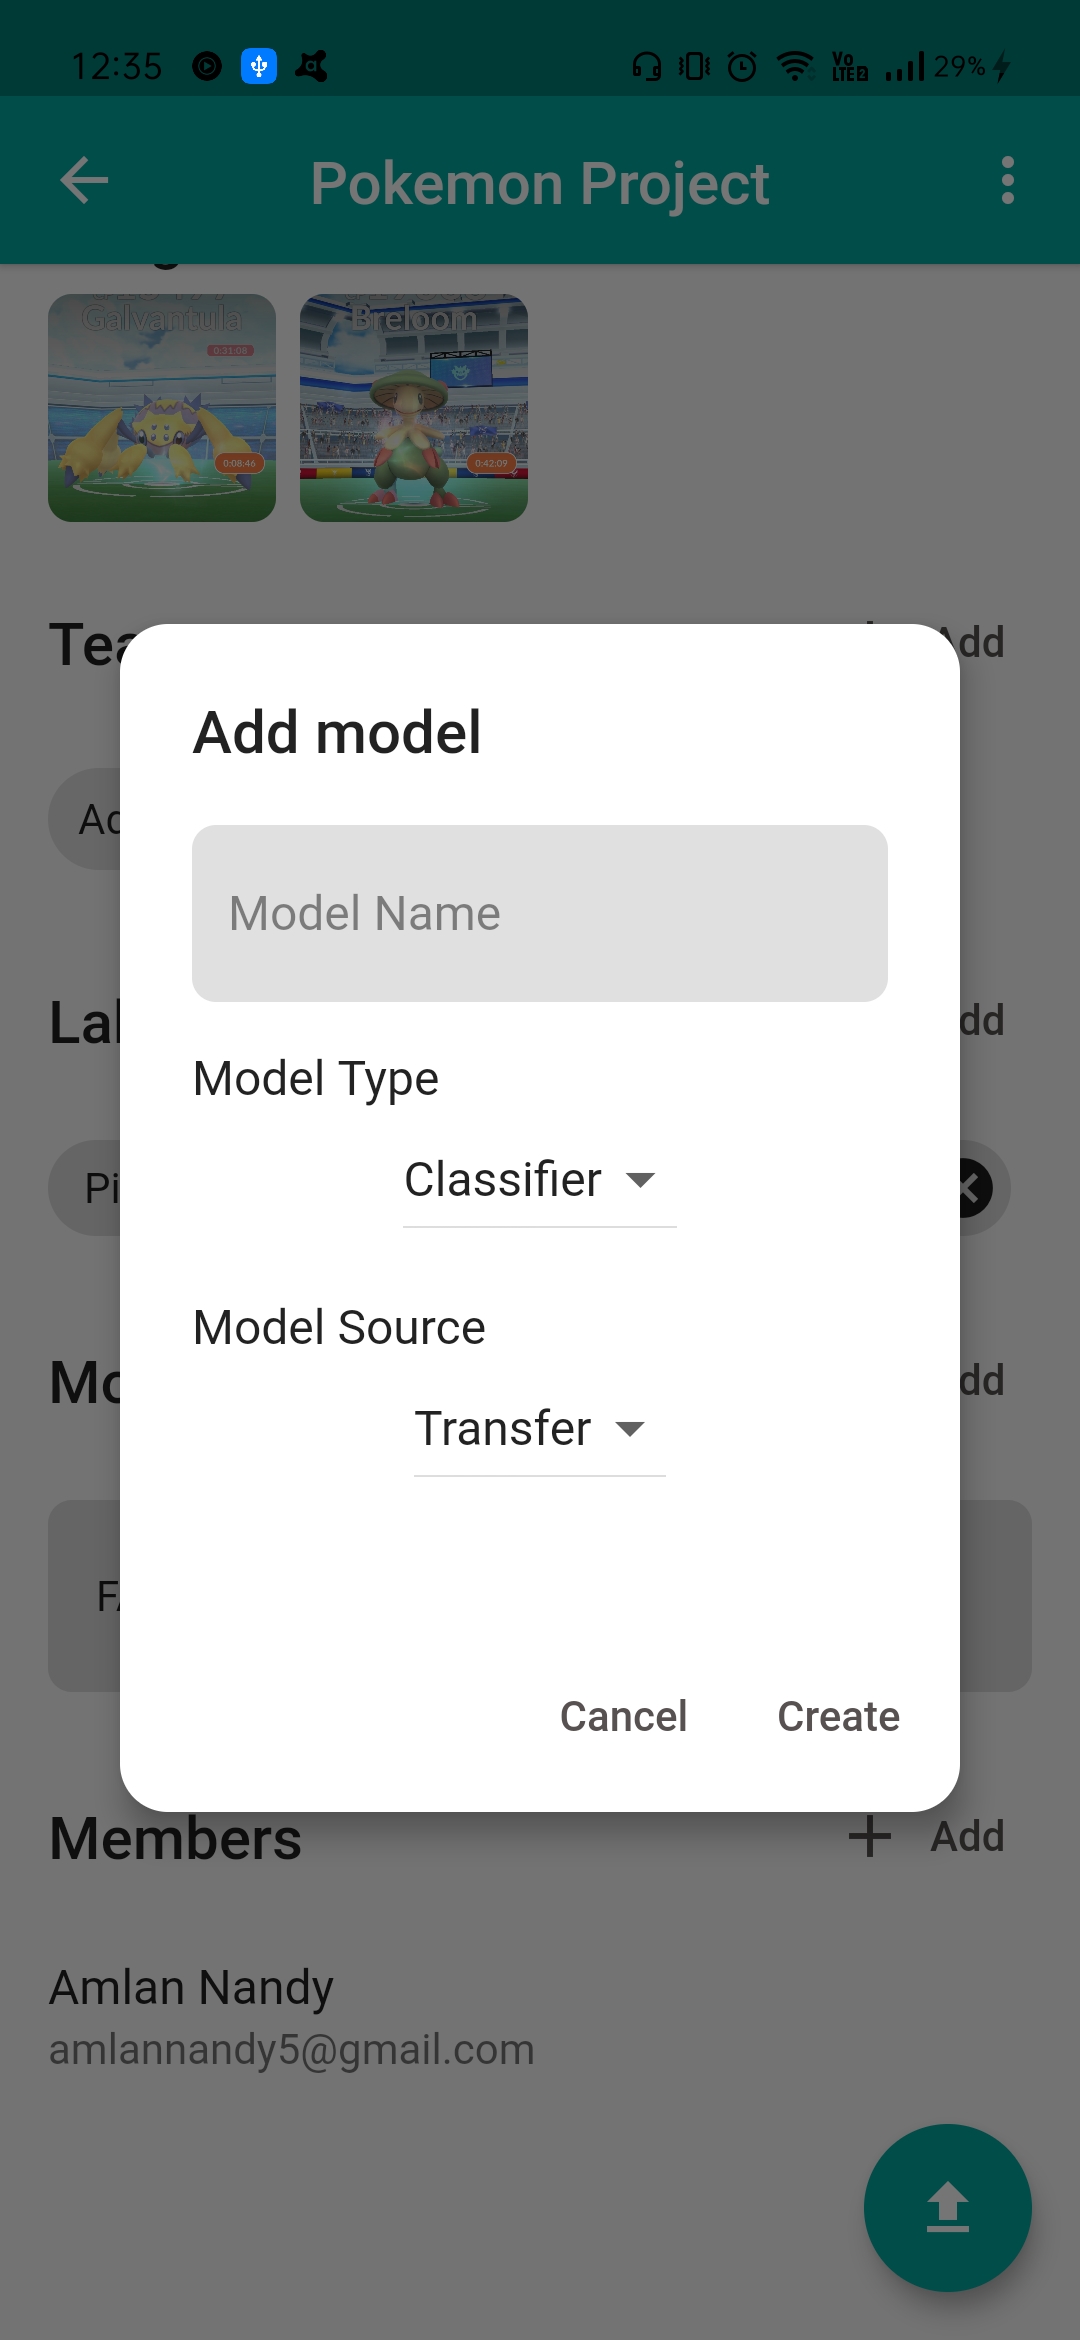
- Using the
Add Modelbutton, you can create models and also edit them afterward - Clicking on a model will take you to the Training screen where you can customize and then train it


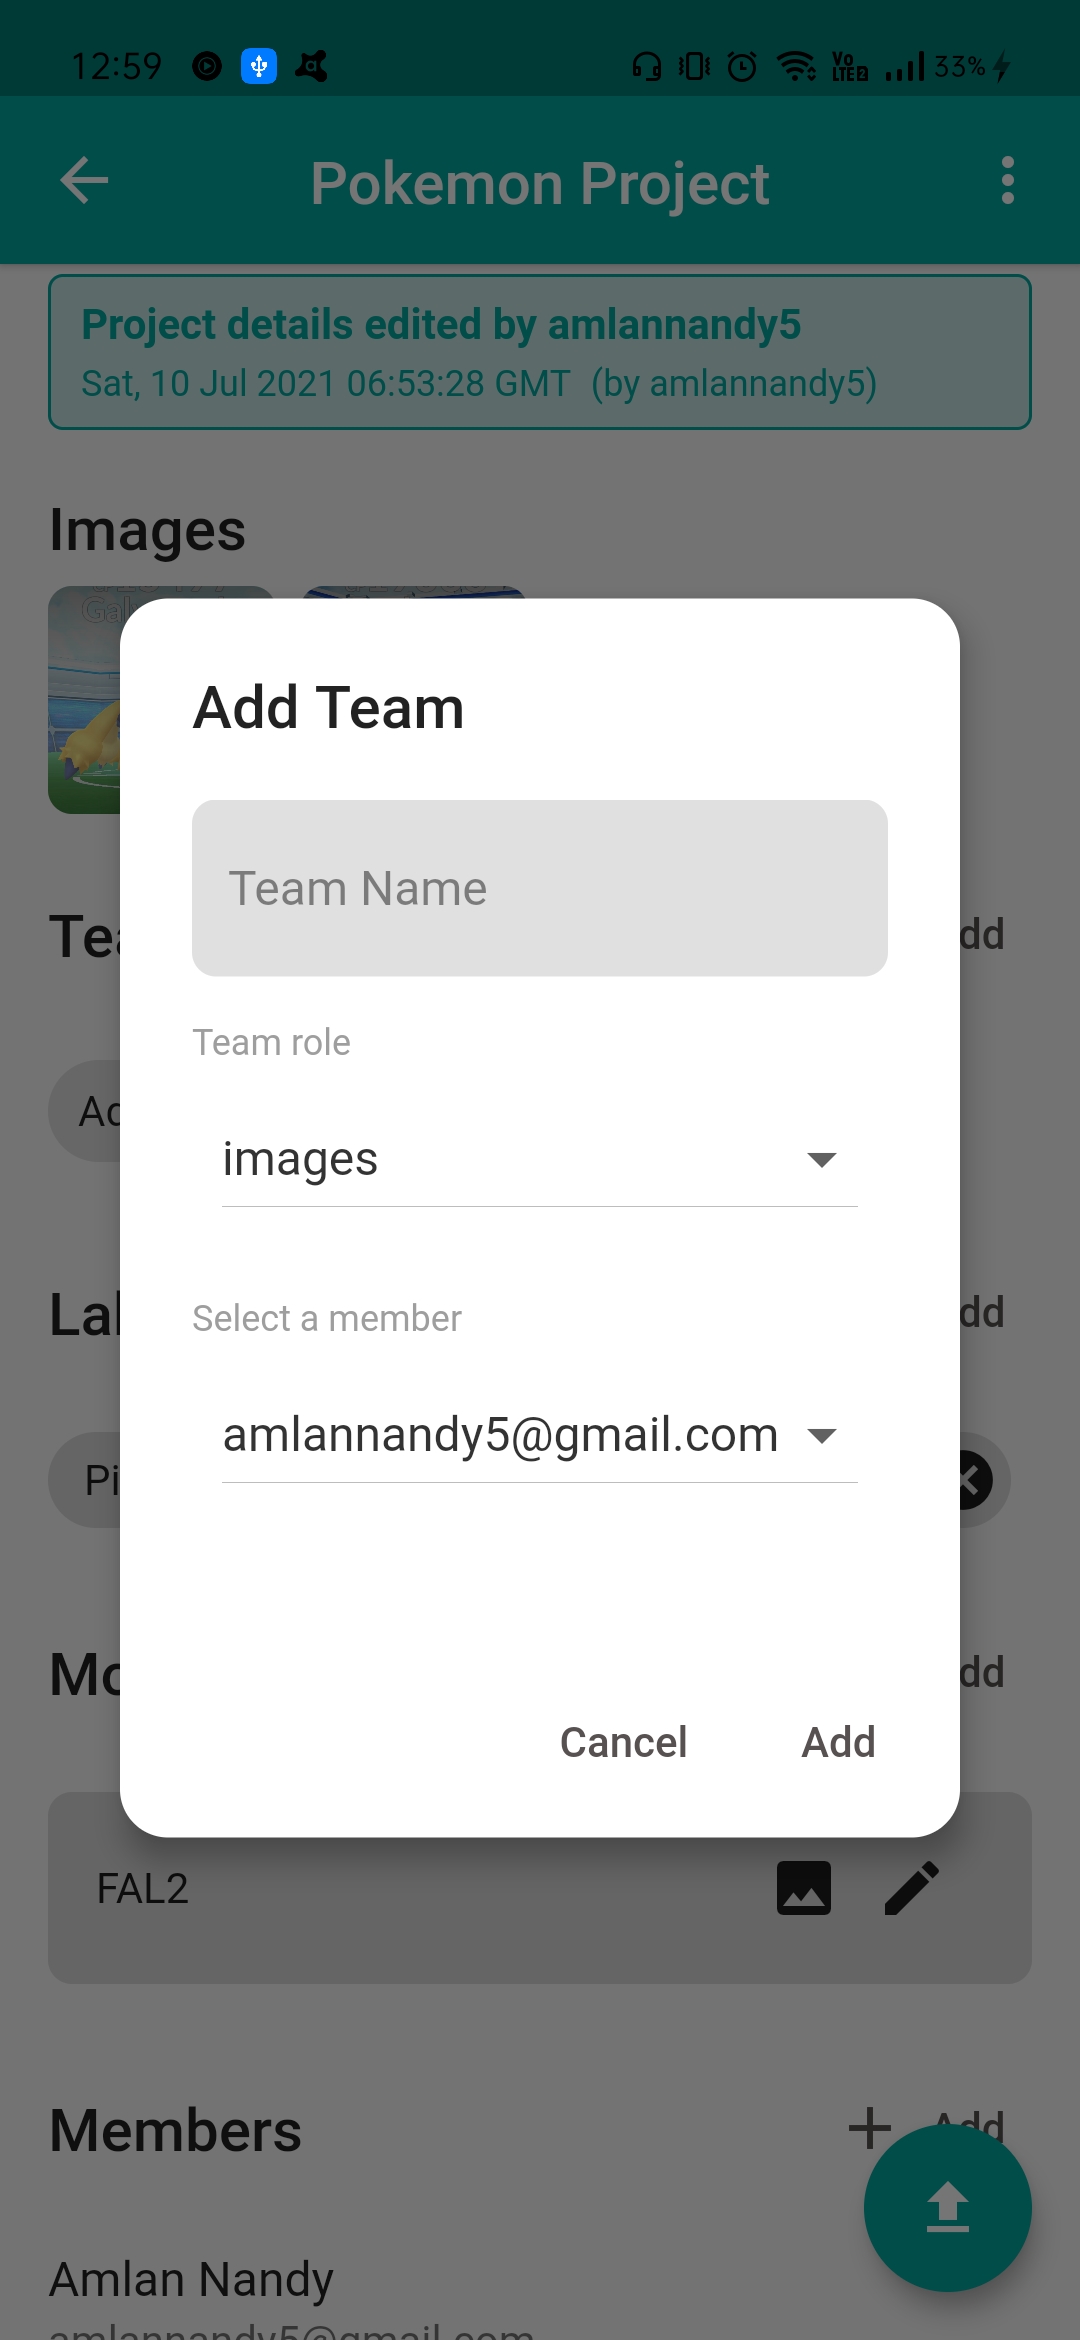
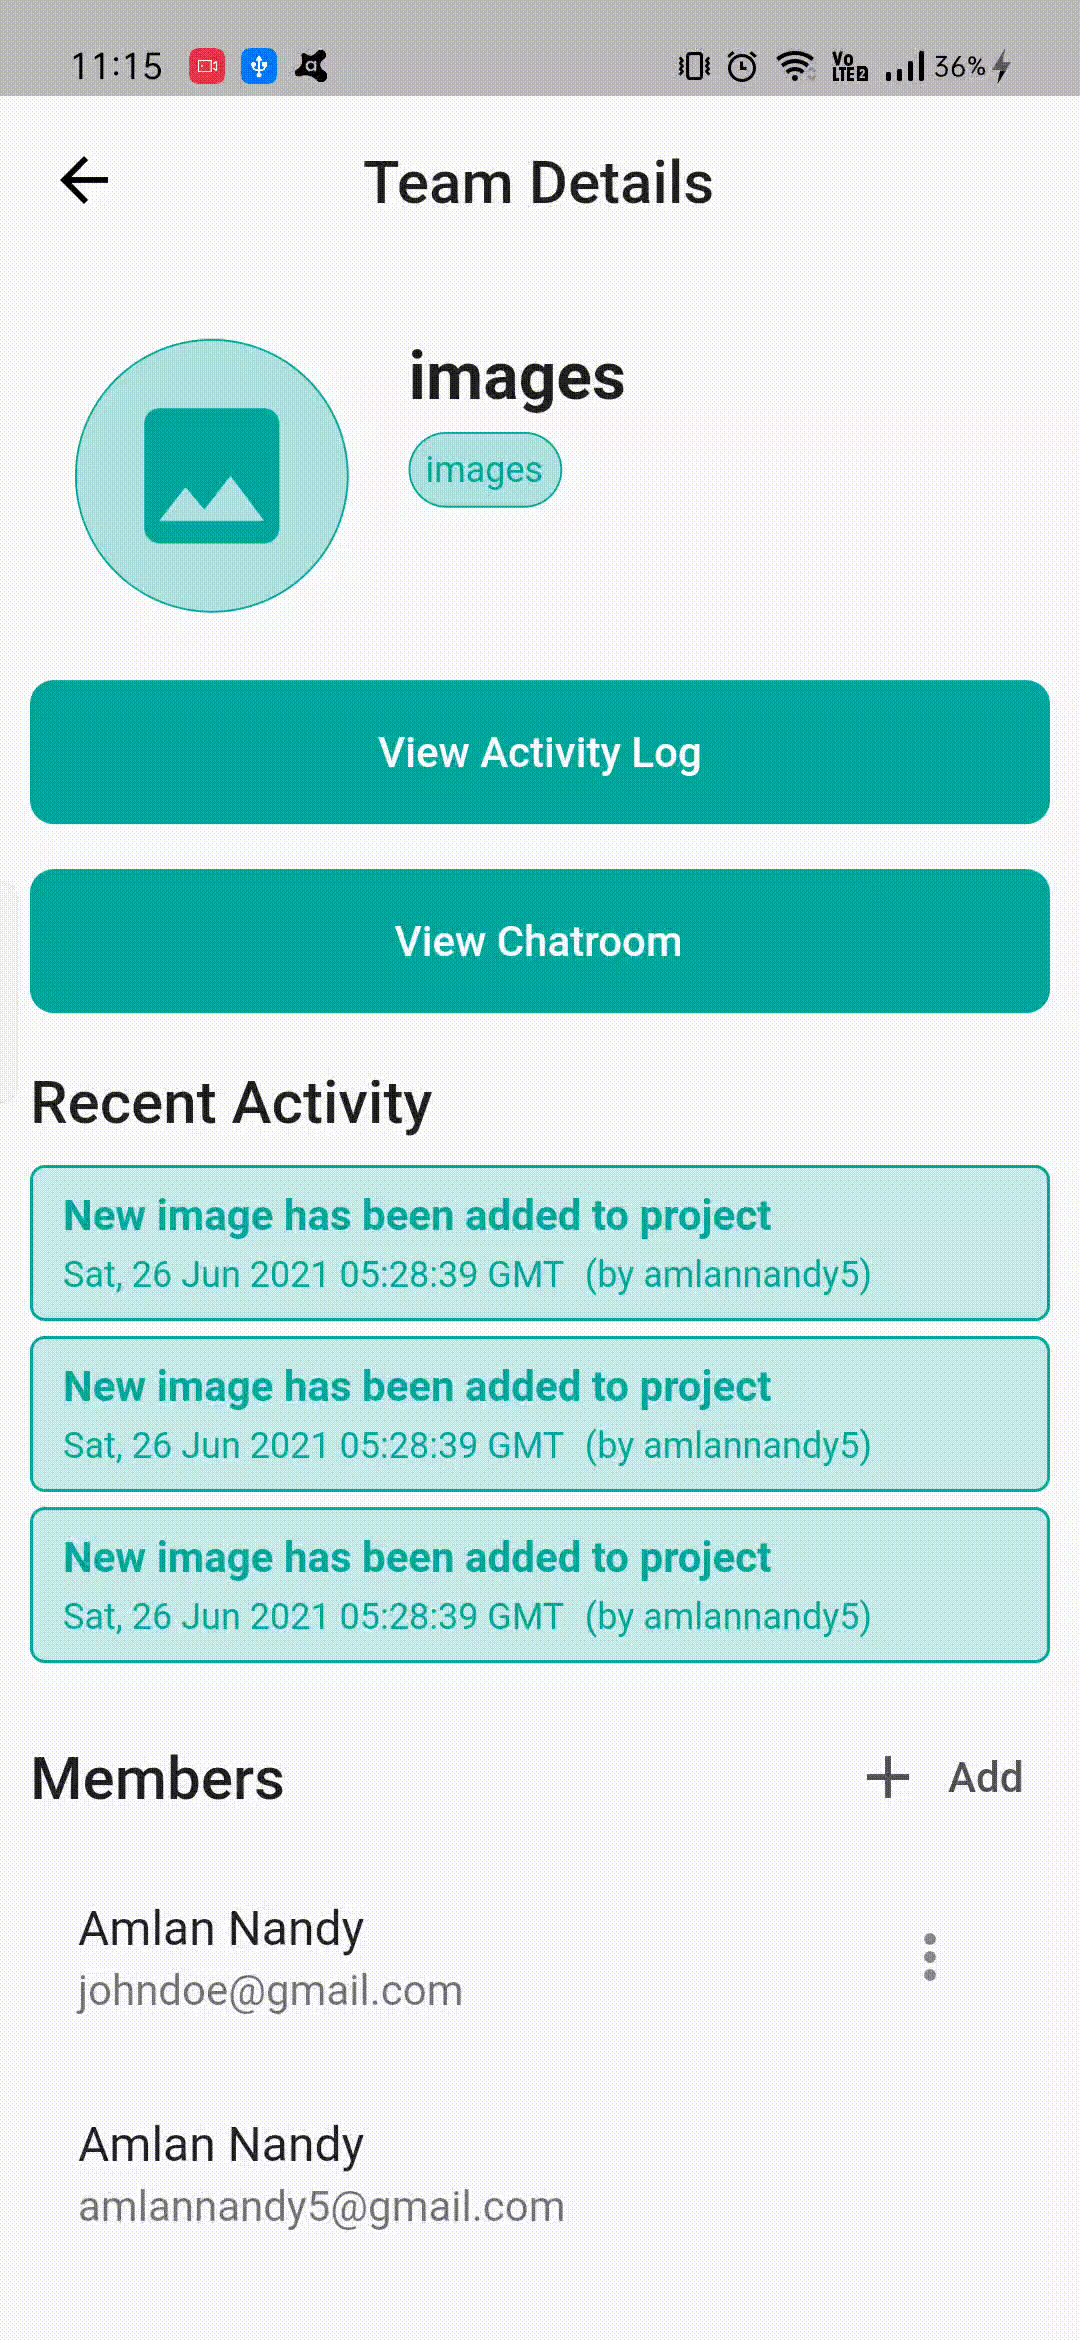
- You can view all teams in a Project and also create new ones, edit and delete them
- Each team has its own role and project members can be added to / removed from it


- Inside every team, there is a chatroom in which all the team members can discuss the assigned tasks and progress of the project
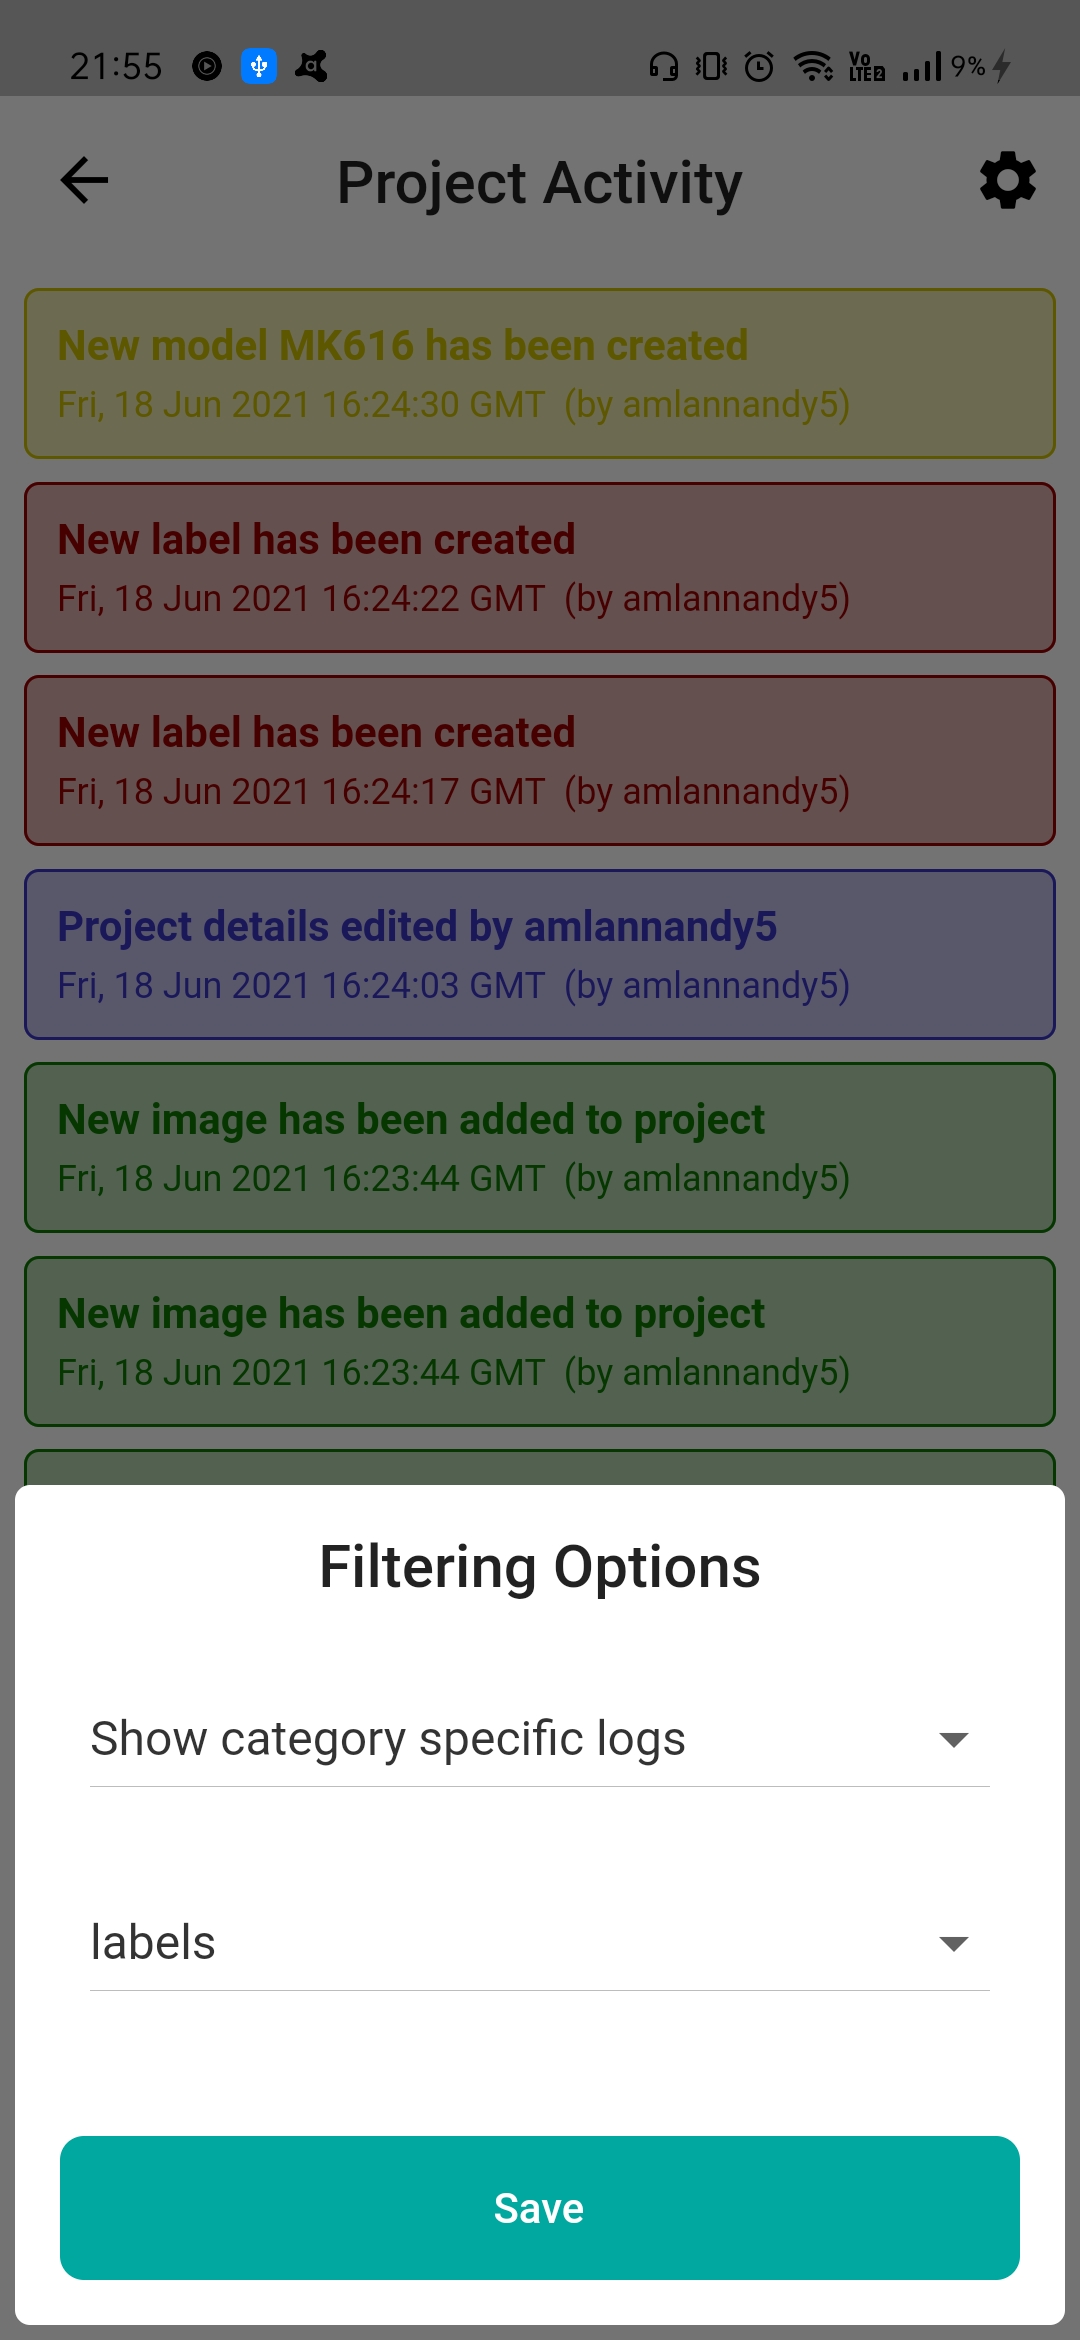
- You can view all the activity and progress in a project by clicking the
Morebutton in the Project Activity section - These activity logs can then be filtered to view
category-specificmember-specificteam-specificandentity-specificactivity

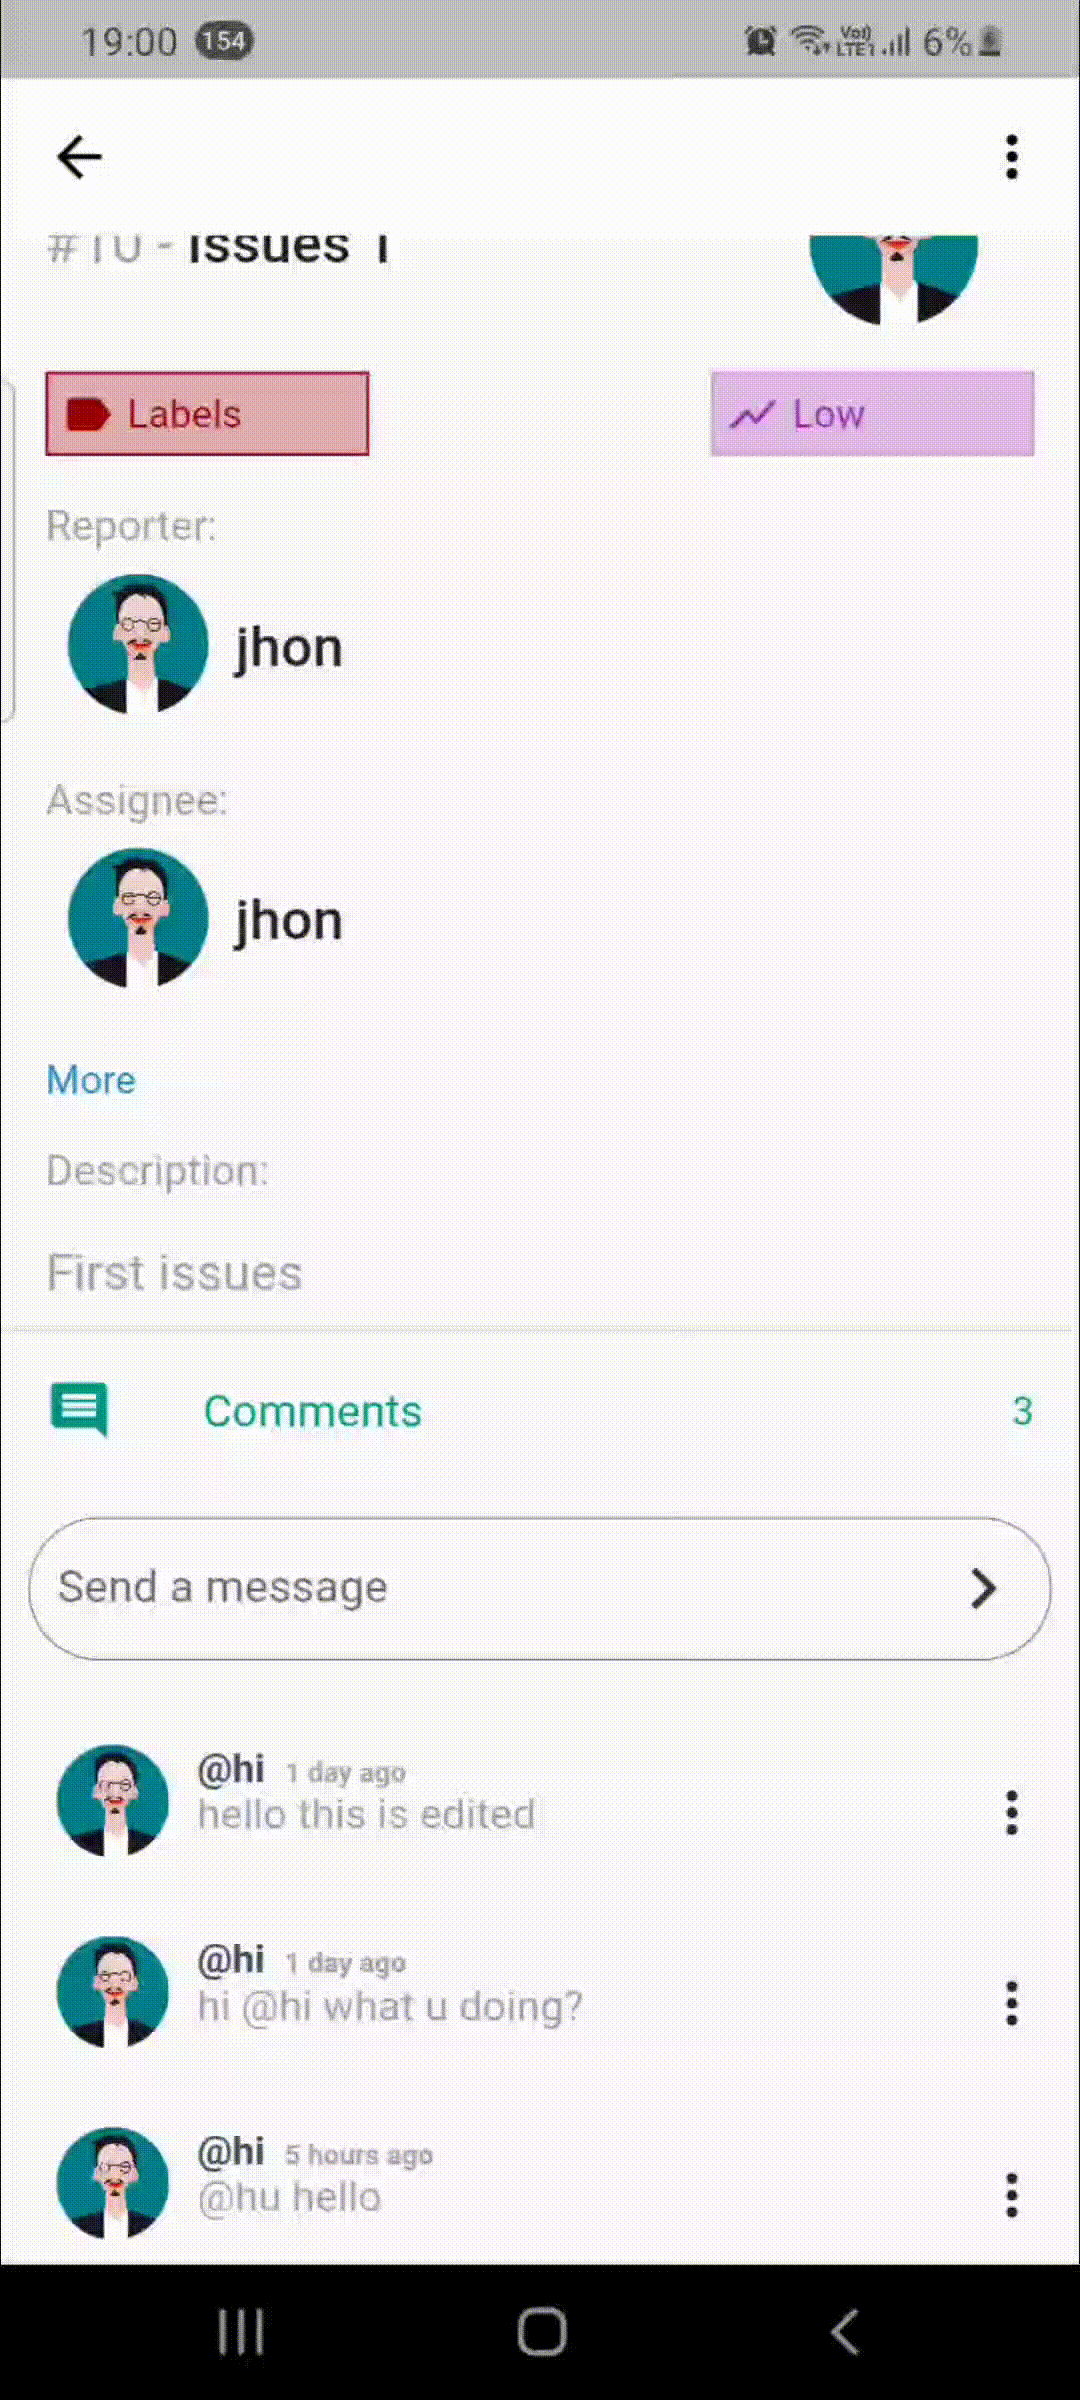
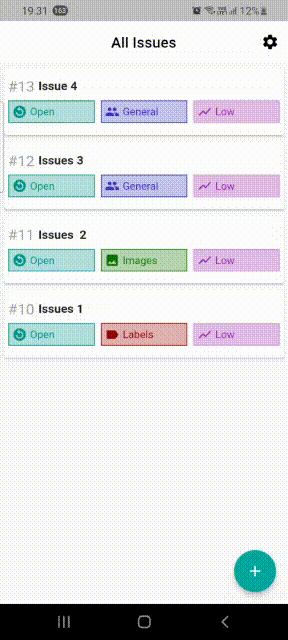
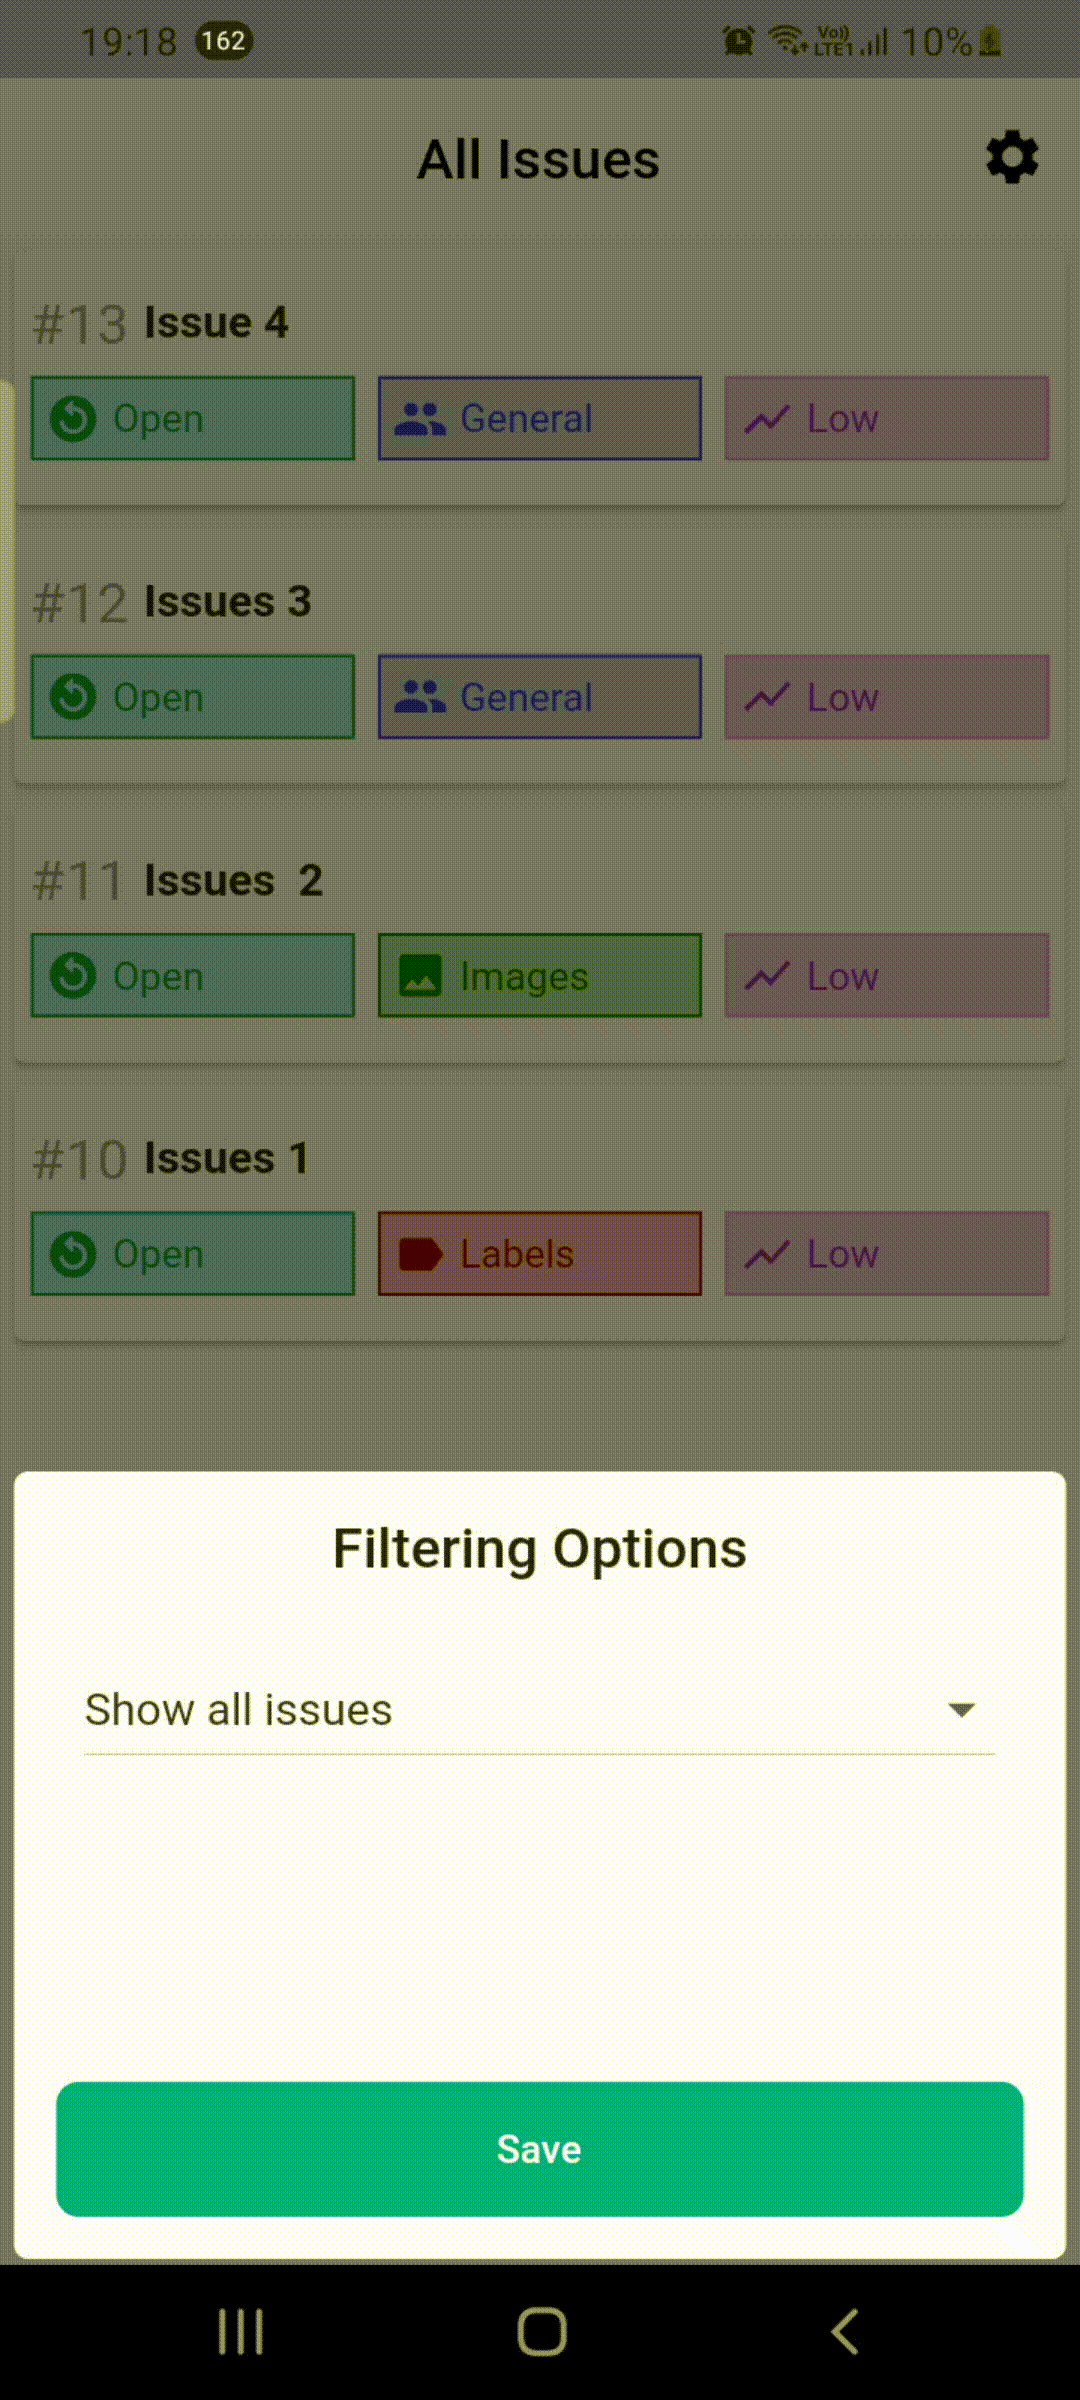
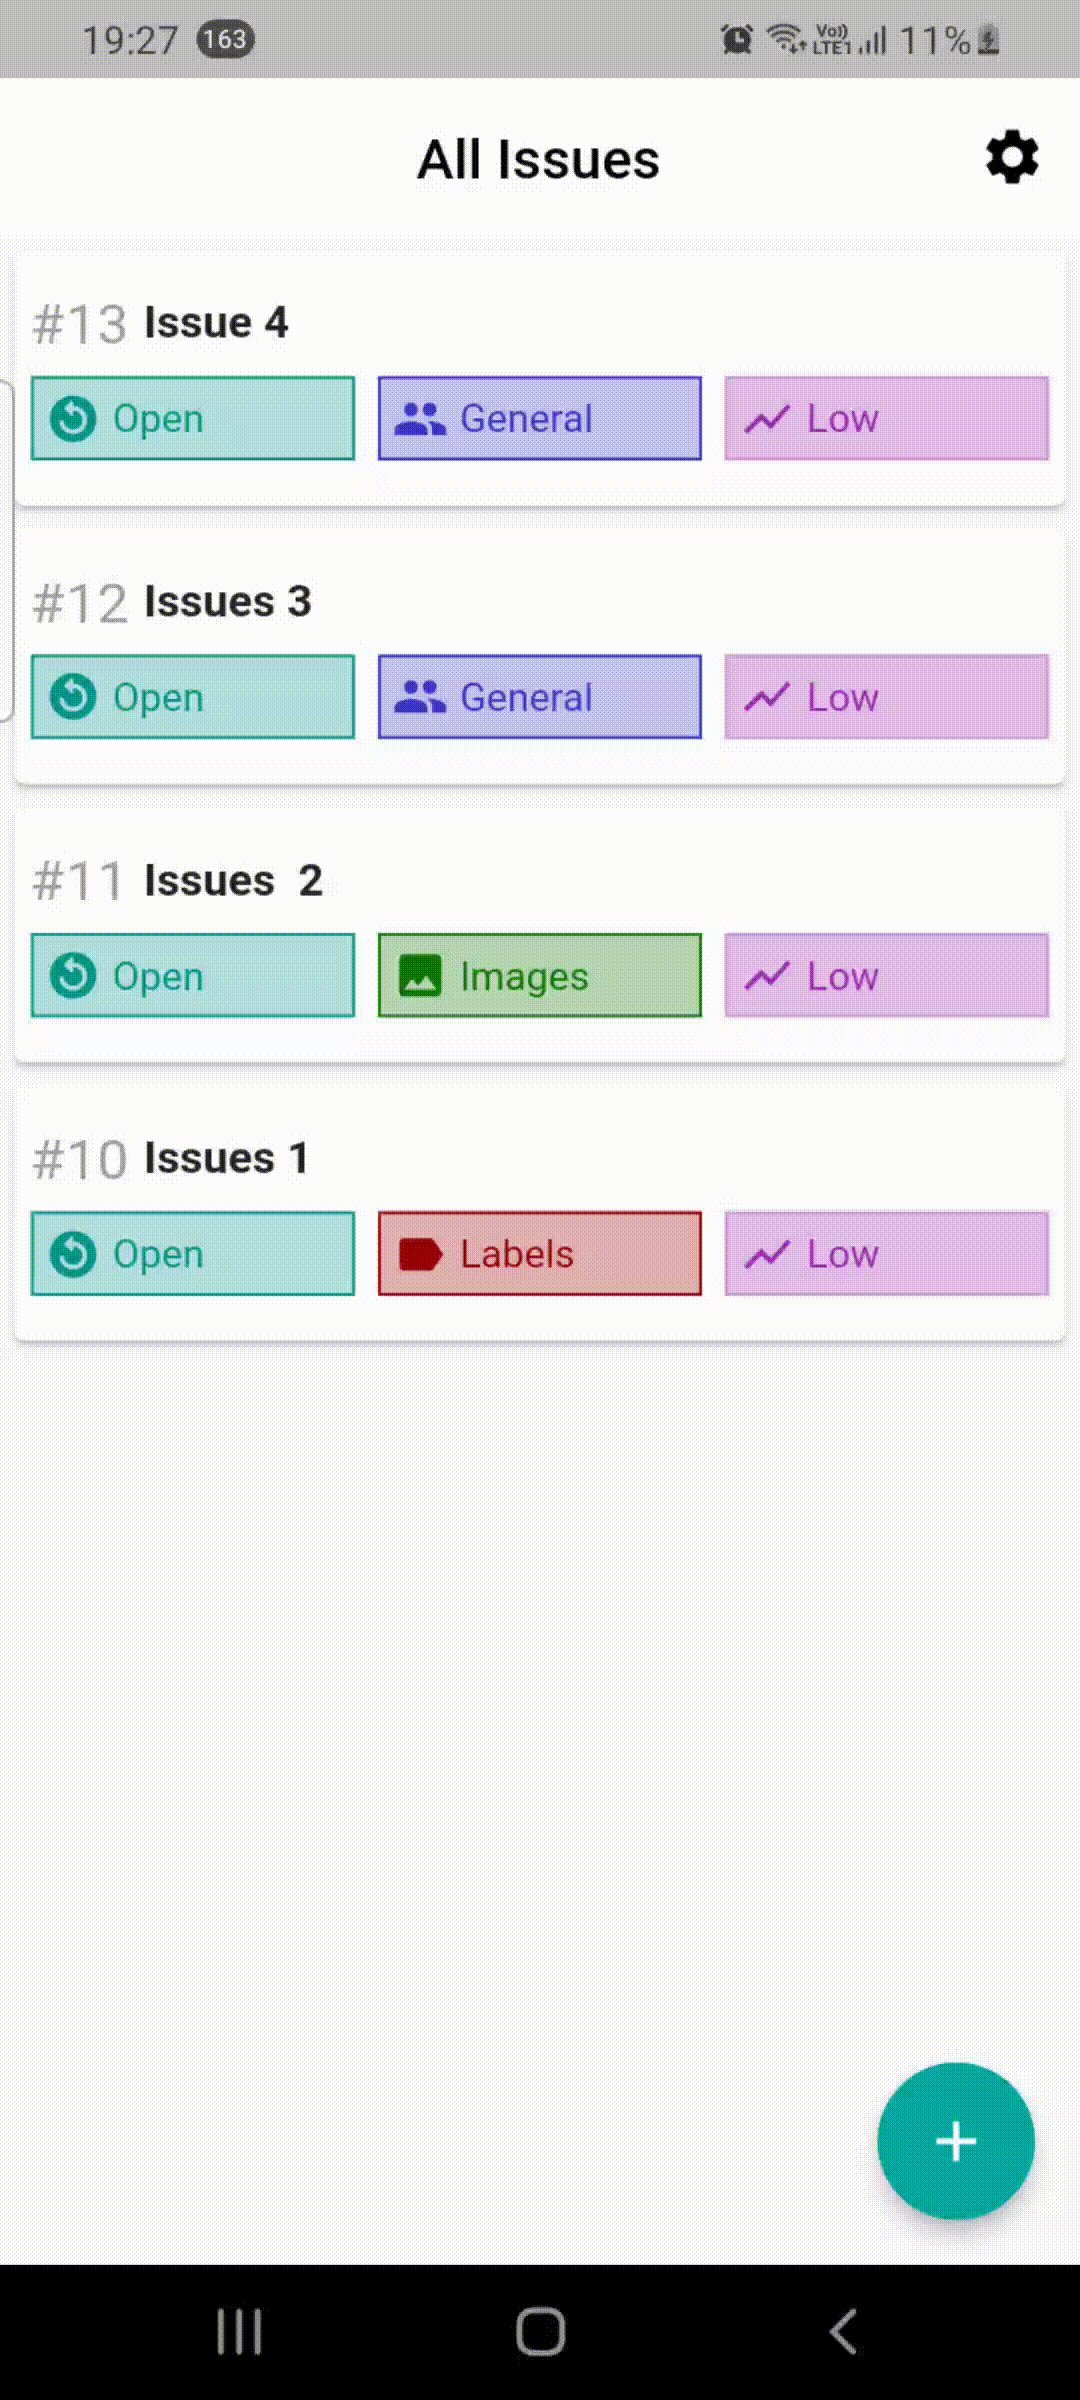
- Project members can create issues within a project. A list of all such issues can be viewed in the
Project Issuessection inside a project. - After providing a name, description, and category, the issue will be created for you.
- Issue details of a particular issue can be viewed and edited.
- To improve collaboration, each issue is associated with a comment section where the project members can discuss upon the issue.