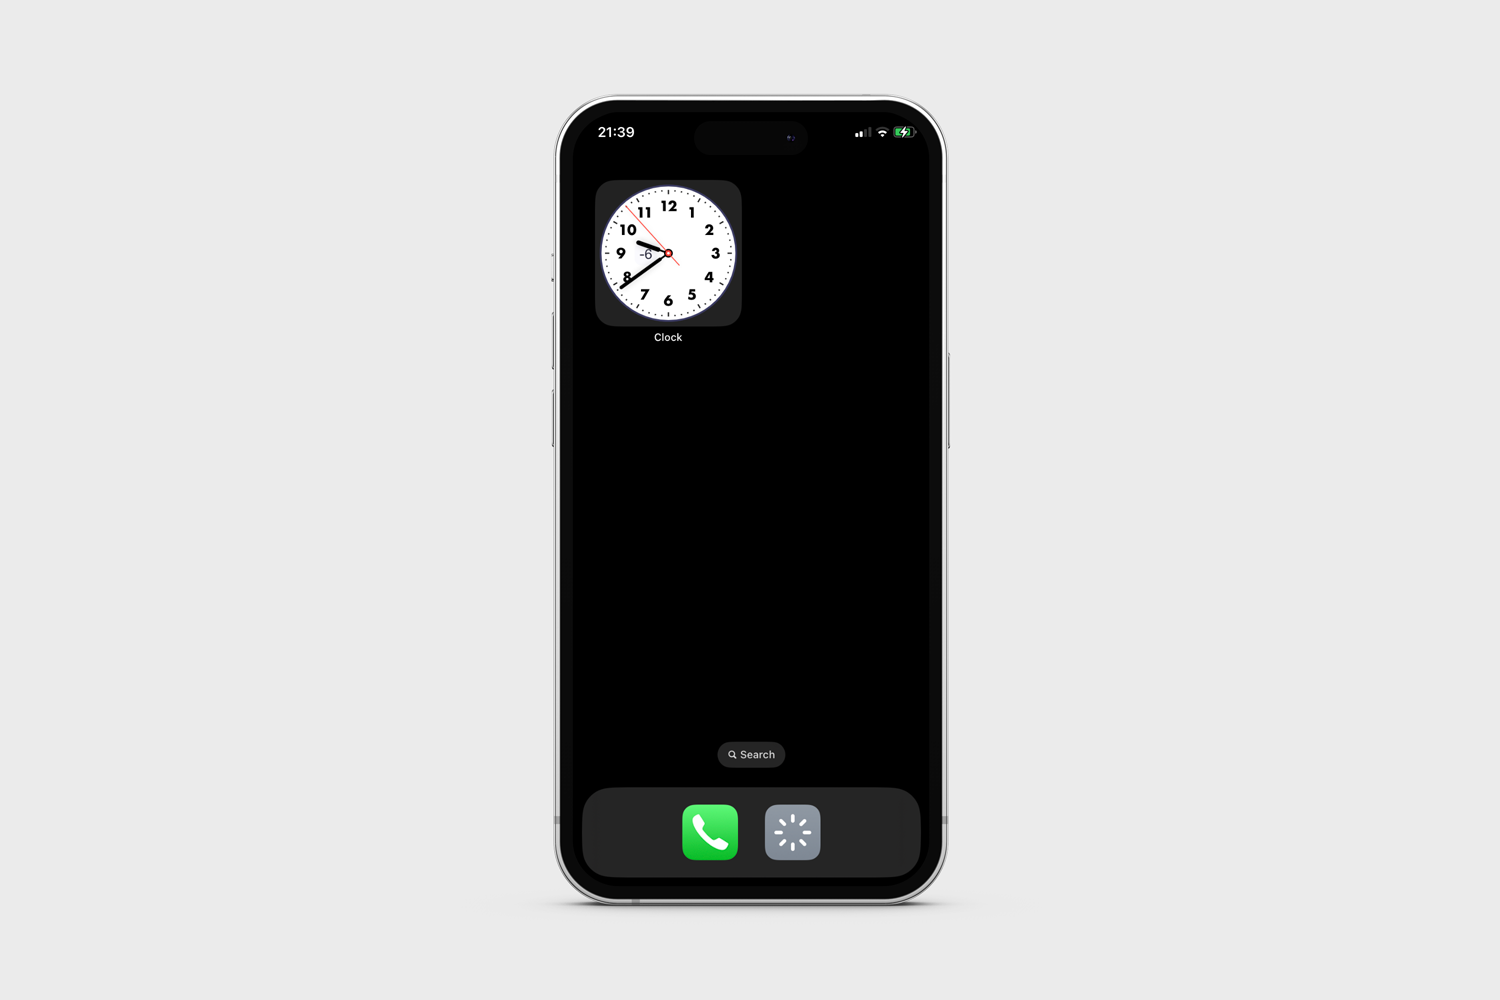
The Clock_Widget, as the name suggests is a clock widget for iOS. Use this repository to create a home screen analouge clock widget, and adjust it to your liking.
The application is created using the SwiftUI framework, and adheres to the time-line protocal.
Note, the "complication" displaying
-6, showes the time difference between the time in your current location and that of a selected location.
Each of the components comprising the clock are detailed below, edit each parameter to change the appearance of the clock.
The background is comprised of a circile, with dark gray background and of size 158, containing another circle, padded by 2 pixeles and with a white background.
  struct Background: View {
    var body: some View {
        ZStack {
            Circle()
                .fill()
                .foregroundColor(Color(UIColor(red: 60/255, green: 60/255, blue: 100/255, alpha: 1)))
                .frame(width: 158, height: 158, alignment: .center)
            Arc()
                .fill(.white)
                .padding(2)
    }
}
The Tick struct returns a Shape of CGRect, with lines added around the Background above.
Ticks places a ZStack containing Tick ForEach 0..<60, where position % 5 == 0, meaning increase the length for the Tick at postions 0, 5, 10, 15....
struct Tick: Shape {
    var isLong: Bool = false
    func path(in rect: CGRect) -> Path {
        var path = Path()
        path.move(to: CGPoint(x: rect.midX, y: rect.minY + 6))
        path.addLine(to: CGPoint(x: rect.midX, y: rect.minY + 7 + (isLong ? 4 : 0)))
        return path
    }
}

struct Ticks: View {
    var body: some View {
        ZStack {
            ForEach(0..<60) { position in
                Tick(isLong: position % 5 == 0)
                    .stroke(lineWidth: 1.5)
                    .rotationEffect(.radians(Double.pi*2 / 60 * Double(position)))

            }
        }
        .foregroundColor(Color(UIColor(red: 34/255, green: 34/255, blue: 34/255, alpha: 1)))
    }
}The Number and Numbers structs place the numbers 1 to 12 along the background ark, with padding value below.
struct Number: View {
    var hour: Int
    var body: some View {
        VStack {
            Text("\(hour)")
                .font(
                    .custom(
                    "Futura",
                    fixedSize: 16)
                    .weight(.medium)

                )
                .foregroundColor(.black)
                .rotationEffect(.radians(-(Double.pi*2 / 12 * Double(hour))))
            Spacer()
        }
        .padding(14)
        .rotationEffect(.radians( (Double.pi*2 / 12 * Double(hour))))
    }
}

struct Numbers: View {
    var body: some View {
        ZStack {
            ForEach(1..<13) { hour in
                Number(hour: hour)
            }
        }
    }
}For the clock hands, create a timeline containing 60 entries, the seconds of the clock. Assemble the clock components on load and completion of the timeline.
struct ClockWidgetEntryView : View {

    @State var index = 0
    @State var start: Date = Date()

    var now: Date
    var entry: Provider.Entry

    var body: some View {
        let calendar = Calendar.current
        let dateComponents = calendar.dateComponents([.hour, .minute, .second], from: entry.date)
        //Convert Date to angle
        var minuteAngle:Double = 0
        var hourAngle:Double = 0
        var secondAngle: Double = 0

        if let hour =  dateComponents.hour,
           let minute = dateComponents.minute,
           let second = dateComponents.second {
            let radianInOneHour = 2 * Double.pi / 12
            let radianInOneMinute = 2 * Double.pi / 60
            minuteAngle = Double(minute) * radianInOneMinute
            let actualHour = Double(hour) + (Double(minute)/60)
            hourAngle = actualHour * radianInOneHour
            secondAngle = Double(second) * radianInOneMinute

        }
    }
}
Create the Hand shape.
struct Hand: Shape {
    var offSet: CGFloat = 0
    func path(in rect: CGRect) -> Path {
        var path = Path()
        path.addRoundedRect(in: CGRect(origin: CGPoint(x: rect.origin.x, y: rect.origin.y + offSet), size: CGSize(width: rect.width, height: rect.height/2 - offSet)), cornerSize: CGSize(width: rect.width/2, height: rect.width/2))
        return path
    }
}
Add the Hand to your main view.
Hand(offSet: 40)
  .fill()
  .foregroundColor(.black)
  .frame(width: 2, alignment: .center)
  .rotationEffect(.radians(hourAngle))
